
Knowing how to install RAM sticks correctly is one of the simplest upgrades a computer owner can handle, and it takes only a few minutes once the case is open. A mismatched slot, a bent pin, or a module seated at an angle is usually the difference between a smooth boot and a system that refuses to start. This guide walks through the entire process from prepping the workspace to confirming the new memory is recognized.
Key Takeaways
- Always power down, unplug, and ground the system before touching any RAM module.
- Match the notch on the stick to the notch in the slot – RAM only fits one way.
- Press straight down with even pressure until both side clips snap into place.
- Install matched pairs in the correct color-coded slots for dual-channel performance.
- Confirm the install by checking total memory in the BIOS or operating system.
Before You Start
A little prep prevents most of the problems people run into during a RAM installation. Shut the computer down completely, unplug the power cable, and press the power button once to drain any residual charge from the motherboard. For laptops, remove the battery if it is user-replaceable, or make sure the device has been fully disconnected from power for several minutes.
Static electricity is the real enemy here. Touch a bare metal part of the case before handling any component, or wear an anti-static wrist strap clipped to an unpainted metal surface. Working on a hard, flat surface away from carpet also cuts down on static buildup.
Tools and materials needed are minimal: a Phillips-head screwdriver for opening the case or laptop panel, an anti-static wrist strap (optional but recommended), and a flashlight if the interior lighting is poor. No thermal paste, solvents, or specialty tools are required for a standard RAM swap.
If the motherboard’s RAM slots show visible corrosion, cracked plastic, or bent pins in the socket itself, that is a sign to stop and hand the repair to a professional rather than forcing a module into place. Opening a laptop chassis can also void a manufacturer’s warranty, so it is worth checking the warranty terms first.
How to Install RAM Sticks Correctly: Step-by-Step
With the system powered down and grounded, installing new memory correctly comes down to matching the slot, seating the module evenly, and locking it in place.
Removing Old Modules (If Applicable)
- Step 1: Locate the RAM slots on the motherboard, usually found near the CPU socket in a desktop or under a rear panel in a laptop.
- Step 2: Push the plastic retention clips on both ends of the slot outward at the same time until the module pops up slightly.
- Step 3: Lift the old stick straight out by its edges, avoiding contact with the gold connector pins.
Installing the New RAM Sticks
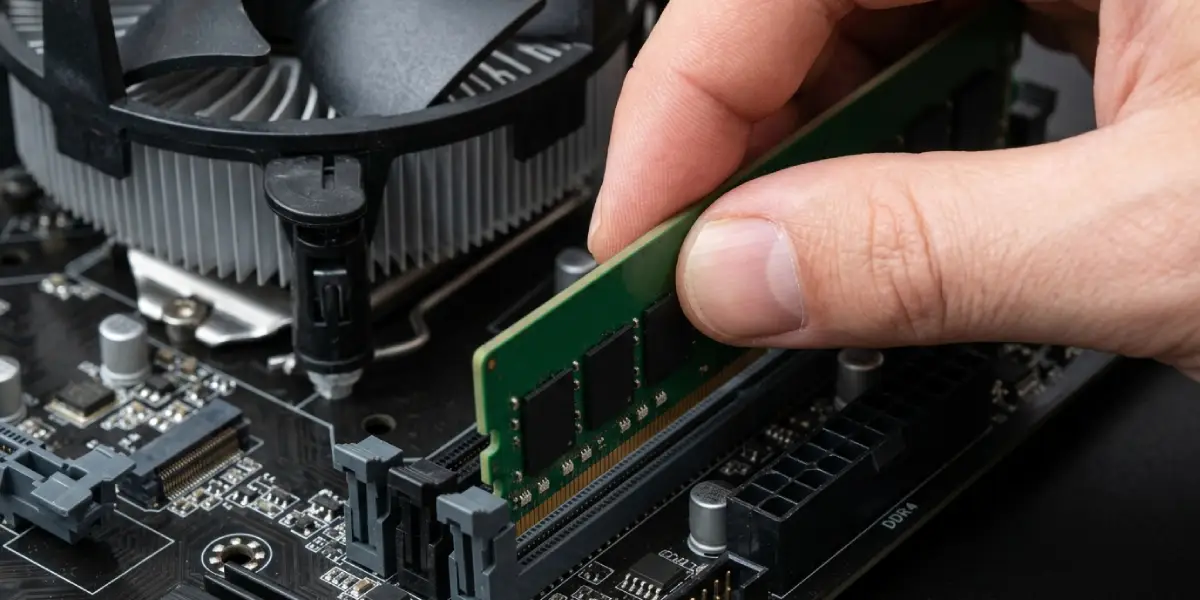
- Step 4: Check the notch position on the bottom edge of the new module and line it up with the raised key inside the slot. RAM is keyed so it can only insert one direction.
- Step 5: Open the retention clips on the target slot, if they are not already open, so they are ready to snap shut.
- Step 6: Hold the module by its edges and align it directly above the slot, keeping it perfectly vertical.
- Step 7: Press down firmly and evenly on both ends of the stick at the same time. A slight bit of force is normal, but the module should slide down smoothly, not grind or bind.
- Step 8: Continue pressing until both side clips rotate inward and click into the notches on the module’s edges, locking it in place. If the clips have not engaged, the stick is not fully seated.
- Step 9: Repeat the process for any additional modules, following the motherboard’s recommended slot layout for dual-channel or quad-channel configurations, usually noted in the motherboard manual or printed near the slots themselves.
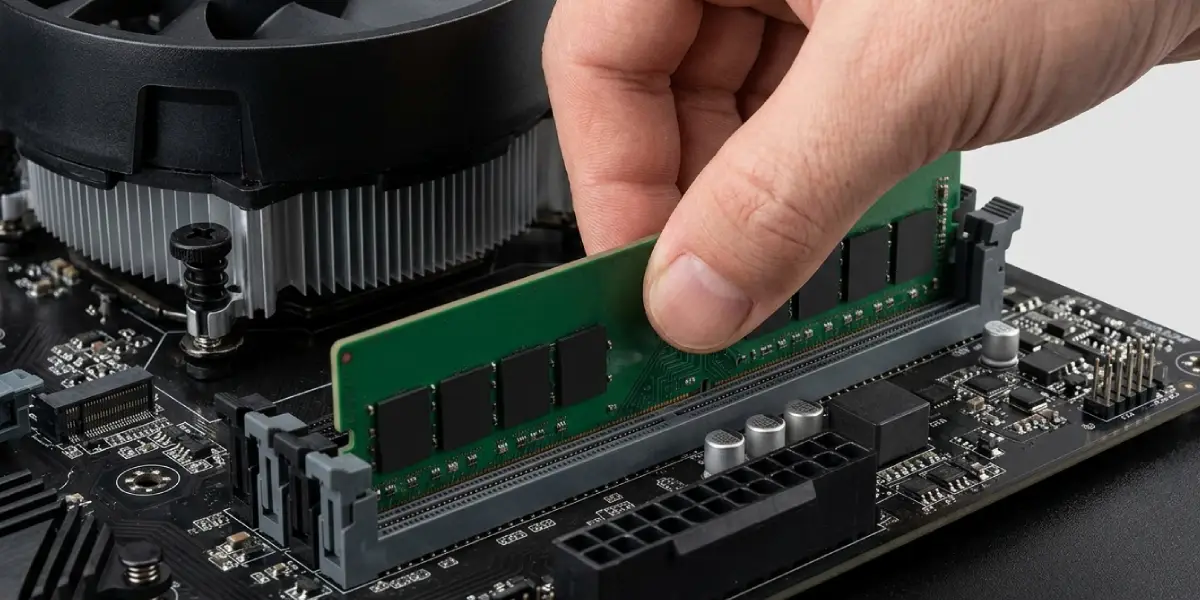
Tip: When installing two identical sticks for dual-channel mode, check the motherboard manual for the correct slot pairing. Most boards use alternating slots, such as slot 2 and slot 4, rather than the two slots sitting side by side.
Closing Up and Testing
- Step 10: Reconnect the battery on a laptop, or close up the desktop case and reconnect the power cable.
- Step 11: Power on the system and enter the BIOS or UEFI setup screen, usually by pressing Delete or F2 during boot, to confirm the total installed memory matches expectations.
- Step 12: Boot fully into the operating system and check the memory total in system settings or task manager to confirm everything is recognized and stable.
Common Problems and Fixes
System Does Not Boot or No Display After Installation
This almost always points to a module that is not fully seated. Power down, unplug the system, and reseat each stick, listening and feeling for both retention clips to click firmly into place.
Computer Beeps Repeatedly at Startup
A repeating beep pattern on a desktop motherboard is often a memory error code. Reseat the RAM, and try each stick individually in a single slot to isolate whether one module is faulty.
BIOS Shows Less Memory Than Installed
This can happen with certain motherboard and CPU combinations that reserve a small amount of memory for integrated graphics, which is normal. If the shortfall is large, double-check that every module is seated all the way down and that the slots being used match the motherboard’s recommended dual-channel pairing.
New RAM Is Not Recognized at All
Confirm the module is compatible with the motherboard’s supported memory type and speed. Installing RAM that the board does not support, or mixing incompatible module types, can prevent the system from recognizing it even when properly seated.
System Boots but Becomes Unstable or Crashes
Mismatched speeds or timings between modules from different kits can cause instability. Running a memory diagnostic tool can help confirm whether a specific stick is defective, and setting memory speed manually in the BIOS to the rated speed of the modules often resolves it.
Frequently Asked Questions
Can RAM sticks be installed in the wrong slot?
The notch on each module only allows it to fit one way into a given slot, so it cannot be inserted backward. However, using the wrong pair of slots can prevent dual-channel mode from working even though the system still boots.
Is it safe to mix different brands of RAM?
Mixing brands can work as long as the capacity, speed, and voltage are compatible, but matched kits from the same set are the safest choice for stability and consistent performance.
Do RAM sticks need to be installed in pairs?
A single stick works fine, but installing two or four matched modules enables dual-channel or quad-channel mode, which improves memory bandwidth compared to a single module.
How much force is normal when installing RAM?
A firm, even push is expected, and the retention clips should click audibly when the module is fully seated. Excessive force or resistance usually means the alignment or notch position is wrong.
What happens if RAM is installed with the power still connected?
Installing memory while the system is powered can damage the module, the motherboard, or both. Always fully power down and unplug the system first.
Why won’t the laptop turn on after installing new RAM?
This is typically a seating issue rather than a defective module. Reopen the panel, remove the stick, and reinsert it at the correct angle until it clicks into its retention clips.
How can compatibility be checked before buying RAM?
The motherboard or laptop manufacturer’s specification page lists the supported memory type, maximum speed, and maximum capacity, which should be matched before purchasing new modules.
Does new RAM need any special drivers or software?
No drivers are needed for RAM to function. The operating system and BIOS automatically detect and allocate installed memory.
Can too much RAM be installed on a motherboard?
Every motherboard has a maximum supported memory capacity listed in its specifications. Installing more than that limit, or more than the CPU can address, will result in the excess not being recognized.
