
Need to change a font, add a logo, or restyle every slide at once? The fastest way is to edit the Slide Master in PowerPoint instead of fixing slides one by one. Think of the master as the blueprint for a house: change the blueprint, and every room built from it updates. The steps below take about five minutes.
Key Takeaways
- Open the master from the View tab, then choose Slide Master.
- The top thumbnail controls every slide, while the thumbnails beneath it control individual layouts.
- Fonts, colors, logos, and placeholder positions set on the master flow down to all layouts automatically.
- Close Master View when finished so the changes appear on the slides.
Step-by-Step Guide to Edit the Slide Master in PowerPoint
Open Slide Master View
- Step 1: Open the presentation that needs the changes.
- Step 2: Select the View tab on the ribbon.
- Step 3: In the Master Views group, click Slide Master. A new Slide Master tab appears at the far left of the ribbon, and the thumbnail pane switches to show the master and its layouts.
- Step 4: Look at the thumbnail pane. The larger slide at the top is the Slide Master itself. The smaller thumbnails beneath it are the layouts, such as Title Slide, Title and Content, and Section Header.
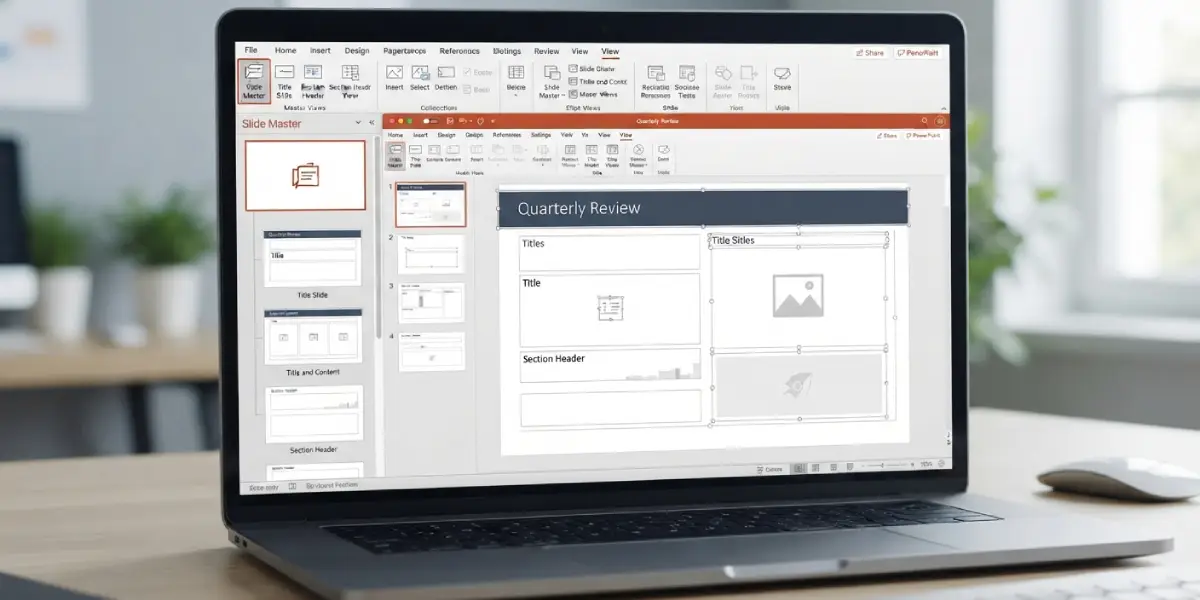
Tip: Hover over any thumbnail to see its name and which slides in the deck use it. That makes it easy to know which layouts matter most before making changes.
Edit the Master Slide
- Step 5: Click the top thumbnail to select the Slide Master. Anything changed here carries down to every layout beneath it.
- Step 6: To change the text style, click inside the title placeholder or a body text level, then use the Home tab to set the font, size, color, or alignment. Edit each bullet level in the body placeholder separately if needed.
- Step 7: To switch the whole deck to a different font set or color palette, go to the Slide Master tab and use the Fonts or Colors buttons in the Edit Theme group, then pick an option. These apply theme-wide instead of to one text box.
- Step 8: To change the background, click Background Styles on the Slide Master tab and choose a style, or right-click the slide and select Format Background for a custom color, gradient, or image.
- Step 9: To add a logo or repeating graphic, go to Insert, choose Pictures, then This Device, and select the image. Resize it and drag it into position, such as the bottom corner. Placed on the master, it appears on every layout.
- Step 10: To move or resize the title, date, footer, or slide number placeholders, drag them on the master. Layouts that have not been customized follow along.
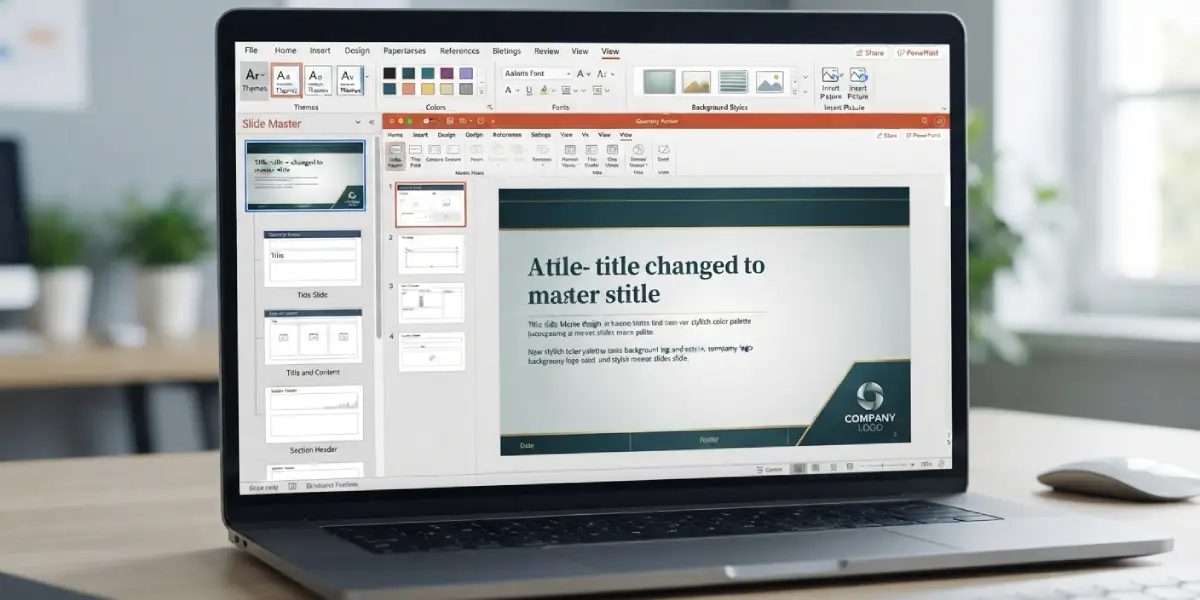
Tip: Make master-level changes first, then adjust individual layouts. Doing it in this order prevents the common frustration of fixing a layout and then having to repeat the work.
Edit Individual Layouts
- Step 11: Click a layout thumbnail beneath the master, for example Title Slide, to give that layout its own look.
- Step 12: Adjust the placeholders as needed. Drag to reposition, drag the corner handles to resize, or change the text formatting just like on a normal slide.
- Step 13: To add another placeholder, click Insert Placeholder on the Slide Master tab and choose a type such as Text, Picture, Chart, or Table. Then drag on the layout to draw it.
- Step 14: To remove a placeholder, click its border and press Delete. To restore the title or footers, tick the Title or Footers checkboxes in the Master Layout group.
- Step 15: To create a new layout, click Insert Layout. To remove one that is not needed, right-click its thumbnail and choose Delete Layout.
- Step 16: To rename a layout, right-click its thumbnail, select Rename Layout, type a clear name, and press Enter.
Close Master View and Check the Result
- Step 17: On the Slide Master tab, click Close Master View.
- Step 18: Scroll through the slides to confirm the fonts, colors, and logo appear as expected.
- Step 19: If a slide still looks unchanged, select it, go to the Home tab, and click Reset. This clears manual formatting so the slide follows its layout again.
- Step 20: To reuse the design later, choose File, then Save As, and set the file type to PowerPoint Template (*.potx).
Common Problems and Fixes
Changes do not show up on some slides
Those slides usually carry manual formatting, such as a font changed directly on the slide. Select the slide and click Reset on the Home tab. If the problem remains, check that the slide uses the layout that was edited, since a different layout may have its own settings.
The logo appears on some layouts but not others
Open Slide Master View, select the layout that is missing the logo, and look at the Background group on the Slide Master tab. If Hide Background Graphics is ticked, untick it. Also confirm the logo was placed on the top master thumbnail instead of on a single layout.
Text boxes do not follow the new fonts
Text boxes drawn manually on a slide are not placeholders, so they may keep their own formatting. Use the Fonts button on the Slide Master tab to change the theme fonts, then select the text box and apply the theme font from the font list. Content typed into placeholders updates automatically.
A custom layout disappeared after deleting slides
PowerPoint can remove an unused master when the last slide using it is deleted. In Slide Master View, right-click the master thumbnail and choose Preserve Master to keep it.
The Slide Master button is greyed out
This happens when the file is open in Protected View. Click Enable Editing in the yellow bar at the top, then try View, then Slide Master again.
Footers or slide numbers are not appearing
Placing them on the master only sets their position. Close Master View, go to Insert, then Header and Footer, tick Slide number or Footer, and click Apply to All.
Frequently Asked Questions
Where is the Slide Master in PowerPoint?
Go to the View tab and click Slide Master in the Master Views group. The Slide Master tab then appears on the ribbon with all the editing tools.
What is the difference between the Slide Master and a layout?
The Slide Master is the top thumbnail and controls the design of the whole deck. Layouts are the smaller thumbnails beneath it, and each one arranges placeholders for a specific type of slide. Layouts inherit from the master unless they are customized.
How do I change the font on every slide at once?
Open Slide Master View, click the Fonts button on the Slide Master tab, and choose a font set. This changes the theme fonts across the master and all layouts.
How do I add a logo to every slide?
In Slide Master View, select the top master thumbnail, go to Insert, then Pictures, then This Device, and choose the logo file. Resize and position it. It then appears on all layouts that show background graphics.
How do I exit Slide Master View?
Click Close Master View on the Slide Master tab. Clicking Normal on the View tab also returns to the regular slide editing view.
Why are my master changes not applying to some slides?
Slides with manual formatting or a different layout may ignore the change. Select the slide and click Reset on the Home tab to make it follow its layout again.
How do I rename a layout or the master?
In Slide Master View, right-click the layout or master thumbnail, choose Rename Layout or Rename Master, type the new name, and press Enter.
How do I add a new layout to the Slide Master?
In Slide Master View, click Insert Layout on the Slide Master tab. Then use Insert Placeholder to add text, picture, or chart areas and arrange them as needed.
How do I save the edited Slide Master for future presentations?
Choose File, then Save As, and select PowerPoint Template (*.potx) as the file type. New presentations created from that template will include the edited master.