
Knowing how to fix monitor showing wrong resolution saves a lot of frustration when the screen suddenly looks stretched, blurry, or oversized. The cause is usually a missing graphics driver, a weak cable, or a setting that changed after an update. Most cases can be solved in a few minutes without opening the PC.
Key Takeaways
- Start with the display settings and pick the resolution marked Recommended, which matches the monitor’s native resolution.
- A generic Microsoft Basic Display Adapter driver is one of the most common reasons the correct resolution is missing.
- Cables, adapters, docks, and the monitor’s own input settings can limit the resolution the PC is allowed to send.
- Blurry text is often a scaling problem rather than a resolution problem, so check both.
Common Causes of a Wrong Monitor Resolution
Pinpointing the cause first makes the fix much faster. A monitor that shows the wrong resolution is almost always dealing with one of the issues below.
- Graphics driver missing, corrupted, or replaced by the generic Windows driver after an update or crash.
- A worn, loose, or low-quality cable, or an older HDMI or VGA cable that cannot carry the full resolution.
- An adapter, dock, or KVM switch between the PC and the monitor that limits the signal.
- The wrong display selected when more than one monitor is connected.
- Display scaling set too high or too low, making the picture look wrong even though the resolution is correct.
- The monitor’s input mode or the graphics control panel forcing a custom or lower resolution.
Before You Start
Most of the steps below happen in software, but a couple involve touching cables. Turn off the monitor before unplugging or reconnecting a video cable, and handle the connectors gently by the plug rather than the wire. No special tools are needed. A spare HDMI or DisplayPort cable is helpful for testing. If the screen is completely black or a cable port looks bent or damaged, stop and have a technician inspect it rather than forcing a connector.
Step-by-Step Fixes for a Monitor Showing the Wrong Resolution
Fix the Resolution in Display Settings
- Step 1: Right-click an empty area of the desktop and choose Display settings.
- Step 2: If more than one monitor is connected, click Identify and select the monitor that looks wrong. Changes only apply to the selected screen.
- Step 3: Under Display resolution, open the drop-down menu and choose the option labeled Recommended. That value is the native resolution reported by the monitor.
- Step 4: Click Keep changes when the confirmation prompt appears. If nothing is clicked, Windows reverts to the previous setting after a few seconds.
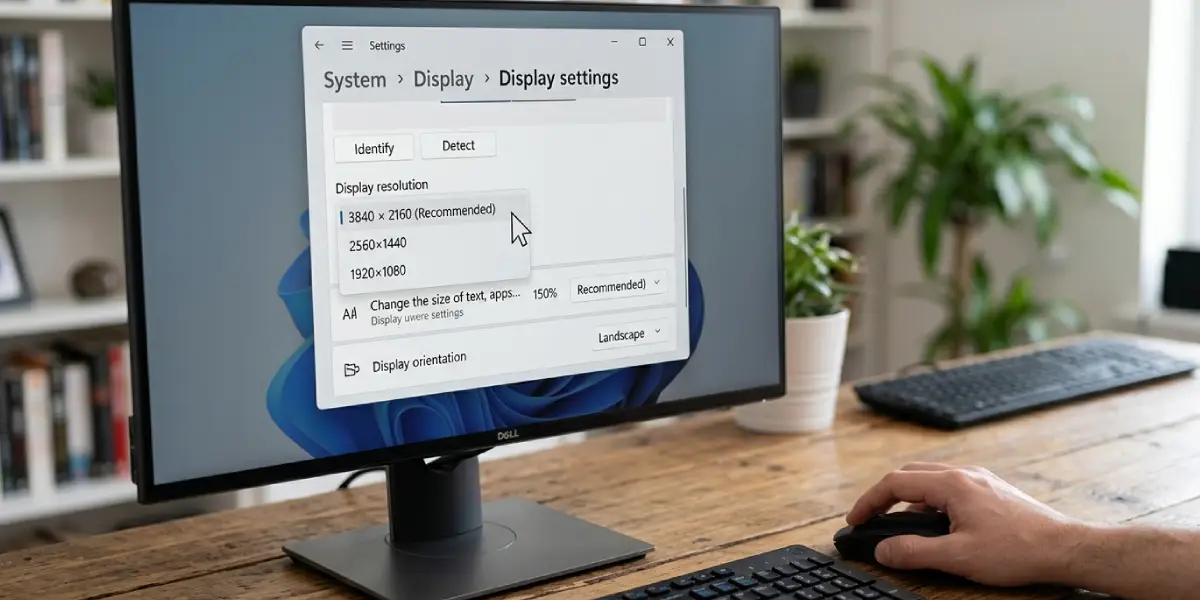
Tip: A picture that looks sharp but oversized usually means scaling is too high. Check the Scale option on the same page and try 100 percent, or the value Windows recommends for the screen size.
Check the Active Signal Resolution
- Step 5: In Display settings, scroll down and open Advanced display.
- Step 6: Compare the Desktop resolution with the Active signal resolution. If the active signal is lower than the monitor’s native resolution, the PC is being limited by the driver, cable, or adapter, so continue with the steps below.
Reinstall or Update the Graphics Driver
- Step 7: Right-click the Start button, open Device Manager, and expand Display adapters. If the entry reads Microsoft Basic Display Adapter, the correct graphics driver is not installed.
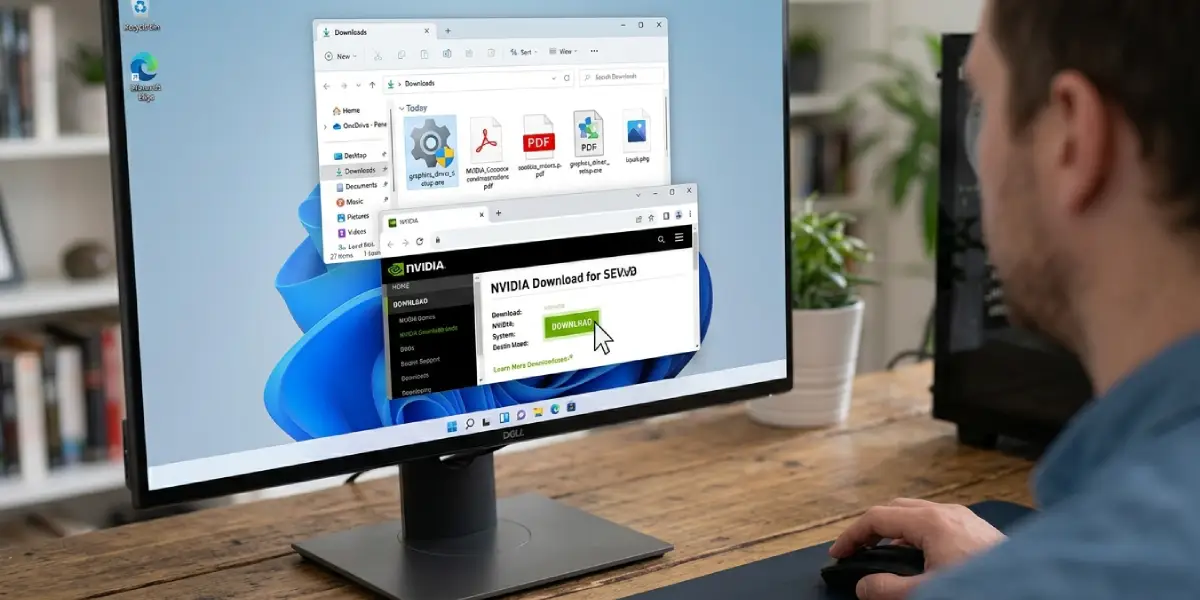
- Step 8: Download the latest driver for the graphics card or integrated graphics directly from the NVIDIA, AMD, or Intel website. On a laptop, the laptop manufacturer’s support page is also a safe source.
- Step 9: Run the installer, choose a clean installation if the option is offered, and restart the PC.
- Step 10: Return to Display settings and select the Recommended resolution again.
If a normal reinstall does not help, the free Display Driver Uninstaller utility is widely used by technicians to fully remove old graphics driver files before installing a fresh copy. It works best when run in Safe Mode.
Test the Cable, Port, and Adapter
- Step 11: Turn off the monitor, then unplug and firmly reseat the video cable at both ends.
- Step 12: Remove any adapters, docks, or switches and connect the monitor straight to the PC to rule them out.
- Step 13: Try a different cable, ideally DisplayPort or a current-generation HDMI cable. Older VGA and early HDMI cables can cap the resolution or refresh rate.
- Step 14: Try a different port on the graphics card or monitor. On a desktop PC, make sure the cable is plugged into the graphics card and not the motherboard video port.
Check the Monitor’s On-Screen Menu
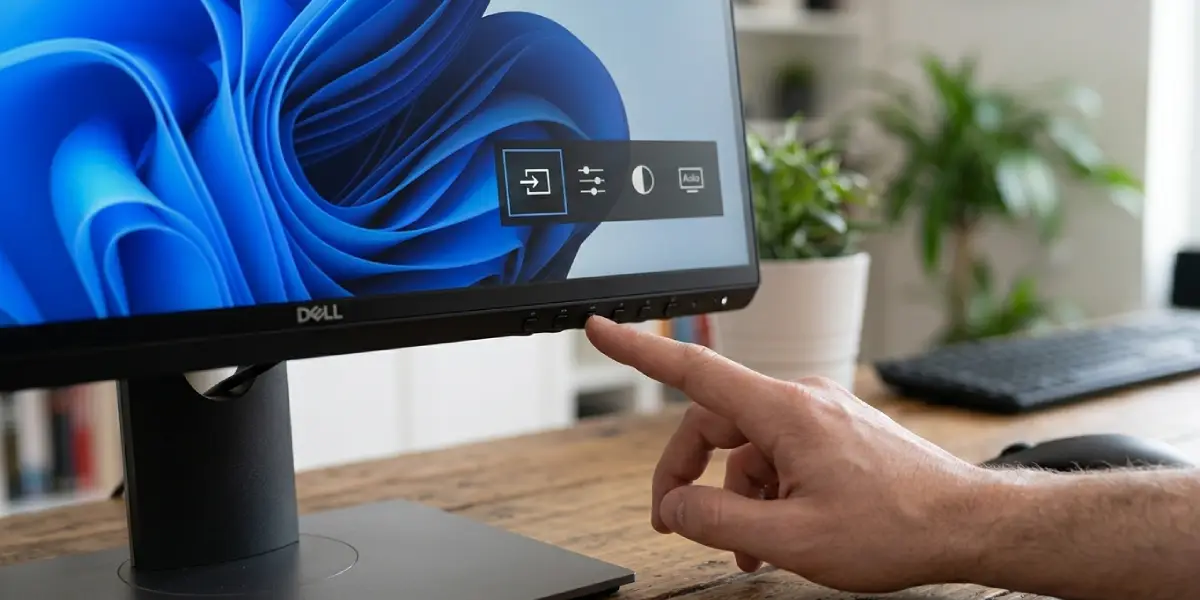
- Step 15: Open the monitor’s on-screen menu using its physical buttons.
- Step 16: Confirm the correct input source is selected. Some monitors also include an HDMI mode, signal format, or aspect ratio setting that can restrict the picture, so set it to the full or default option.
- Step 17: If the monitor has an auto adjust function, run it, particularly on VGA connections.
Review the Graphics Control Panel
- Step 18: Open the NVIDIA Control Panel, AMD Software, or Intel Graphics Command Center and look for the display or resolution section.
- Step 19: Select the native resolution listed for the monitor and remove any custom resolution or scaling override that was added earlier.
- Step 20: Set the refresh rate to the value the monitor supports and apply the changes.
Fixing the Resolution on a Mac
On macOS, open System Settings, choose Displays, and select the monitor. Pick the Default option for the best match. To reveal every available resolution, hold the Option key while clicking Scaled. If the list is missing the native resolution, trying another cable or port usually brings it back.
Common Problems and Fixes
The Recommended Resolution Is Missing
This points to a driver, cable, or adapter limit. Install the correct graphics driver first, then test a direct cable connection without adapters or docks.
Resolution Resets After Every Restart
A custom resolution profile, a conflicting second monitor, or a driver that is not fully installed is the usual reason. Remove custom resolutions in the graphics control panel and reinstall the driver cleanly.
The Screen Is Stuck at a Very Low Resolution
The system is typically using the Microsoft Basic Display Adapter. Install the graphics driver from the manufacturer’s website and restart the PC.
Text and Icons Look Blurry
Blurriness appears when the resolution is not native to the panel or when scaling is set oddly. Select the Recommended resolution, then adjust the Scale setting. Signing out and back in applies scaling changes cleanly.
Black Bars or a Stretched Picture Appear
The aspect ratio is not matching the panel. Choose the native resolution and check the monitor’s menu for an aspect ratio or scaling mode set to full screen.
The Monitor Works Only at a Low Refresh Rate
The cable or port is likely too limited for the chosen resolution. Switch to DisplayPort or a newer HDMI cable and set the refresh rate in Advanced display settings.
The Second Monitor Shows the Wrong Resolution
Each screen has its own setting. Select the correct monitor in Display settings, then set its resolution individually.
Frequently Asked Questions
Why is my monitor showing the wrong resolution?
The most common reasons are a missing or generic graphics driver, a faulty or outdated cable, an adapter limiting the signal, or a changed display setting. Checking the Recommended resolution and the graphics driver solves most cases.
What resolution should my monitor be set to?
The monitor should run at its native resolution, which is the number of pixels built into the panel. Windows marks this option as Recommended in Display settings.
Why is there no Recommended resolution option?
Windows cannot read the monitor correctly, usually because of a driver problem, a poor cable, or an adapter in the signal path. Updating the graphics driver and connecting the monitor directly typically restores it.
Can a bad HDMI cable cause the wrong resolution?
Yes. A damaged or older cable can limit the resolution or refresh rate. Testing a different cable, or switching to DisplayPort, is a quick way to confirm.
How do I fix a stretched screen?
Set the Recommended resolution in Display settings, then check the monitor’s menu for an aspect ratio or scaling option and choose full screen or the default mode.
Why does my resolution change after a Windows update?
An update can replace the manufacturer’s graphics driver with a generic one. Reinstalling the latest driver from the NVIDIA, AMD, Intel, or laptop manufacturer website brings the correct resolution back.
Is a blurry screen the same as the wrong resolution?
Not always. Blurry text can come from running a non-native resolution, but incorrect scaling can cause it as well. Check both the resolution and the Scale setting.
Can the graphics card cause the wrong resolution?
A failing graphics card is possible but less common than driver or cable problems. If the wrong resolution continues after a driver reinstall and a cable swap, testing the monitor on another PC or the PC on another monitor helps narrow it down, and a professional can then check the hardware.
