Learning how to fix PC overheating after upgrading CPU starts with one fact: a new processor changes the whole thermal picture, even when the rest of the build stays the same. A faster chip usually produces more heat, and a cooler that handled the old CPU may not mount or perform the same way on the new one. The good news is that nearly every case traces back to a short list of causes that can be checked in order.
Key Takeaways
- Most post-upgrade overheating comes from poor cooler contact, old or badly applied thermal paste, or a cooler that is too weak for the new CPU.
- Motherboard BIOS defaults can let a new CPU draw more power and run hotter than expected, so updating and checking BIOS settings matters.
- Always confirm the cooler fan or pump is plugged into the correct header and spinning.
- Reseating the cooler with fresh paste and even screw pressure solves a large share of cases.
- Retest with a monitoring tool after each change so the real fix is easy to identify.
Common Causes of Overheating After a CPU Upgrade
Before touching any hardware, it helps to know what usually goes wrong. Think of a CPU cooler like a handshake: if the grip is loose or uneven, heat cannot pass through properly. These are the usual suspects.
- Uneven or loose cooler mounting, often from tightening one screw fully before the others.
- Old thermal paste reused, too much paste, too little paste, or paste spread unevenly.
- A protective plastic film left on the cooler base plate or on a pre-applied paste pad.
- A cooler that supports the socket but is not strong enough for the heat output of the new CPU.
- The CPU fan or AIO pump plugged into the wrong header, or not connected at all.
- Outdated BIOS or automatic boost and overclocking features pushing the CPU harder than intended.
- Poor case airflow, dust buildup, or cables blocking fans.
- A CPU that is not seated correctly in the socket.
Before You Start
The fixes below involve opening the case and removing the CPU cooler, so a little preparation keeps everything safe.
- Shut down the PC, switch off the power supply, and unplug the power cable.
- Hold the power button for a few seconds to drain leftover charge.
- Touch bare metal on the case or wear an anti-static strap to discharge static.
- Let the cooler and CPU cool fully if the PC was just running.
- Tools and materials: a screwdriver that fits the cooler screws, 90 percent or higher isopropyl alcohol, lint-free or microfiber cloths, fresh thermal paste, a soft brush, and compressed air.
Never use water or metal tools near the CPU socket. If any socket pins look bent, or the CPU will not seat cleanly, stop and let a professional handle it. Opening a PC or removing a cooler may also affect warranty terms on some parts, so check the manufacturer policy first.
How to Fix PC Overheating After Upgrading CPU
Work through these steps in order. They run from the quickest checks to the more hands-on fixes.
- Step 1: Confirm the problem with real data. Install a monitoring tool such as HWMonitor, HWiNFO, or Core Temp and watch CPU temperature at idle and under load. Note whether the temperature climbs sharply within seconds of starting a demanding task, which usually points to poor cooler contact, or rises slowly, which points more toward airflow or cooler capacity.
- Step 2: Update the BIOS and review CPU power settings. A new CPU often needs a current BIOS for correct voltage and power behavior. After updating, load the optimized default settings, then check whether features such as automatic overclocking, multi-core enhancement, or Precision Boost Overdrive are enabled by the board. Switching these off or returning power limits to the processor maker’s defaults can lower heat noticeably.
- Step 3: Check that the cooler suits the new CPU. Look up the cooler maker’s specifications and confirm it supports both the socket and the heat output class of the new processor. A budget air cooler paired with a high-end CPU will struggle no matter how well it is mounted. If the cooler is under-rated, upgrading to a larger tower air cooler or a quality liquid cooler is the correct fix.
- Step 4: Reseat the cooler and replace the thermal paste. Unscrew the cooler gradually in a diagonal pattern, lift it straight off, and wipe both the CPU heat spreader and the cooler base with isopropyl alcohol and a lint-free cloth. Check that no plastic film remains on the base. Apply a small pea-sized dot of fresh paste to the center of the CPU, or follow the paste maker’s guidance, then lower the cooler straight down. Skip extra paste if the cooler has a factory-applied pad.
- Step 5: Tighten the cooler evenly. Turn each screw a little at a time in a diagonal sequence, the way a car wheel is tightened, until all are snug. Stop at the point where the cooler sits flat and firm. Overtightening one corner can tilt the base and leave a gap on the opposite side.
- Step 6: Verify fan and pump connections. Plug an air cooler fan into the CPU_FAN header. For a liquid cooler, connect the pump to the header the manufacturer specifies, such as AIO_PUMP or CPU_FAN, and the radiator fans to a fan header. In the BIOS or fan control software, confirm that the fans and pump report an RPM reading.
- Step 7: Improve case airflow. Remove dust from filters, fans, and radiators using a soft brush and compressed air, holding fan blades still so they do not over-spin. Route cables away from airflow paths and make sure the case has a balanced setup with fresh air coming in at the front or bottom and warm air leaving at the rear or top.
- Step 8: Retest under load. Boot the PC, run a stress test or a demanding game for several minutes, and compare the temperatures to the earlier readings. If temperatures improved but remain high, move to a mild undervolt in the BIOS, lowering voltage in small steps and testing for stability after each change.
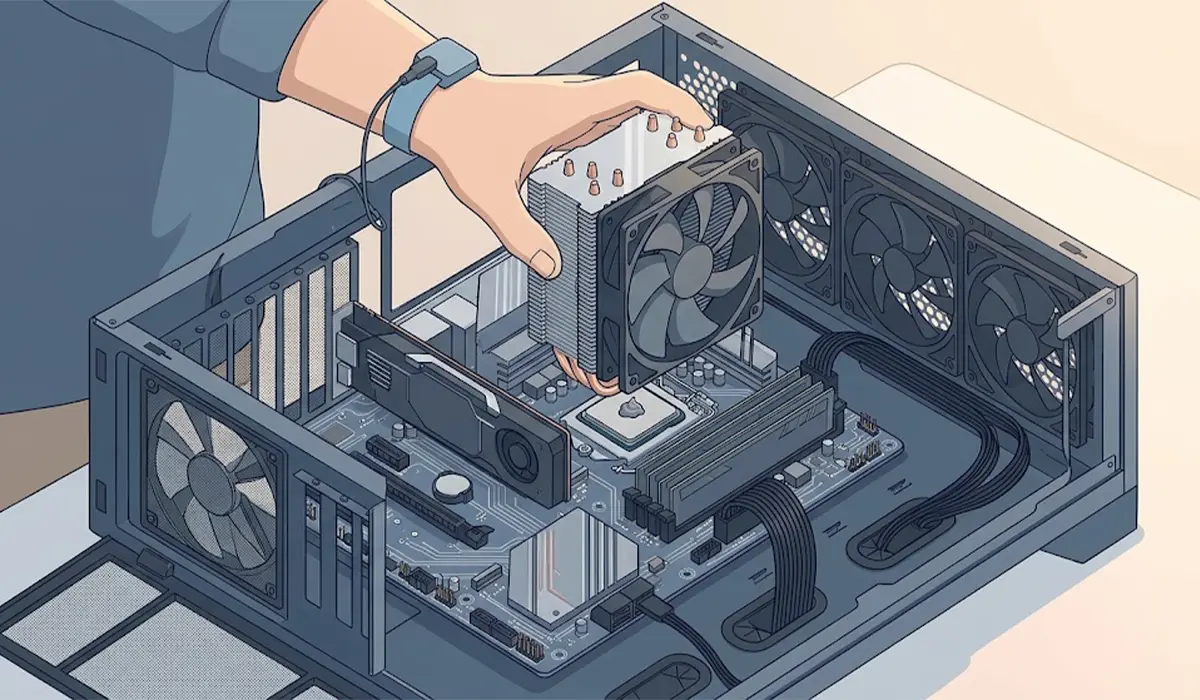
Tip: Change only one thing at a time and recheck temperatures. If three changes are made at once, there is no way to tell which one actually solved the problem.
When the Cooler Itself Is the Limit
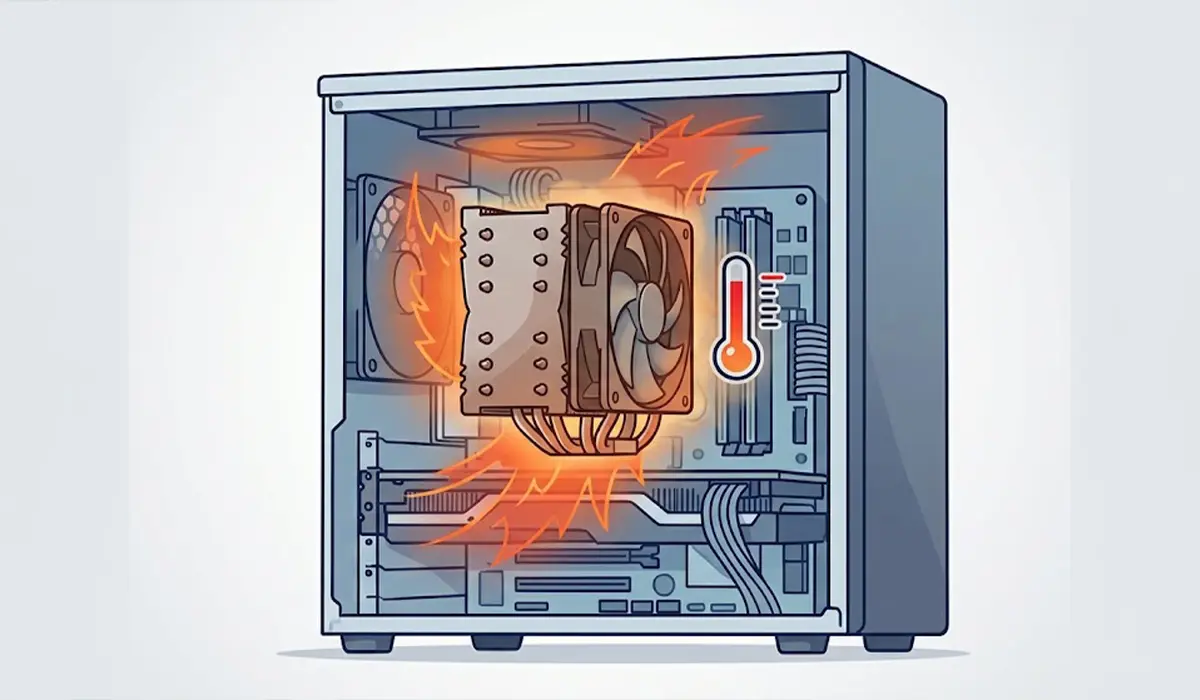
Sometimes every step above is done correctly and temperatures stay high. This works out that way when the new CPU simply produces more heat than the old cooler can remove. Most people find that a properly sized cooler combined with sensible BIOS power limits keeps even powerful processors in a comfortable range.
Why Reusing Old Paste Backfires
Thermal paste fills the microscopic gaps between the CPU and the cooler base. Once the cooler has been removed, that thin layer is disturbed and cannot be pressed back into place with the same contact. Cleaning it off and applying fresh paste every time the cooler comes off is a small habit that prevents a lot of frustration.
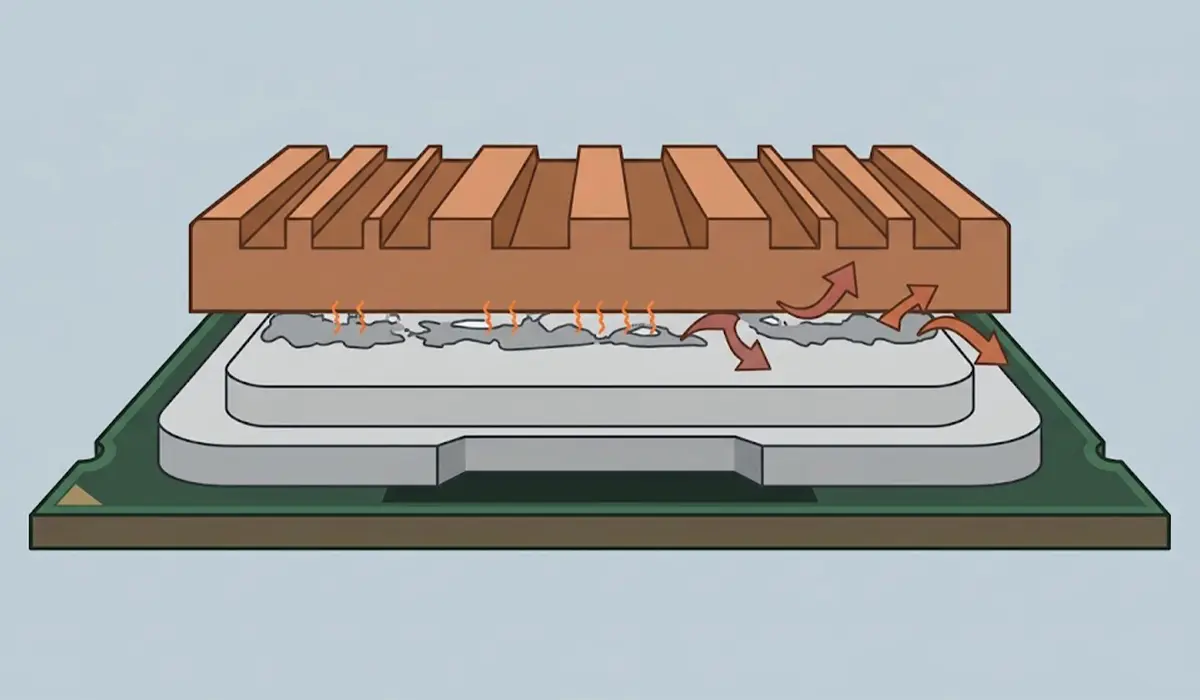
Tip: A thin, even layer beats a thick one. Excess paste acts like insulation and can spill onto the socket area.
Common Problems and Fixes
Temperatures are still high after reapplying paste
Uneven mounting pressure is the most likely reason. Remove the cooler, clean both surfaces again, check for leftover plastic film, and remount while tightening the screws gradually in a diagonal pattern.
The PC will not boot after reseating the cooler
Check that the CPU power cable from the power supply is firmly connected, the memory modules are still seated, and the cooler fan is plugged into the CPU_FAN header. Some boards refuse to start if no fan signal is detected.
The fan runs loudly all the time
A fan running at full speed usually signals high temperatures or an aggressive fan curve. Reseat the cooler if temperatures are the cause, or adjust the fan curve in the BIOS for a smoother ramp.
The CPU throttles during games or heavy tasks
Thermal throttling means the CPU is slowing itself to avoid damage. Confirm the cooler is rated for the processor, review BIOS power limits, and improve case airflow.
The liquid cooler pump does not seem to run
Check the pump header connection and look for an RPM reading in the BIOS. If the pump shows no activity even when connected correctly, the cooler may be faulty and should be handled through the manufacturer or retailer.
Idle temperatures are high but load temperatures look normal
Background programs, an aggressive power plan in Windows, or BIOS settings keeping voltage high at idle can cause this. Restore balanced power settings and optimized BIOS defaults, then check again.
Frequently Asked Questions
Why is my PC overheating after upgrading the CPU?
The most common reasons are poor cooler contact, old or badly applied thermal paste, a cooler that is too weak for the new processor, and BIOS settings that allow higher power use. Checking these in order usually finds the cause.
Do I need to replace the thermal paste when upgrading a CPU?
Yes. Removing the cooler breaks the existing paste layer, so the old CPU and cooler surfaces should be cleaned with isopropyl alcohol and fresh paste applied before the cooler goes back on.
Can my old CPU cooler be used with a new CPU?
It can if the cooler supports the new socket and is rated for the heat output of the new processor. A cooler that fits physically may still be too weak for a more powerful chip.
Can a BIOS update help with high CPU temperatures?
Yes. A BIOS update can improve voltage handling, power behavior, and compatibility with a newer processor, which can reduce unnecessary heat.
How tight should the CPU cooler screws be?
The screws should be snug and even, not forced. Tighten them gradually in a diagonal pattern until the cooler sits flat, and follow the cooler maker’s instructions if it includes a spring-loaded mounting system.
Is it normal for a new CPU to run hotter than the old one?
It can be, especially if the new CPU is more powerful and draws more power. Temperatures that climb to the point of throttling, though, point to a mounting, cooling, or settings problem rather than normal behavior.
Should I reduce CPU voltage to lower the temperature?
A mild undervolt can reduce heat, but only after the cooler, paste, and airflow are confirmed to be correct. Lower voltage in small steps and test stability after each change.
How do I know if the CPU cooler is making good contact?
Temperatures that spike quickly within seconds of starting a heavy task are a strong sign of poor contact. Removing the cooler and checking the paste pattern on the CPU can also show whether the surfaces met evenly.
When should a professional look at an overheating PC?
A professional should step in if socket pins look bent, the PC fails to boot after repeated reseating, a liquid cooler pump shows no activity, or temperatures stay extreme after every step has been completed correctly.