
Learning how to enable Cached Exchange Mode in Outlook takes only a couple of minutes, and the payoff is a mailbox that opens, searches, and scrolls without waiting on the network. The setting keeps a local copy of the mailbox on the computer, so Outlook stays usable even when the connection is slow or drops out. The steps below apply to classic Outlook for Windows with an Exchange or Microsoft 365 account.
Key Takeaways
- Cached Exchange Mode is turned on from File, Account Settings, then the Change screen of the Exchange account.
- The checkbox to look for is ‘Use Cached Exchange Mode to download email to an Outlook data file’.
- The ‘Mail to keep offline’ slider controls how much mail is stored on the computer.
- Outlook must be closed and reopened before the change takes effect.
- The option is available only for Exchange and Microsoft 365 accounts in classic Outlook for Windows.
How to Enable Cached Exchange Mode in Outlook Step by Step
Turn On the Setting
- Step 1: Open classic Outlook for Windows and click File in the top-left corner.
- Step 2: On the Info page, click the Account Settings button, then choose Account Settings from the drop-down menu.
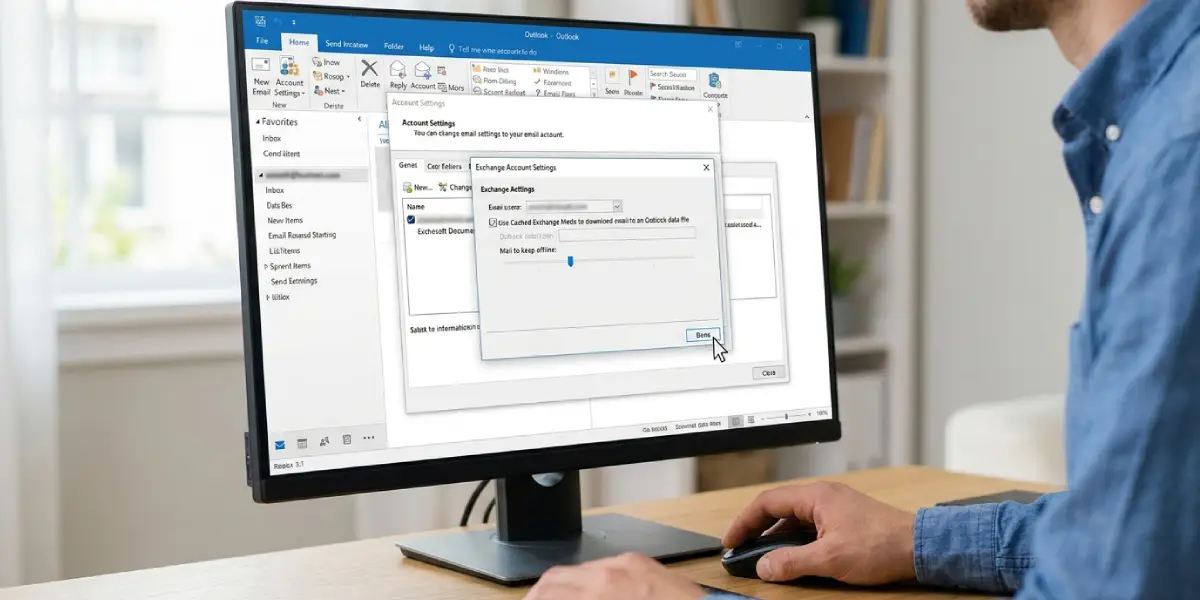
- Step 3: On the Email tab, select the Exchange or Microsoft 365 account that needs to be cached, then click Change.
- Step 4: In the Offline Settings section, tick the box labeled ‘Use Cached Exchange Mode to download email to an Outlook data file’.
- Step 5: Drag the ‘Mail to keep offline’ slider to the time range that suits the way the mailbox is used. Options run from 3 days up to All.
- Step 6: Click Next. Outlook shows a message saying that it must be restarted for the change to apply. Click OK, then click Done and close the Account Settings window.
- Step 7: Close Outlook completely, then open it again. Outlook builds the local data file and starts syncing the mailbox in the background.
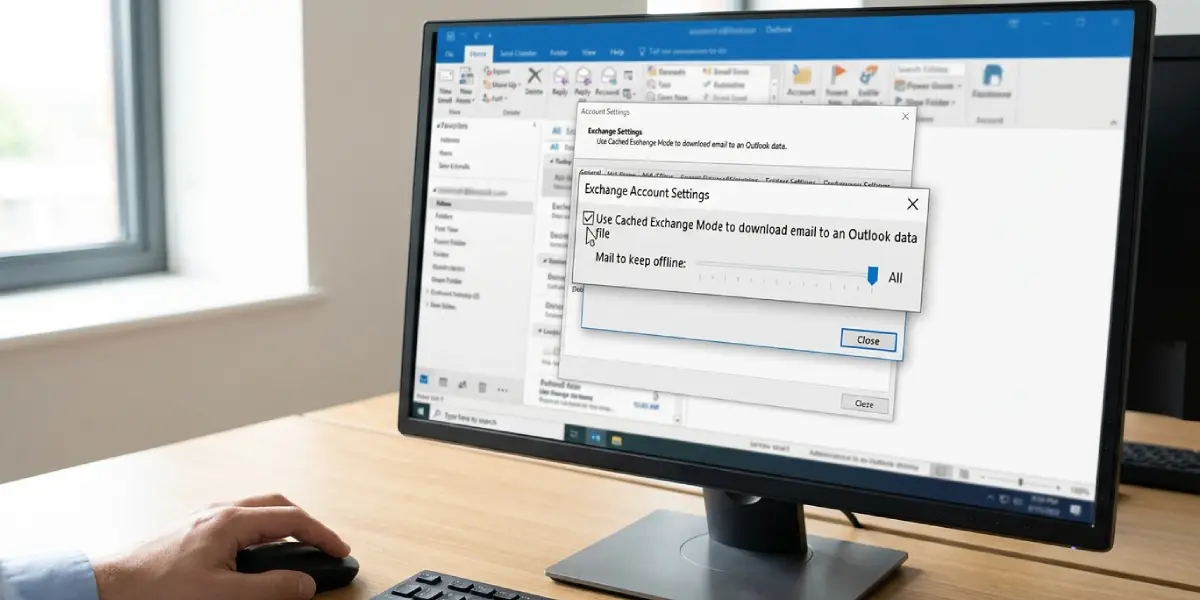
Tip: A shorter slider range such as 3 months or 12 months creates a smaller local file and finishes the first sync faster. Choose All only if the whole mailbox needs to be available offline and the drive has plenty of free space.
Confirm the Setting Is Active
- Step 1: After Outlook reopens, go back to File, Account Settings, Account Settings.
- Step 2: Select the same account and click Change.
- Step 3: Check that the ‘Use Cached Exchange Mode to download email to an Outlook data file’ box is still ticked, then close the window.
Include Shared Folders in the Cache
Some mailboxes rely on folders shared by other people. To keep those available offline as well, open the Change screen again and click More Settings. Switch to the Advanced tab, tick ‘Download shared folders’ under the Cached Exchange Mode Settings heading, then click OK. Restart Outlook if prompted.
Tip: The same screen is also reachable from Control Panel. Open Mail (Microsoft Outlook), click Email Accounts, and follow the same path from the Email tab. This is handy when Outlook will not open normally.
Common Problems and Fixes
The Cached Exchange Mode Checkbox Is Missing
The checkbox appears only for Exchange and Microsoft 365 accounts. A POP or IMAP account will not show it, so confirm the account type on the Email tab first. The new Outlook for Windows also does not include this setting, so the steps need to be done in classic Outlook.
The Checkbox Is Greyed Out
A greyed-out option usually means the setting is controlled by the organization through a policy. In that case, the IT administrator is the one who can change it. On a personal computer, check that the account is a regular Exchange or Microsoft 365 profile and not a shared or delegated mailbox opened in another way.
The Setting Does Not Seem to Apply
Outlook only switches modes after a full restart. If the change is not visible, close Outlook, make sure no Outlook process is still running in Task Manager, then open it again.
Older Emails Are Not Showing
Mail older than the chosen slider range stays on the server and is not stored locally. Go back to the Change screen, drag the ‘Mail to keep offline’ slider to a longer period, and restart Outlook so the extra mail can sync down.
Outlook Feels Slow Right After Turning It On
The first sync copies mailbox content to the computer, and that work happens in the background. Most people find that performance settles once the initial download finishes, so it helps to leave Outlook open and connected for a while after the first launch.
Frequently Asked Questions
Where is the Cached Exchange Mode setting in Outlook?
Go to File, click Account Settings, choose Account Settings, select the Exchange account on the Email tab, and click Change. The checkbox sits in the Offline Settings section.
Does Outlook need to be restarted after turning on Cached Exchange Mode?
Yes. Outlook displays a message that a restart is required, and the change does not apply until Outlook is closed and reopened.
How much mail should be kept offline?
The ‘Mail to keep offline’ slider ranges from 3 days to All. A shorter range creates a smaller local file and syncs faster, while a longer range keeps more history available without a connection.
Can Cached Exchange Mode be enabled for a POP or IMAP account?
No. The setting is available only for Exchange and Microsoft 365 accounts. POP and IMAP accounts do not show the checkbox.
Why is the Cached Exchange Mode checkbox greyed out?
The setting is usually locked by a policy set by the organization. The IT administrator needs to change that policy before the checkbox becomes available.
Does the new Outlook for Windows have this setting?
No. The Cached Exchange Mode checkbox is part of classic Outlook for Windows, so the steps in this guide need to be followed there.
Where is the offline data file stored?
Outlook saves the cached mailbox as an OST file in the Outlook folder inside the Microsoft folder of the local AppData directory for the Windows user profile.
Can shared folders be cached too?
Yes. On the Change screen, click More Settings, open the Advanced tab, and tick ‘Download shared folders’. Restart Outlook if it asks.
