
Knowing how to set boot order in BIOS is one of the most useful skills a PC owner can pick up, especially when installing a new operating system, running a USB recovery tool, or troubleshooting a drive that will not start. The process only takes a few minutes once the right menu is located, and it works the same basic way whether the motherboard runs a classic BIOS or a modern UEFI interface.
Key Takeaways
- Boot order tells the motherboard which drive or device to check first when the computer powers on.
- Access the BIOS or UEFI setup screen by pressing a specific key right after powering on the machine, before Windows or another OS starts loading.
- The Boot tab, sometimes labeled Boot Order or Boot Priority, is where the actual changes get made.
- Saving changes and exiting properly is required for the new boot order to take effect.
- A one-time boot menu is often faster than changing the permanent boot order when only a single boot is needed.
Before You Start
This is a settings-only task, so there is no need to open the case or touch any internal hardware. A few small preparations make the process smoother.
- Have the installation media ready first, whether that is a bootable USB drive, a DVD, or a network boot source, since the BIOS will only show devices it can currently detect.
- Know the motherboard or laptop brand, since the key used to enter BIOS setup varies (common ones include Delete, F2, F10, F12, and Esc).
- Make sure the machine is plugged into power, particularly on laptops, since some models block BIOS access on very low battery.
- If unfamiliar with the current BIOS layout, avoid changing any settings outside the Boot tab, since some options control voltage, memory timing, or security features that are easy to get wrong by accident.
How to Set Boot Order in BIOS Step by Step
The exact menu names differ slightly between manufacturers like Dell, HP, Lenovo, ASUS, and MSI, but the overall workflow is nearly identical across all of them.
Entering the BIOS or UEFI Setup Screen
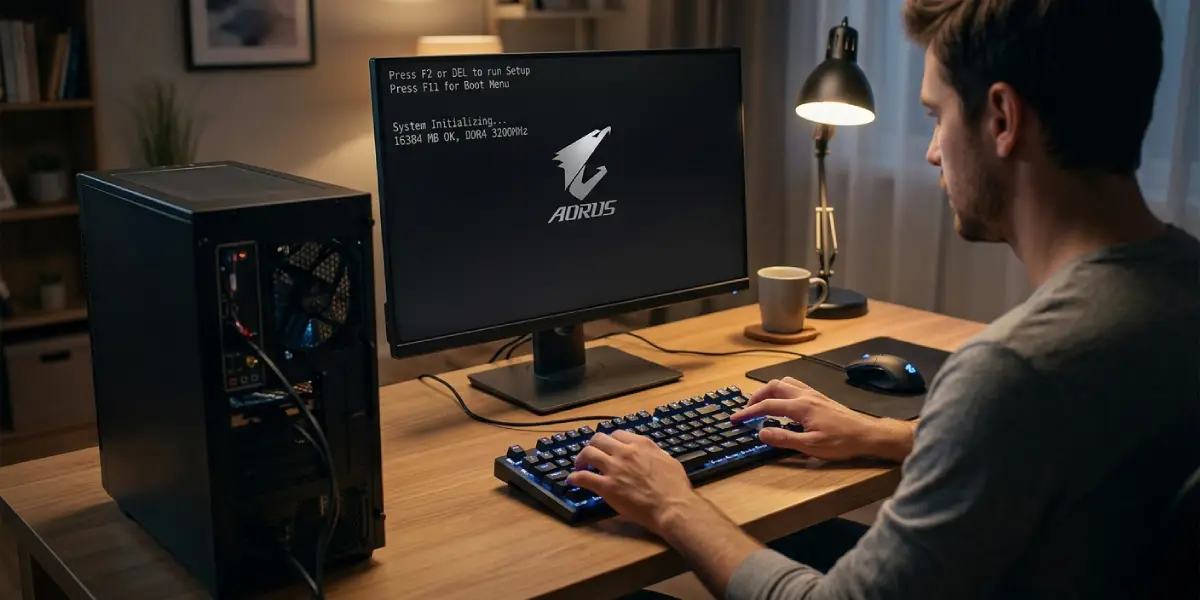
- Step 1: Restart or power on the computer and watch the first screen that appears, since this is the only window to catch the prompt.
- Step 2: Press the designated setup key repeatedly as soon as the screen lights up. Desktop motherboards commonly use Delete or F2, while many laptops use F2, F10, or Esc.
- Step 3: Wait for the BIOS or UEFI interface to load. Older systems show a blue or gray text-based menu, while newer systems often display a graphical UEFI screen with a mouse cursor.
Locating and Changing the Boot Order
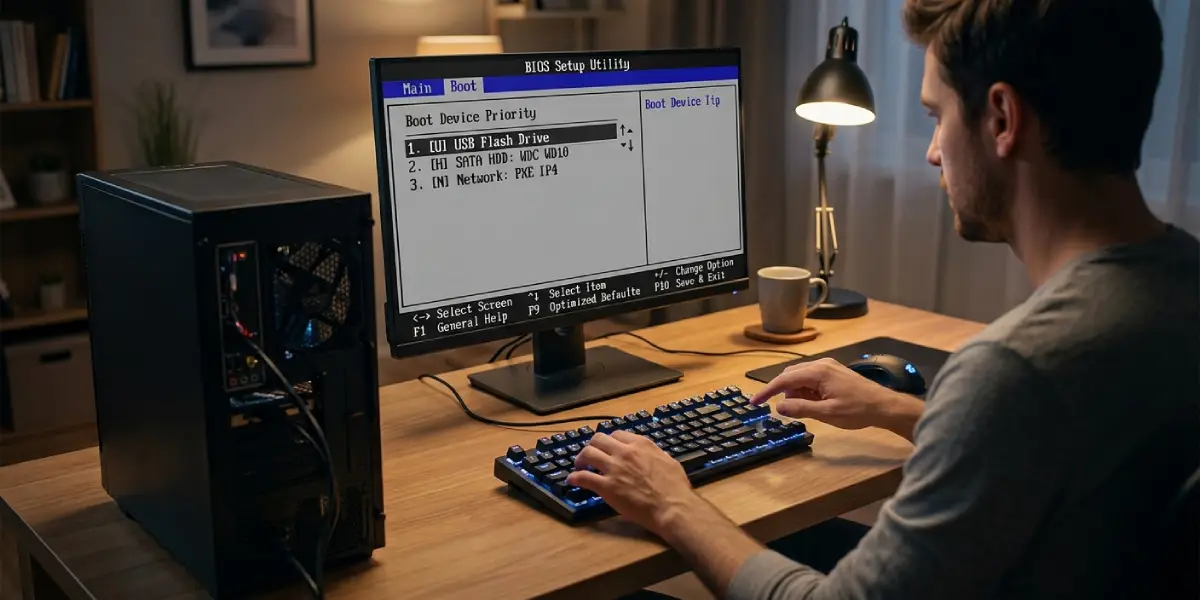
- Step 4: Navigate to the tab labeled Boot, Boot Order, or Boot Priority using the arrow keys or a mouse, depending on the interface style.
- Step 5: Review the current list of boot devices, which typically includes the internal drive, any connected USB device, and sometimes a network or optical option.
- Step 6: Move the desired device to the top of the list. Older text-based BIOS versions usually use the Plus and Minus keys or F5 and F6 to reorder items, while graphical UEFI menus often allow dragging entries with a mouse.
- Step 7: Double check the full order underneath the top choice, since a second or third priority device matters if the first one fails to boot for any reason.
Saving and Exiting
- Step 8: Open the Exit tab or press the assigned save key, commonly F10 on many boards.
- Step 9: Confirm the save prompt when it appears, which locks in the new boot order.
- Step 10: Let the machine restart on its own and confirm it boots from the newly prioritized device.
Tip: If the target USB drive or disc does not appear anywhere in the boot list, power down completely, reseat the drive or reinsert the USB stick, and reopen the BIOS, since some systems only refresh the connected device list on a fresh boot.
Using the One-Time Boot Menu Instead
Most modern machines offer a quicker shortcut for a single boot, without touching the permanent settings at all.
- Step 1: Restart the computer and press the one-time boot key as soon as the first screen appears, often F12, F9, or Esc depending on the brand.
- Step 2: Select the desired device from the temporary menu that pops up.
- Step 3: Press Enter to boot from that device just once, with the permanent boot order left untouched for next time.
This works best when only installing something once or testing a bootable drive, since it skips the save-and-exit process entirely and returns to the normal boot order on the next restart.
Common Problems and Fixes
The Setup Key Does Not Work
This usually happens when the key is pressed too late, after the logo screen has already passed. Restarting again and pressing the key immediately and repeatedly, rather than holding it down, generally solves this.
The USB Drive Is Not Listed as a Boot Option
This is often caused by the drive not being properly formatted as bootable, a faulty USB port, or a BIOS setting like Secure Boot or Fast Boot interfering with detection. Trying a different USB port, disabling Fast Boot temporarily, or re-creating the bootable USB with a reliable tool typically resolves it.
Changes Do Not Save After Exiting
If the boot order reverts after a restart, the most common culprit is exiting without selecting Save Changes, or a failing CMOS battery on an older desktop that resets settings over time. Re-entering the BIOS and confirming save with F10, or replacing the CMOS battery on older systems, usually fixes this for good.
The System Boots to the Wrong Drive Even After Reordering
Some systems have separate boot lists for Legacy and UEFI modes. If a drive was set as the priority in the wrong mode, the change may not apply. Checking whether the drive is formatted for UEFI or Legacy and matching the boot mode setting accordingly usually clears this up.
Frequently Asked Questions
What key opens the BIOS to set boot order?
It depends on the manufacturer, but common keys include Delete and F2 for desktop motherboards, and F2, F10, or Esc for laptops. Checking the manufacturer’s support page confirms the exact key for a specific model.
Can boot order be changed without entering BIOS?
On most systems, a temporary one-time boot menu can be accessed with a separate key like F12 or F9, which allows booting from a chosen device once without permanently changing the BIOS boot order.
Why does the BIOS boot order keep resetting?
This is often caused by exiting without saving changes, a firmware update that reset settings to default, or on older desktops, a worn-out CMOS battery that fails to hold settings between power cycles.
Is it safe to change boot order in BIOS?
Yes, changing the boot order alone is a safe, reversible setting that does not affect installed programs or files. It simply tells the system which device to check first when starting up.
What is the difference between Boot Order and Boot Priority?
These terms are generally used interchangeably across different BIOS and UEFI interfaces, both referring to the sequence in which the system checks devices to start from.
Why is the internal hard drive missing from the boot list?
This can happen if the drive is not properly connected, if it is set to a mode like AHCI or RAID that does not match how it was originally installed, or if it has failed and is no longer detected by the system.
Does setting boot order affect which operating system loads?
Yes, if multiple drives contain different operating systems, the drive placed first in the boot order is the one that loads by default when the computer starts.
How is boot order different between Legacy BIOS and UEFI?
Legacy BIOS and UEFI often keep separate boot device lists, and a drive formatted for one mode may not appear correctly in the other. Matching the boot mode to how the drive was formatted resolves most mismatches.
What happens if the wrong device is left at the top of the boot list?
The system will attempt to boot from that device first every time it starts, which can cause errors or a failure to load if that device is not intended to be the primary boot source.
