
Knowing how to create a Windows bootable USB drive turns a stubborn, unbootable PC into a quick fix, whether the goal is a clean install, a repair, or a fresh start on a new build. The process takes less than an hour for most people and needs only a working computer, a blank USB drive, and an internet connection. This guide covers the two most reliable methods and what to do when the drive will not boot.
Key Takeaways
- A USB flash drive of at least 8 GB is required, and everything on it will be erased.
- The Microsoft Media Creation Tool is the simplest method for most users.
- Rufus is the better choice when an ISO file is already downloaded or a specific partition scheme is needed.
- Choose GPT for UEFI systems and MBR for older legacy BIOS systems.
- Booting from the drive usually requires pressing a boot menu key during startup.
Before You Start
Preparation is short, but skipping it is the most common reason a bootable drive fails. Gather these items first:
- A USB flash drive with at least 8 GB of capacity, preferably a USB 3.0 drive for faster writing.
- A working Windows PC with a stable internet connection.
- Enough free disk space on that PC if an ISO file will be downloaded.
- A backup of any files stored on the USB drive, since the process wipes it completely.
Tip: Plug the drive directly into a port on the PC rather than through a hub or extension cable. A loose or underpowered connection can interrupt the write process and leave the drive unusable until it is reformatted.
How to Create a Windows Bootable USB Drive Step by Step
Two methods work well. The official Microsoft tool is the easiest, while Rufus offers more control. Pick one and follow its steps in order.
Method 1: Using the Microsoft Media Creation Tool
This method downloads Windows directly from Microsoft and writes it to the drive in one process. It works best for most people who simply need a clean installer. The tool is available from the official Microsoft Windows 11 download page, and a matching page exists for Windows 10.
- Step 1: Insert the USB drive into the working PC and close any programs that are using it.
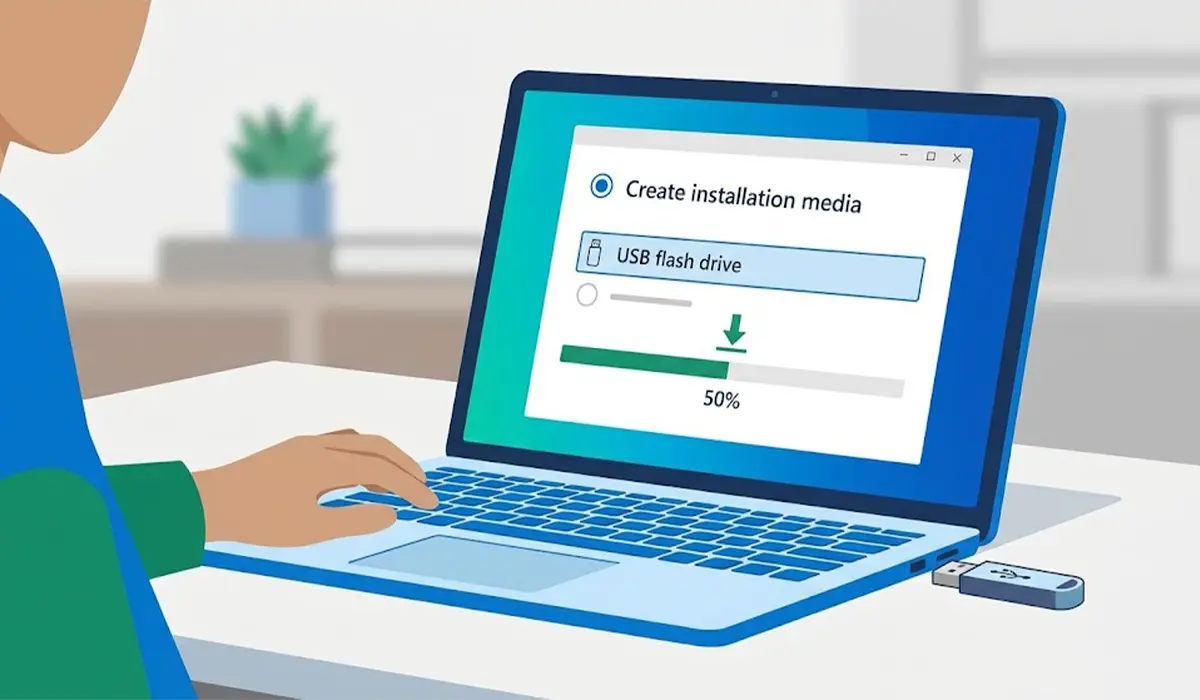
- Step 2: Open the official Microsoft download page and select the Create Installation Media option to download the Media Creation Tool.
- Step 3: Run the downloaded file and approve the administrator prompt.
- Step 4: Accept the license terms when asked.
- Step 5: Choose the language, edition, and architecture. The recommended options for this PC are fine when the installer is meant for the same machine. Clear the checkbox and select manually when the installer is meant for a different PC.
- Step 6: Select USB flash drive as the media to use, then click Next.
- Step 7: Pick the correct drive from the list. Double-check the drive letter, because the selected drive will be erased.
- Step 8: Wait while the tool downloads Windows and writes it to the drive. This can take a while depending on connection speed and drive speed.
- Step 9: Click Finish when the tool reports that the drive is ready, then safely eject it from the taskbar.
Method 2: Using Rufus with a Windows ISO
Rufus is a small, free utility that writes ISO files to USB drives. It is the go-to option when an ISO is already on the PC, when the Media Creation Tool throws errors, or when a particular partition scheme is required. The tool can be downloaded from its official site at rufus.ie.
- Step 1: Download a Windows ISO from the official Microsoft download page, or use the download option built into Rufus.
- Step 2: Insert the USB drive and open Rufus. Approve the administrator prompt if it appears.
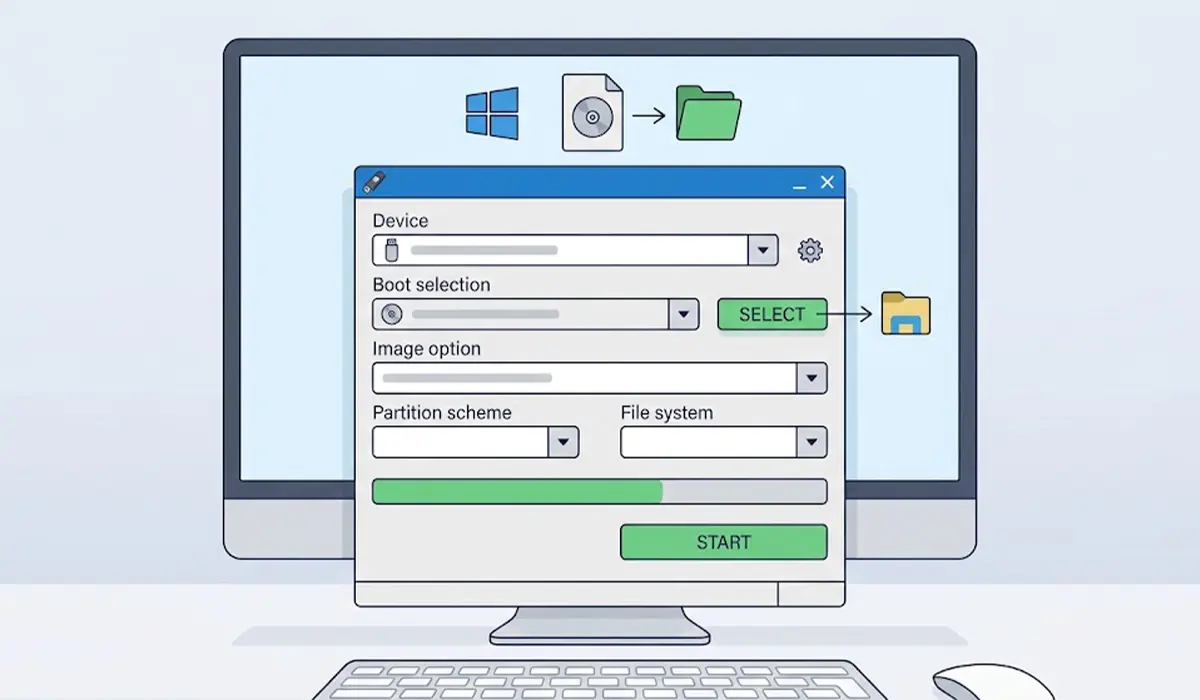
- Step 3: Under Device, confirm that the correct USB drive is selected.
- Step 4: Under Boot selection, choose Disk or ISO image, click Select, and browse to the Windows ISO file.
- Step 5: Set Image option to Standard Windows installation.
- Step 6: Choose the partition scheme. Select GPT for a PC that boots in UEFI mode, or MBR for an older PC that uses legacy BIOS. The target system field updates automatically to match.
- Step 7: Leave the file system and cluster size on their default values unless a specific reason exists to change them.
- Step 8: Click Start, review any customization options that appear, and confirm the warning that all data on the drive will be destroyed.
- Step 9: Wait until the status bar shows Ready, then close Rufus and eject the drive safely.
Tip: To check which mode a PC uses, press the Windows key, type System Information, open it, and look at the BIOS Mode entry. UEFI means GPT is the right choice, and Legacy means MBR.
Booting from the New USB Drive
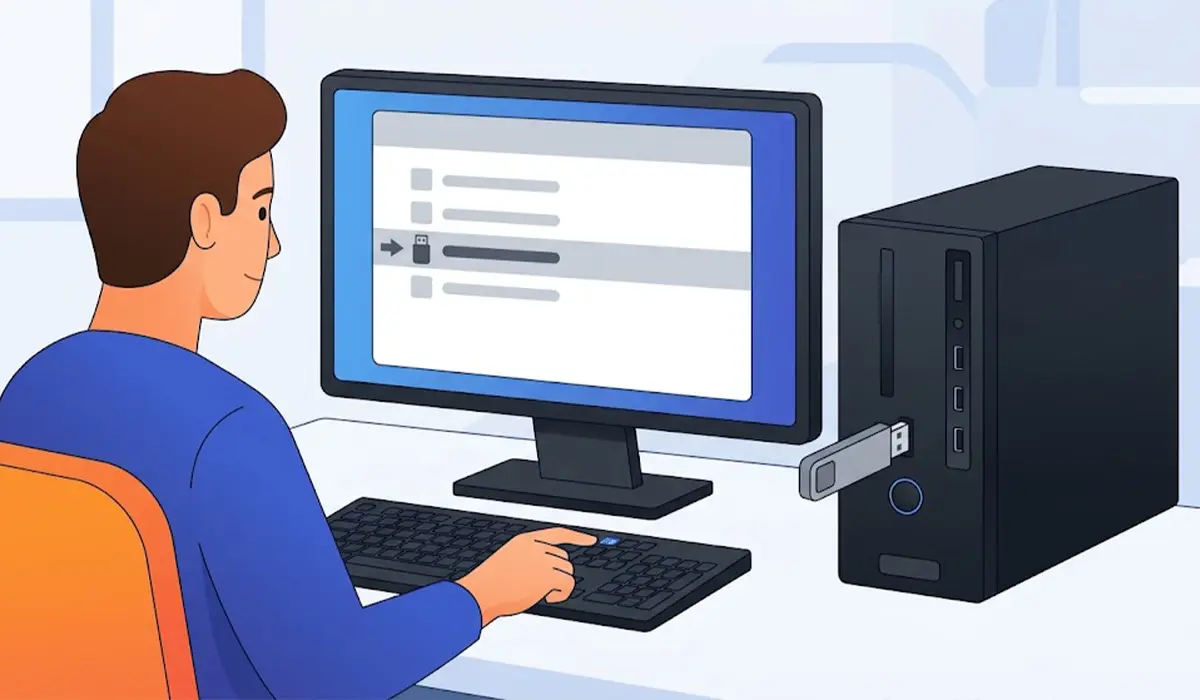
A bootable drive only helps once the PC actually starts from it. Plug the drive into the target PC, power it on, and press the boot menu key repeatedly during the first seconds of startup. The key depends on the manufacturer, and common ones are F12, F10, F9, F8, Esc, and Del. Select the USB drive from the list, often labeled with UEFI and the drive name, and the Windows Setup screen should load.
Common Problems and Fixes
The USB Drive Does Not Appear in the Boot Menu
Start by confirming the drive was written successfully and is plugged into a different port, ideally one directly on the motherboard at the back of a desktop. If it still does not appear, the partition scheme may not match the firmware mode. Recreate the drive with GPT for UEFI or MBR for legacy BIOS, then try again.
The PC Skips the USB Drive and Boots into the Old Windows
The boot order in the firmware is likely placing the internal drive first. Enter the BIOS or UEFI settings and move the USB drive to the top of the boot order, or use the one-time boot menu key instead.
The Media Creation Tool Shows an Error or Stalls
Run the tool again as administrator, disable any VPN, and make sure there is enough free space on the PC. If the same error keeps returning, download an ISO from Microsoft and write it with Rufus instead.
Rufus Reports That the ISO Is Too Large for the Drive or File System
A FAT32 drive cannot hold a single file larger than 4 GB, and some Windows install files exceed that. Use a drive with enough capacity, keep Rufus on its default settings for the selected partition scheme, and make sure the ISO matches the Windows edition intended.
Windows Setup Says a Media Driver Is Missing
This message usually points to a damaged or incomplete write, or a USB 3.0 port that Windows Setup cannot use properly. Try a USB 2.0 port if one is available, then recreate the drive if the message returns.
Secure Boot Blocks the Drive
Drives made with the Media Creation Tool or a standard Rufus Windows setup normally work with Secure Boot enabled. If the PC refuses to boot the drive, recreate it using one of the two methods above rather than copying files over by hand, because manually copied files often are not bootable.
Frequently Asked Questions
What size USB drive is needed for a Windows bootable USB?
A drive with at least 8 GB of capacity is required. A 16 GB drive gives a little more breathing room and works fine as well.
Will creating a bootable USB drive erase the files on it?
Yes. Both the Media Creation Tool and Rufus erase everything on the selected drive before writing the installer, so any files worth keeping need to be backed up first.
Is a product key needed to create a Windows bootable USB drive?
No. A key is not needed to build the drive. Activation is handled during or after installation, and a PC that was previously activated with a digital license typically reactivates automatically once it is online.
Should the partition scheme be GPT or MBR?
GPT is the right choice for PCs that start in UEFI mode, and MBR is meant for older PCs that use legacy BIOS. The BIOS Mode entry in System Information shows which one applies.
Is the Media Creation Tool or Rufus better for making a Windows bootable USB drive?
The Media Creation Tool is simpler and needs no extra downloads beyond itself, which makes it ideal for most people. Rufus is better when an ISO file is already available or when a specific partition scheme is needed.
How long does it take to make a Windows bootable USB drive?
The time depends mostly on internet speed and the write speed of the drive. A fast connection with a USB 3.0 drive often finishes much sooner than a slow connection with an older drive.
Can the USB drive be used for regular storage again afterward?
Yes. After the installation is finished, the drive can be reformatted through File Explorer or Disk Management, which restores its full capacity and removes the installer files.
Why does the computer not boot from the USB drive?
The most common causes are a boot order that favors the internal drive, a partition scheme that does not match the firmware mode, or a drive that was not written correctly. Using the boot menu key and recreating the drive with the right scheme solves most cases.