
Need to make a calendar in Word for a school term, a project schedule, or a wall planner? Word gives you two quick routes: a ready-made template or a custom grid built from a table. Both take only a few minutes and print cleanly on standard paper.
Key Takeaways
- The fastest route is File > New, then a search for ‘calendar’ to pick a template.
- A custom calendar is just a 7-column table with a row of weekday names on top.
- Landscape orientation and fixed row heights keep each month on a single page.
- Save the finished file as a Word document, and export it as a PDF if it will only be printed or shared.
How to Make a Calendar in Word Step by Step
Use a Built-In Calendar Template
This works best when a standard layout is fine and the goal is to get a printable calendar without formatting anything by hand.
- Step 1: Open Word and select ‘File’, then ‘New’. On the start screen, the ‘New’ option may appear automatically when Word opens.
- Step 2: Click the search box labeled ‘Search for online templates’ and type ‘calendar’, then press Enter. An internet connection is required because the templates load online.
- Step 3: Browse the results and click the layout that suits the need, such as a yearly, monthly, or academic calendar.
- Step 4: Review the preview window, then click ‘Create’. Word opens the calendar as a new document.
- Step 5: Click the year, month, or start-day placeholder in the template (if it has one) and type the new value. Then click inside any date box and type events, deadlines, or reminders directly.
- Step 6: Select ‘File’, then ‘Save As’, choose a location, give the file a clear name such as Project Calendar, and click ‘Save’.
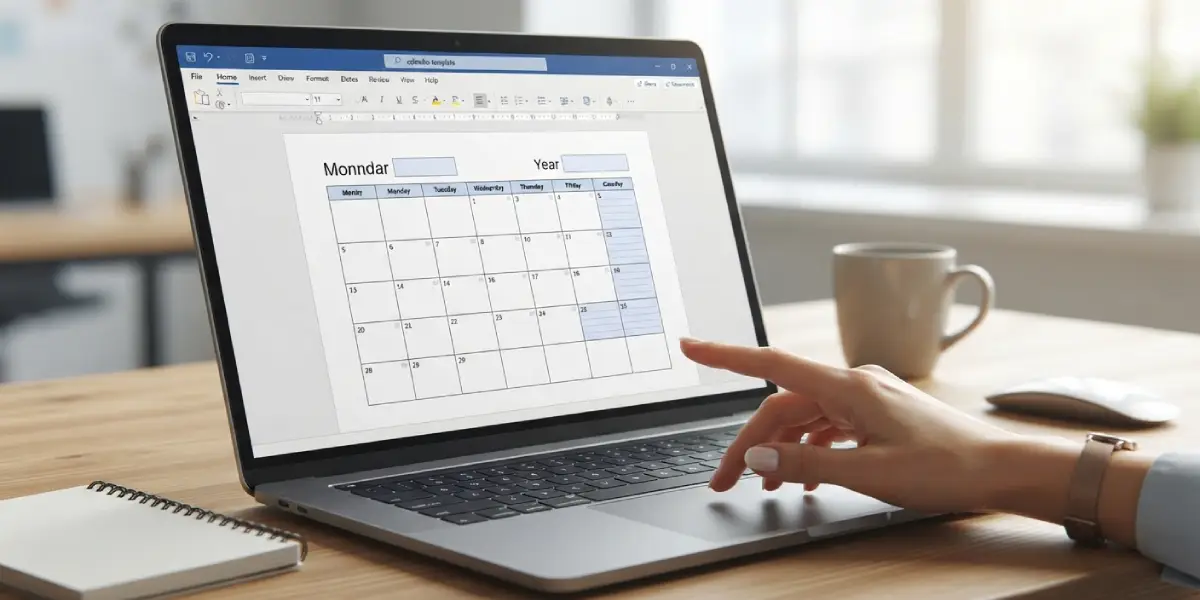
Tip: Template calendars are built from tables, so the usual table tools apply. Click inside the calendar and use the ‘Table Design’ tab to change colors and borders in seconds.
Build a Custom Monthly Calendar From a Table
Think of this as drawing a blank wall planner on a sheet of paper. The grid is simple, and total control over size and style comes with it.
- Step 1: Open a blank document. Go to the ‘Layout’ tab, select ‘Orientation’, and choose ‘Landscape’ so the seven columns have room.
- Step 2: Still on the ‘Layout’ tab, select ‘Margins’ and choose ‘Narrow’ to gain extra space for each date box.
- Step 3: Type the month and year at the top of the page, then format it using the ‘Home’ tab. A large font size and centered alignment work well as a calendar heading.
- Step 4: Press Enter to move to a new line. Go to the ‘Insert’ tab, select ‘Table’, then ‘Insert Table’. Enter 7 for the number of columns and 7 for the number of rows, then click ‘OK’. The first row holds the weekday names, and the remaining six rows hold the weeks.
- Step 5: Type Sun, Mon, Tue, Wed, Thu, Fri, and Sat across the first row. Use Mon through Sun instead if the week should start on Monday.
- Step 6: Check which weekday the 1st of the month falls on. Click the matching cell in the second row and type 1, then continue numbering across and down until the last day of the month.
- Step 7: Click anywhere in the table and select the move handle (the small square with arrows at the top-left corner) to select the entire table. Open the ‘Layout’ tab under ‘Table Tools’, find the ‘Cell Size’ group, and set the row ‘Height’ to about 0.9 inches. Then click ‘Distribute Rows’ and ‘Distribute Columns’ to even out the grid.
- Step 8: With the table still selected, use the alignment buttons in the ‘Layout’ tab to place dates in the top-left or top-right corner of each box, which leaves the rest of the box free for notes.
- Step 9: Open the ‘Table Design’ tab and apply shading to the weekday row, and use ‘Borders’ to choose ‘All Borders’ so every box has clear lines.
- Step 10: Save the file with ‘File’, then ‘Save As’.

Tip: To create more months, select the whole page (Ctrl + A), copy it (Ctrl + C), insert a page break (Ctrl + Enter), and paste (Ctrl + V). Then change the month name and renumber the dates.
Print or Export the Finished Calendar
- Step 1: Select ‘File’, then ‘Print’ to preview the page. Confirm each month sits on one page.
- Step 2: Click ‘Print’ for a paper copy, or select ‘File’, ‘Export’, and ‘Create PDF/XPS Document’ to produce a PDF that keeps the layout intact on any device.
Common Problems and Fixes
The calendar spills onto a second page
The rows are probably too tall. Select the table, open ‘Table Tools’ > ‘Layout’, and reduce the row ‘Height’ by 0.1 inch at a time until the whole month fits on one page. Switching the margins to ‘Narrow’ also helps.
Calendar templates do not appear in the search results
Templates load from an online source, so a weak or blocked connection is the usual cause. Check the connection, close the ‘New’ screen, and search for ‘calendar’ again. If the search stays empty, the custom table method above produces the same result without needing templates.
The columns are uneven
Select the table, go to ‘Layout’, and click ‘Distribute Columns’. Dragging a column border by hand is what usually throws the widths off, so this one click restores an even grid.
Table borders are missing or too faint
Select the entire table, open the ‘Table Design’ tab, click ‘Borders’, and choose ‘All Borders’. Some tables are inserted with light or no lines, and this setting makes every box visible when printed.
Dates do not line up with the right weekday
This happens when the first date is typed into the wrong column. Delete the numbers, confirm which weekday the 1st falls on, and retype the dates starting from the correct cell.
The calendar prints cut off at the edge
Check that ‘Landscape’ is selected on the ‘Layout’ tab, then confirm the printer is set to the same paper size as the document. Narrow margins can also push content past the printable area on some printers, so switching to ‘Normal’ margins may help.
Frequently Asked Questions
Does Word have a built-in calendar template?
Yes. Select ‘File’, then ‘New’, and search for ‘calendar’. Word lists several designs, including monthly, yearly, and academic layouts, and each opens as an editable document.
How do I make a calendar in Word without a template?
Insert a table with 7 columns and 7 rows, type the weekday names in the top row, and fill in the dates. Then set the row height and borders to finish the grid.
How do I change the year on a calendar template in Word?
Click the year placeholder near the top of the template, if it has one, and type the new year. If the dates do not update, retype them or choose a template designed for the target year.
How do I make the calendar landscape in Word?
Go to the ‘Layout’ tab, select ‘Orientation’, and choose ‘Landscape’. This gives a monthly grid more horizontal room.
How do I add events to a Word calendar?
Click inside the date box and type the event. Enlarging the row height gives each box more space for longer notes, and different font colors can separate categories.
Can a Word calendar start the week on Monday?
Yes. In a custom table, type Mon in the first column and finish with Sun in the last column, then place the dates accordingly. Some templates also let the start day be edited directly.
How do I make a calendar for all twelve months in one document?
Build one month, then copy the page, insert a page break with Ctrl + Enter, and paste. Repeat for each month and update the month name and dates on every page.
How do I add a picture to a Word calendar?
Click above the table, go to ‘Insert’, and select ‘Pictures’. Choose an image, then resize it so the month and the full grid still fit on one page.
How do I save a Word calendar as a PDF?
Select ‘File’, then ‘Export’, and choose ‘Create PDF/XPS Document’. Name the file and click ‘Publish’ to save a PDF that keeps the layout fixed.