
Learning how to clone a hard drive to SSD is one of the most reliable ways to upgrade a slow computer without reinstalling Windows from scratch. The process copies everything – the operating system, programs, and personal files – onto the new drive so the machine boots exactly as it did before, only much faster.
Key Takeaways
- Cloning copies the entire hard drive, including the operating system, to the new SSD in one pass.
- The destination SSD needs enough capacity to hold all used data from the original drive.
- Free cloning software like Macrium Reflect or the drive manufacturer’s own migration tool handles most jobs without extra cost.
- A USB-to-SATA adapter or external enclosure is needed to connect the SSD during the clone.
- After cloning, the physical drive swap and a quick boot order check in BIOS finish the upgrade.
Before You Start
A little prep work now saves a lot of frustration later. Before touching any cables or opening a laptop case, work through this short checklist.
- Back up important files separately, even though cloning is generally safe. Mistakes happen, and a spare backup costs nothing.
- Power off the computer completely and unplug it from the wall. For a laptop, disconnect the charger and, where the battery is removable, take it out.
- Touch a bare metal part of the case or use an anti-static wrist strap before handling internal components, since static discharge can damage sensitive hardware.
- Confirm the new SSD’s storage capacity is equal to or larger than the space actually used on the current hard drive, not just its total size.
Opening a laptop case can affect the manufacturer’s warranty on some models, so it is worth checking the terms first. If the drive swap involves unusual mounting brackets, proprietary screws, or a soldered-in drive, stopping and asking a professional technician is the safer call.
Tools and Materials Needed
- A new SSD with sufficient capacity
- A USB-to-SATA adapter cable or an external USB drive enclosure
- Cloning software, such as Macrium Reflect Free, EaseUS Todo Backup, or the SSD manufacturer’s own migration tool
- A small screwdriver set (for desktop towers or laptops with accessible drive bays)
- An anti-static wrist strap, or access to a bare metal surface for grounding
How to Clone a Hard Drive to SSD Step by Step
Once the SSD and adapter are ready, the actual cloning process is mostly software-driven. This works best when the source hard drive is healthy and free of major errors, so it helps to run a quick disk check beforehand if the drive has been acting up.
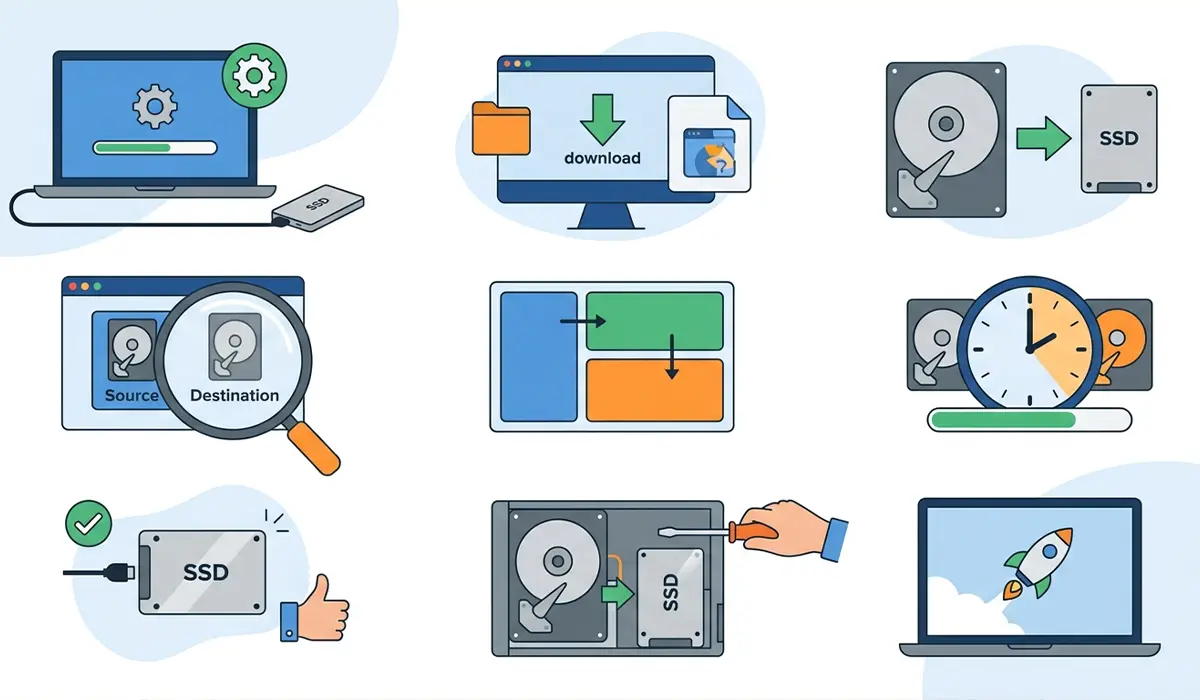
- Step 1: Connect the new SSD to the computer using the USB-to-SATA adapter or external enclosure. Windows should detect it as a new, unformatted drive.
- Step 2: Download and install a reputable cloning tool. Many SSD brands include their own free migration software that is already tuned for their drives.
- Step 3: Open the cloning software and select the current hard drive as the source disk.
- Step 4: Select the newly connected SSD as the destination disk. Double-check this selection carefully, since the destination drive gets fully overwritten.
- Step 5: Review the partition layout the software proposes. Most tools automatically resize partitions to fit the SSD, but manual adjustment is available if needed.
- Step 6: Start the clone and let it run without interrupting the computer. Depending on how much data is being copied, this can take anywhere from a few minutes to a couple of hours.
- Step 7: Once the software confirms the clone finished successfully, safely eject the SSD from the USB connection.
- Step 8: Power down the computer, then physically swap the SSD into the drive bay where the old hard drive was installed.
- Step 9: Restart the computer and enter the BIOS or UEFI setup to confirm the SSD is listed as the boot drive.
- Step 10: Save the BIOS settings and let the computer boot normally from the SSD to confirm everything transferred correctly.
Tip: Run the clone with the laptop plugged into power and, if possible, close background programs first. An interrupted clone due to a dead battery or a crashed application is one of the most common causes of a failed transfer.
Verifying the Clone Worked
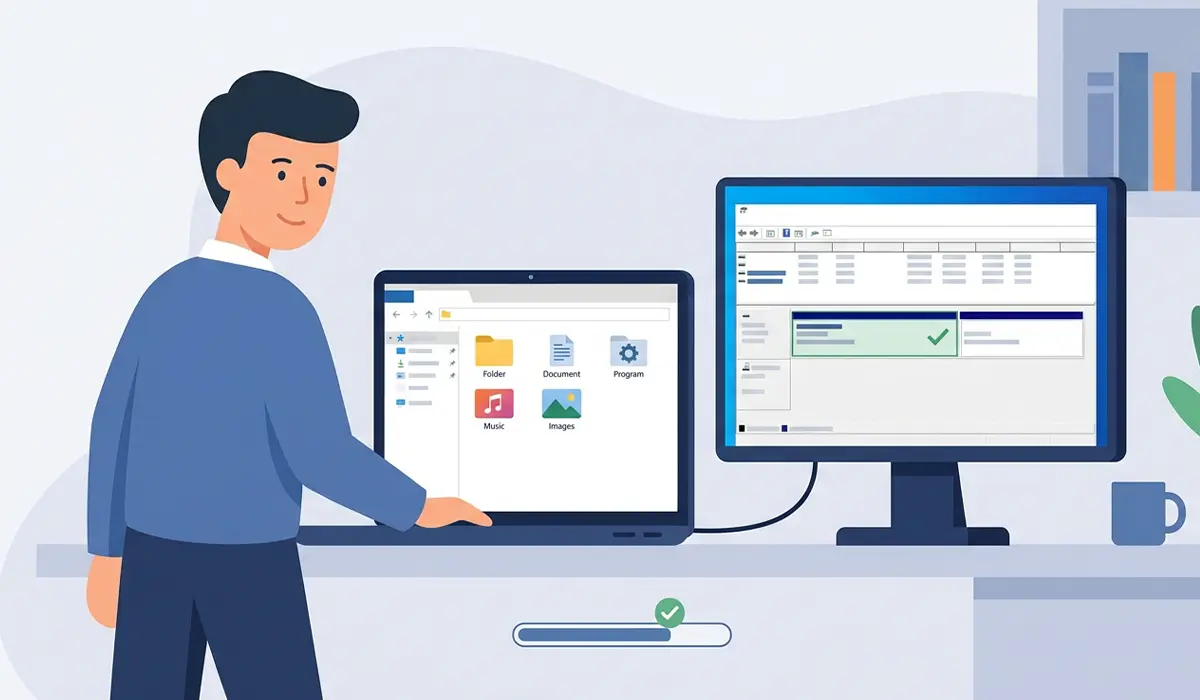
After the physical swap, it helps to confirm the SSD is actually doing the work it is supposed to. Open File Explorer and check that the drive letter, folders, and installed programs all look familiar. Then open Disk Management to verify the SSD shows the expected capacity and that the old hard drive, if kept installed as secondary storage, appears correctly as well.
Tip: If the old hard drive stays inside the computer as extra storage, format it only after confirming the SSD boots reliably and every file made the trip over.
Common Problems and Fixes
- The computer will not boot from the SSD after cloning. This usually means the boot order in BIOS still points to the old hard drive. Enter BIOS setup and manually move the SSD to the top of the boot priority list.
- The SSD shows less space than expected. Check whether the cloning software created a recovery partition or left unallocated space. Extending the main partition through Disk Management usually resolves this.
- The cloning software reports an error partway through. This often happens when the source hard drive has bad sectors. Running a disk check utility on the original drive before attempting the clone again can prevent a repeat failure.
- The clone finishes, but some files are missing. Confirm the destination SSD had enough free space for all used data on the source drive, since cloning software sometimes skips files when space runs short.
- Windows displays a blue screen after the drive swap. This can happen when drive mode settings such as AHCI do not match between the old and new setup. Checking the storage controller mode in BIOS often solves this.
Frequently Asked Questions
Does cloning a hard drive to SSD delete anything from the original drive?
No. Cloning only reads data from the original hard drive and writes a copy to the SSD. The original drive stays untouched unless it is manually formatted afterward.
Can an SSD be cloned if it is smaller than the original hard drive?
Yes, as long as the actual used space on the hard drive is smaller than the SSD’s total capacity. The total drive size does not need to match, only the amount of data being transferred.
Is a full Windows reinstall better than cloning?
A fresh install can clear out old clutter, but cloning is faster and keeps every program, setting, and file exactly as it was, which suits most everyday upgrades.
How long does cloning a hard drive to an SSD usually take?
It depends on how much data needs copying and the speed of the connection method, but many clones finish somewhere between thirty minutes and a couple of hours.
Does the computer need to stay connected to power during the clone?
Yes, especially on a laptop. Losing power mid-clone can corrupt the process and require starting over.
Can a laptop hard drive be cloned without opening the laptop first?
Yes. The clone itself happens with the SSD connected externally through a USB adapter. Opening the laptop is only needed afterward, to physically swap the drives.
What happens to the old hard drive after cloning?
It can be reused as external storage with an enclosure, kept as a backup, or securely wiped if it is no longer needed.
Is special software required, or does Windows have a built-in cloning tool?
Windows does not include a built-in cloning tool. Third-party software, often free from the SSD manufacturer or independent developers, handles the process.
Why does the cloned SSD sometimes need a partition resize?
Some cloning tools copy the exact partition size from the original drive rather than automatically filling the new SSD. Extending the partition afterward claims the remaining space.
Can a desktop and laptop hard drive both be cloned the same way?
The software steps are identical. The only difference is the physical swap, since laptops often require more careful disassembly to reach the drive bay.
