
Knowing how to fix USB docking station not working problems can save a lot of frustration, especially when monitors stay black or keyboards go dead right before a meeting. Most failures come down to power, cables, drivers, or firmware rather than a broken dock. This guide walks through the checks in the order that finds the cause fastest.
Key Takeaways
- Most docking station failures are caused by a missing power adapter, a poor cable, outdated drivers, or outdated dock firmware.
- A full power cycle of the dock and laptop, done in the correct order, solves a large share of cases.
- The laptop port must support the features the dock uses, such as video output or power delivery.
- Updating the dock firmware and drivers from the manufacturer website fixes many random disconnects.
- Testing with a different cable, port, or laptop quickly shows whether the dock itself is faulty.
Common Causes of a USB Docking Station Not Working
Before changing settings, it helps to know what usually goes wrong. A docking station is basically a small hub, video adapter, and power brick packed into one box, so a fault in any of those parts can make the whole unit seem dead.
- No power or weak power: Many docks need their own power adapter. Plugging only the data cable into the laptop often powers nothing but a few ports.
- Damaged or low-quality cable: A cable that only handles charging or basic USB speeds cannot carry video or fast data.
- Unsupported laptop port: Some USB-C ports handle data only, with no video output and no charging.
- Outdated or corrupted drivers: Graphics, USB controller, and docking drivers can break after a system update.
- Old dock firmware: Manufacturers release firmware updates to fix disconnects, display problems, and charging faults.
- Power management settings: Windows can switch off USB ports to save energy, which makes devices vanish at random.
- Overloaded dock: Too many power-hungry devices, such as external drives, can overwhelm a bus-powered dock.
Before You Start
No disassembly is needed, so the preparation is short. Save open work first, since the laptop will be restarted a few times. Disconnect every device from the dock, and make sure the dock and its power adapter have cooled if they feel warm. Keep the following within reach.
- The dock original power adapter
- The cable that came with the dock, plus a second known-good cable of the same type
- A second laptop or computer for testing, if available
- Internet access to download drivers and firmware from the dock and laptop manufacturer websites
How to Fix USB Docking Station Not Working: Step-by-Step Fixes
Start With Power and Connections
- Step 1: Unplug the dock from the laptop and unplug its power adapter from the wall or dock. Wait about 30 seconds so the internal electronics fully reset.
- Step 2: Plug the power adapter back in first and confirm the dock status light turns on. Then connect the dock cable to the laptop. Powering the dock before connecting it prevents many detection errors.
- Step 3: Check that the wall outlet or power strip works and that the adapter is the one supplied with the dock. A different adapter with the same plug shape may deliver too little power.
- Step 4: Press the connectors in firmly at both ends. Dust or a slightly loose plug can cause a dock to connect and disconnect repeatedly.
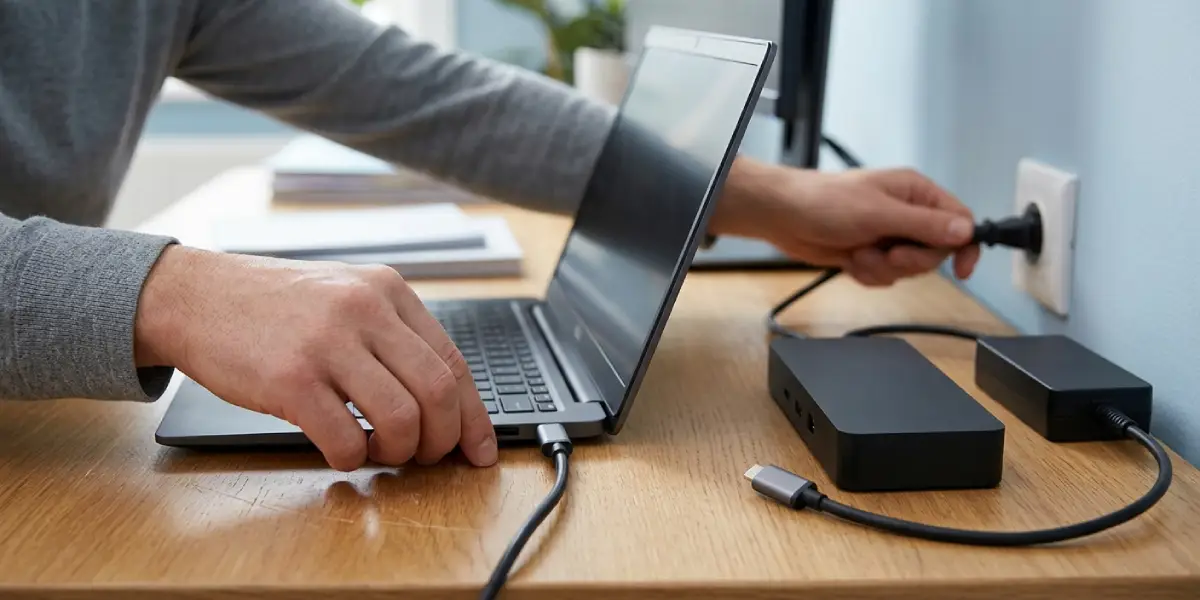
Tip: Always connect one device at a time after a reset. Adding the monitor first, then the keyboard, then storage makes it obvious which device causes trouble.
Rule Out the Cable and the Port
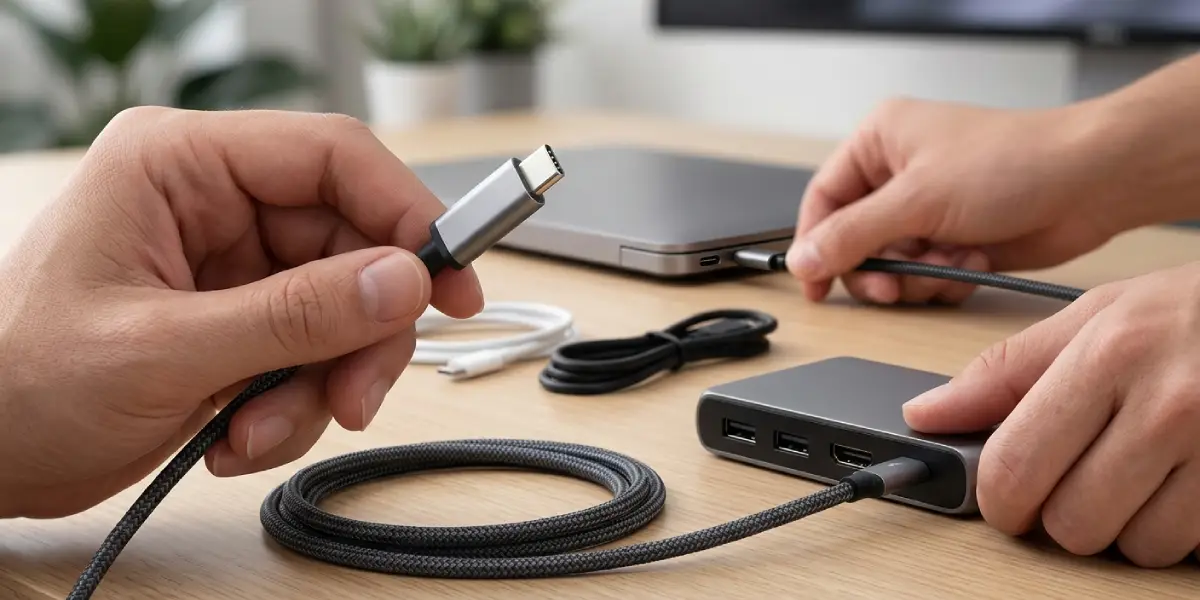
- Step 5: Swap the dock cable for a known-good one. Inspect the plugs for bent pins, debris, or looseness.
- Step 6: Move the dock cable to a different USB port on the laptop. If the laptop has several USB-C ports, only some may support video output or Thunderbolt, so check the port labels or the laptop manual.
- Step 7: Confirm the dock type matches the laptop. A dock built for Thunderbolt will not offer full features on a basic USB-C data port, and a DisplayLink dock needs its own software to drive displays.
- Step 8: Test the dock on a different computer. If it fails there too, the dock or its power adapter is the likely culprit. If it works, the problem sits with the first laptop settings or drivers.
Update Drivers and Firmware
- Step 9: Visit the dock manufacturer support page and download the latest firmware and driver package for the exact dock model. Follow the installation instructions, and keep the dock powered and connected during any firmware update.
- Step 10: Update the laptop graphics driver and chipset driver from the laptop manufacturer or the graphics vendor. Display problems on a dock are very often graphics driver problems.
- Step 11: On a DisplayLink-based dock, install the current DisplayLink driver, since external screens will not work without it.
- Step 12: Restart the laptop after each installation, then reconnect the dock using the power-first order from Step 2.
Fix It on Windows
- Step 13: Open Device Manager, expand Universal Serial Bus controllers, right-click the entries related to the dock, and choose Uninstall device. Restart the laptop so Windows reinstalls them automatically.
- Step 14: In Device Manager, double-click each USB Root Hub, open the Power Management tab, and clear the checkbox that lets the computer turn off the device to save power.
- Step 15: Open Power Options, choose Change plan settings, then Change advanced power settings, and set USB selective suspend to Disabled for the active plan.
- Step 16: Run Windows Update and install any pending updates, including optional driver updates for the dock hardware.
Fix It on a Mac
- Step 17: Disconnect the dock, shut the Mac down completely, then start it again before reconnecting. On Apple silicon Macs, a normal restart already handles the reset that older models needed.
- Step 18: On an Intel Mac, reset the SMC and NVRAM by following the steps Apple publishes for the specific model.
- Step 19: Install the latest macOS update, then check the dock manufacturer site for a macOS-compatible driver or firmware tool.
Tip: Some docks cannot drive multiple external displays on certain Mac models. Check the dock specifications for the supported display count before assuming a fault.
Common Problems and Fixes
Dock Charges the Laptop but No Display Appears
The cable or laptop port may not support video output. Try another port, use a cable rated for video, and update the graphics driver. Also check that the monitor is set to the correct input source and that its own cable is seated properly.
USB Devices Are Not Detected
Disable USB selective suspend and USB Root Hub power saving on Windows, then reinstall the USB controllers. Test the device directly in the laptop to confirm the device itself works.
Dock Keeps Disconnecting
Update the dock firmware, replace the cable, and avoid bumping or straining the connector. Heavy loads from external hard drives can also cause dropouts, so try a powered hub or a dock with a higher power budget.
Dock Does Not Charge the Laptop
The dock power delivery may be lower than the laptop needs. Use the supplied power adapter, and confirm the dock supports the wattage the laptop requires. A laptop may still charge slowly or not at all under heavy load if the dock supplies too little.
Ethernet Port on the Dock Does Not Work
Update the dock network driver, try a different Ethernet cable, and test another network port or router connection. Disable and re-enable the network adapter in Device Manager or Network settings.
Dock Still Fails After Every Fix
If the dock fails on a second computer with a known-good cable and power adapter, the hardware is faulty. Contact the manufacturer for warranty service. Opening the dock case is not recommended, since it can void the warranty and the internal power components are not meant for casual repair.
Frequently Asked Questions
Why is my USB docking station not working at all?
The most common reasons are a missing or incorrect power adapter, a faulty cable, or a laptop port that does not support the dock. Power cycle the dock, connect its power adapter first, and test with another cable and port.
Why does my docking station charge the laptop but not show video?
The USB-C port or cable may not support video output, or the graphics driver may be outdated. Use a port marked for DisplayPort or Thunderbolt, try a video-capable cable, and update the graphics driver.
Why are the USB devices on my dock not detected?
Power saving settings, corrupted USB controller drivers, or an overloaded dock are the usual causes. Disable USB selective suspend, reinstall the USB controllers, and connect devices one at a time.
Do USB docking stations need drivers?
Many docks work with built-in system drivers, but some need extra software. DisplayLink docks, for example, require the DisplayLink driver to drive external monitors.
How do I reset a USB docking station?
Unplug the dock from the laptop and from its power source, wait about 30 seconds, then reconnect the power first and the laptop cable second. This clears most temporary glitches.
Can a bad cable stop a docking station from working?
Yes. A damaged cable, or one that supports only charging or slow data, can cause no video, missing devices, or random disconnects. Swapping in a known-good cable is one of the quickest tests.
Why does my docking station keep disconnecting?
Outdated firmware, a loose connection, power management settings, or too many power-hungry devices are the usual causes. Update the firmware, secure the cable, and disable USB power saving.
How do I know if my docking station is faulty?
Test it on another computer using a known-good cable and its original power adapter. If it still fails to power on, show video, or detect devices, the dock itself is most likely defective.