
Anyone who shares a document with a wide audience should know how to run the Accessibility Checker in Word before hitting send. The tool scans a file for missing alt text, unclear headings, low-contrast text, and similar barriers, then lists exactly what to fix. It takes under a minute to start, and the results appear in a pane beside the document.
Key Takeaways
- Open the checker from the Review tab by selecting Check Accessibility.
- Results are grouped as Errors, Warnings, and Tips, with Errors needing attention first.
- Selecting any issue shows Recommended Actions and highlights the problem spot in the document.
- The checker reports problems but does not repair them, so each fix is applied by hand.
- Running it again after edits confirms the list is clear.
How to Run the Accessibility Checker in Word
The fastest route is the Review tab. This works in Word for Microsoft 365, recent desktop versions, Word for Mac, and Word for the web.
Method 1: Start the Checker from the Review Tab
- Step 1: Open the document that needs checking. Save it first so nothing is lost if edits follow.
- Step 2: Select the Review tab on the ribbon.
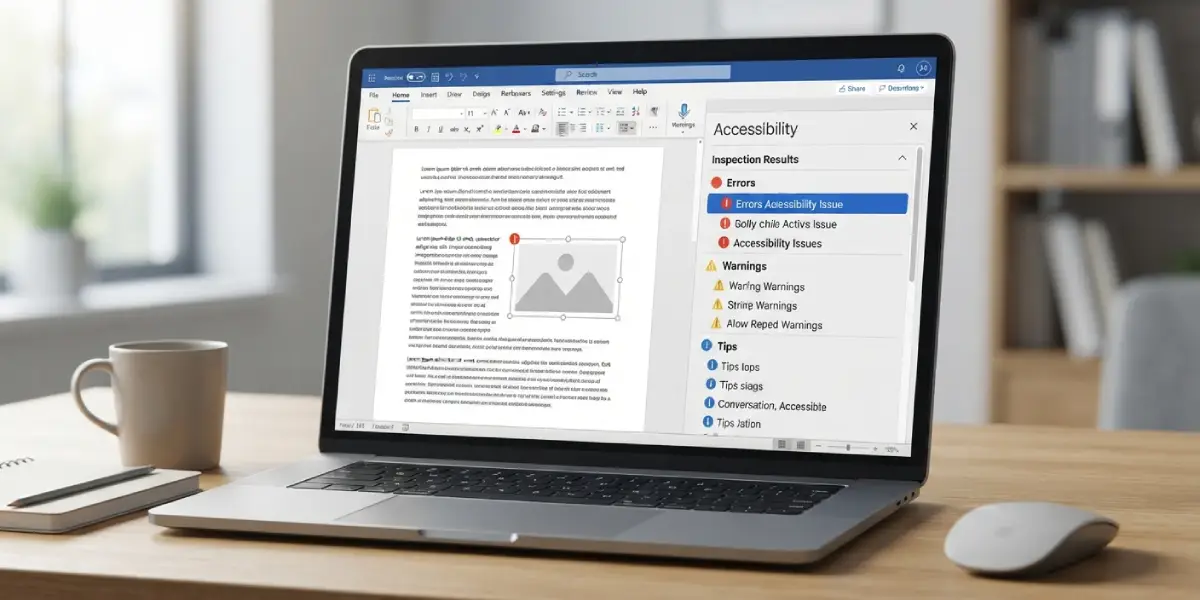
- Step 3: Select Check Accessibility. The Accessibility pane opens on the right side of the window.
- Step 4: Read the Inspection Results. Issues are sorted into Errors, Warnings, and Tips.
- Step 5: Select an issue in the list. Word jumps to the affected item and shows Recommended Actions underneath.
Tip: Windows users can open the checker without the mouse by pressing Alt, then R, then A.
Method 2: Start the Checker from the File Menu
- Step 1: Select File, then Info.
- Step 2: Select Check for Issues.
- Step 3: Choose Check Accessibility from the dropdown. The same pane opens beside the document.
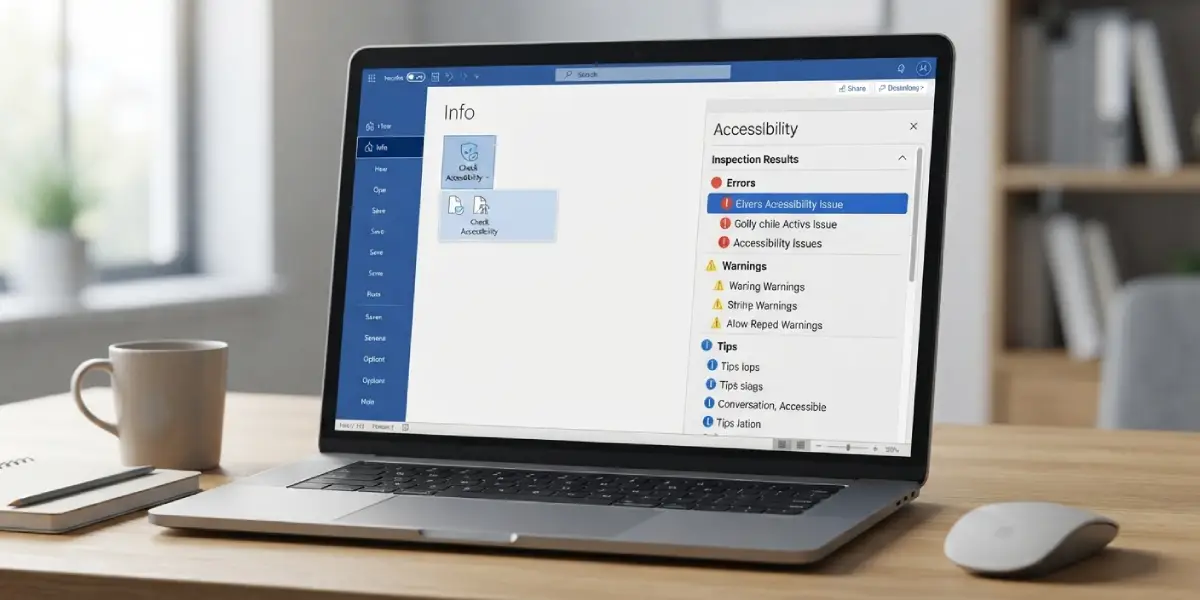
This route is handy right before sharing, since the Info page is where Word often flags accessibility concerns when a file is about to be sent or exported.
Method 3: Open the Checker from the Status Bar
- Step 1: Look at the bottom-left of the Word window for the Accessibility indicator, which reads either Good to go or Investigate.
- Step 2: Select that indicator to open the Accessibility pane.
Most people find that this is the quickest option for a document that is mid-edit, because the status updates as content changes.
How to Read the Accessibility Checker Results
Think of the three categories like a traffic light. Errors are red: content that is very hard or impossible for some people to use. Warnings are amber: content that is likely to be difficult. Tips are green-leaning suggestions that make a document easier to use but are not blocking problems.
The key is to work from the top down. Clearing Errors first removes the biggest barriers, and the Warnings and Tips can follow as time allows.
How to Fix the Issues the Checker Finds
Each item in the results has a Recommended Actions section. The most common fixes look like this.
Fix Missing Alt Text on Images
- Step 1: Select the flagged image in the Accessibility pane.
- Step 2: Choose Add a description under Recommended Actions, or right-click the image and select View Alt Text.
- Step 3: Type a short sentence that explains what the image shows and why it matters. A chart, for example, might say that sales rose steadily across four quarters.
- Step 4: For purely decorative images such as a divider flourish, choose Mark as decorative instead.
Tip: Describe the purpose of the picture rather than every visual detail. A screen reader user needs the point, not a pixel-by-pixel account.
Fix Table and Heading Problems
- Step 1: Select the flagged table in the pane.
- Step 2: Open the Table Design tab and turn on Header Row so the first row is recognized as column titles.
- Step 3: For heading warnings, select the title text and apply a style such as Heading 1 or Heading 2 from the Styles gallery on the Home tab, rather than only enlarging the font.
Fix Vague Link Text and Low Contrast
- Step 1: For a link flagged as unclear, right-click it and select Edit Link.
- Step 2: Replace text like click here with wording that describes the destination, such as the 2026 budget summary.
- Step 3: For hard-to-read text, select it and change the font color to something with stronger contrast against the background.
Run the Checker Again
- Step 1: After the fixes, reopen the checker from the Review tab.
- Step 2: Confirm the Inspection Results list is empty or only contains items that were reviewed and accepted.
Tip: Tick the option at the bottom of the pane that keeps the checker running while editing. New issues then appear the moment they are created, which saves a final cleanup pass.
Common Problems and Fixes
The Check Accessibility Button Is Missing
The button can be absent in very old Word versions or when the ribbon is collapsed. Expand the ribbon by double-clicking the Review tab, or open the checker from File, Info, Check for Issues instead. Updating Word to the latest version also restores the current layout.
The Pane Shows No Issues but the Document Still Feels Hard to Navigate
The checker catches structural problems automatically, but it cannot judge things like reading order logic or whether wording is clear. Read through the document once with headings and tables in mind, and check the Navigation pane under the View tab to confirm headings appear in a sensible outline.
An Issue Does Not Disappear After Fixing It
The pane does not always refresh instantly. Close and reopen the checker from the Review tab to force a fresh scan, and confirm the fix was applied to the same object that was flagged.
Floating Objects Are Flagged as Not Inline
Images or shapes set to float in front of or behind text can be skipped by assistive tools. Select the object, open Layout Options, and choose In Line with Text, then run the checker again.
The Checker Flags a Decorative Image
Select the image in the pane and choose Mark as decorative. Word then treats it as intentionally skipped, and the item clears from the list.
Frequently Asked Questions
Where is the Accessibility Checker in Word?
It is on the Review tab as Check Accessibility. It can also be reached through File, Info, Check for Issues, Check Accessibility, or by selecting the Accessibility indicator in the status bar.
Is there a keyboard shortcut for the Accessibility Checker?
On Windows, pressing Alt, then R, then A opens the checker from the Review tab.
Does the Accessibility Checker fix problems automatically?
No. It lists each issue and offers Recommended Actions, but each correction, such as adding alt text or applying a heading style, is made manually.
What is the difference between Errors, Warnings, and Tips?
Errors are content that is hard or impossible for some people to access, Warnings are content that is likely to be difficult, and Tips are optional improvements that make the document easier to use.
Can the Accessibility Checker run automatically while typing?
Yes. The Accessibility pane has an option at the bottom that keeps the checker running during editing, so new issues show up as they are created.
Does the Accessibility Checker work in Word for Mac and Word for the web?
Yes. Both versions include Check Accessibility on the Review tab, and the results pane works in a similar way.
Does passing the Accessibility Checker mean the document is fully accessible?
Not entirely. The checker finds common technical barriers, but it cannot judge reading order, plain language, or whether alt text is truly meaningful, so a quick manual review is still worthwhile.
How do I mark an image as decorative in Word?
Select the flagged image in the Accessibility pane and choose Mark as decorative, or open the Alt Text pane for the image and turn on the decorative option.