
Need to print comments and markup in Word so a reviewer, client, or teacher can read feedback on paper? The task takes less than a minute once the right two settings are lined up: what the document shows on screen, and the Print Markup option in the print panel. Word prints what is displayed, so the order of the steps matters.
Key Takeaways
- Word prints whatever markup is currently visible, so set the Review view first.
- Choose All Markup on the Review tab so comments and tracked changes appear in the margin.
- Under File, then Print, open the first Settings dropdown and make sure Print Markup has a checkmark.
- Choose List of Markup in that same dropdown to print only the comments and changes as a list.
- Check the Print Preview before sending the job to the printer to avoid wasted pages.
Step-by-Step Guide to Print Comments and Markup in Word
This works best when the document is already open and the review feedback is visible on screen. The steps below apply to current desktop versions of Word for Windows and Mac, though menu positions on the Mac can differ slightly.
Show the Markup You Want on Paper
- Step 1: Open the document and select the Review tab on the ribbon.
- Step 2: In the Tracking group, open the Display for Review dropdown and choose All Markup. Comments now appear in the margin, and tracked insertions and deletions appear in the text. Simple Markup, No Markup, and Original hide some or all of this feedback, which means it will not print.
- Step 3: Select Show Markup in the same group. Confirm that Comments, Insertions and Deletions, and Formatting have checkmarks next to them, depending on what needs to be printed.
- Step 4: If only one reviewer’s feedback is needed, point to Specific People in the Show Markup menu and tick only that name.
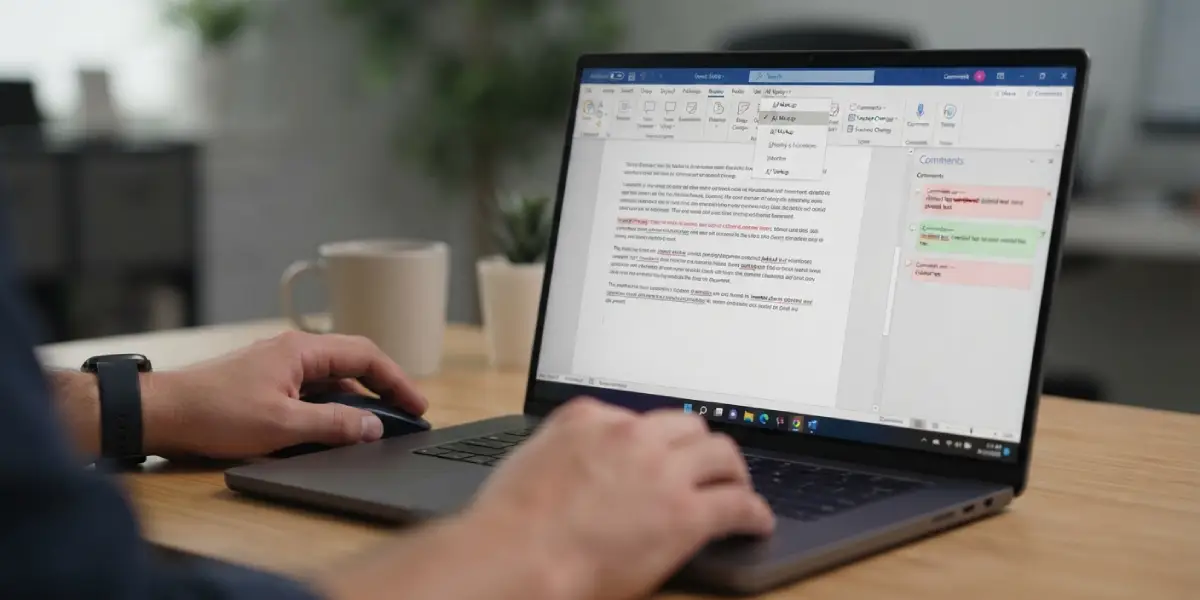
Tip: Think of the screen as a photocopier glass. Whatever sits on it at the moment of printing is what comes out, so hide any reviewer or markup type that should stay off the paper before moving on.
Turn On Print Markup and Print
- Step 5: Select File, then Print (or press Ctrl+P on Windows or Command+P on Mac).
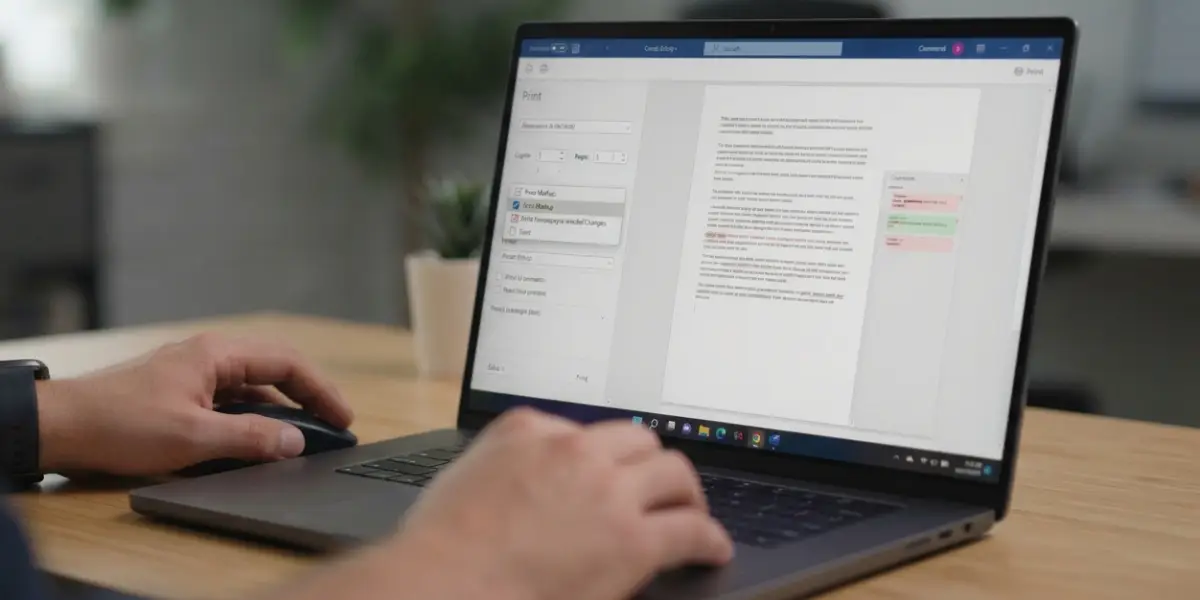
- Step 6: Under Settings, open the first dropdown, which normally reads Print All Pages.
- Step 7: Look near the bottom of the list for Print Markup. If it has no checkmark, select it to turn it on. A checkmark means comments and tracked changes will be included.
- Step 8: Check the preview on the right side of the screen. Comments should appear in the margin next to the text they refer to.
- Step 9: Choose the printer, set the number of copies, and select Print.
Print Only the List of Comments and Changes
Sometimes the page layout is not needed, only the feedback itself. A manager collecting edits from a long report is a typical case. In that situation, the list format is cleaner than a shrunken page full of balloons.
- Step 1: Go to File, then Print.
- Step 2: Open the first dropdown under Settings.
- Step 3: Under Document Info, select List of Markup.
- Step 4: Review the preview and select Print.
Tip: The list option prints only the markup and leaves the body text out. Switch back to Print All Pages afterward so the next print job does not repeat the same list by accident.
Common Problems and Fixes
Comments Do Not Appear in the Print Preview
Start with the Review tab. If the view is set to Simple Markup, No Markup, or Original, the comment text is not displayed and will not print. Switch to All Markup, then reopen File and Print to refresh the preview.
Print Markup Is Missing a Checkmark
When Print Markup is unchecked, Word prints the clean text only. Open the first Settings dropdown in the print panel and select Print Markup so the checkmark appears.
The Text Looks Smaller on the Printed Page
This is expected. To make room for comments in the margin, Word reduces the size of the page content slightly. If the text becomes too small to read, use List of Markup to print the feedback on its own, or choose a larger paper size in the print settings if the printer supports it.
Comments From One Reviewer Are Missing
Open Review, select Show Markup, then Specific People, and make sure that reviewer’s name is ticked. Filtering by reviewer stays in effect during printing.
Tracked Changes Print but Comments Do Not
Open Review, select Show Markup, and confirm that Comments has a checkmark. Insertions and deletions have their own separate toggle, so one can be on while the other is off.
Frequently Asked Questions
How do I print a Word document with comments?
Set Display for Review to All Markup on the Review tab, then go to File, then Print. Open the first Settings dropdown, make sure Print Markup has a checkmark, and select Print.
Where is the Print Markup option in Word?
It is in the print panel. Select File, then Print, and open the first dropdown under Settings, which usually shows Print All Pages. Print Markup appears near the bottom of that list.
Why are my comments not printing in Word?
The most common causes are an unchecked Print Markup option or a Review view set to Simple Markup, No Markup, or Original. Switch to All Markup and confirm Print Markup has a checkmark.
Can I print only the comments and not the document text?
Yes. In the first Settings dropdown on the print panel, choose List of Markup under Document Info. Word then prints the comments and tracked changes as a list.
Can I print tracked changes without the comments?
Yes. On the Review tab, open Show Markup and untick Comments while leaving Insertions and Deletions ticked. Then print with Print Markup turned on.
How do I print comments from only one reviewer?
On the Review tab, open Show Markup, point to Specific People, and tick only the reviewer whose feedback is needed. Then print with Print Markup turned on.
How do I print a clean copy without any comments?
Set Display for Review to No Markup, or open the first Settings dropdown in the print panel and remove the checkmark from Print Markup. Either option prints the text without comments.
Why does the text shrink when I print with comments?
Word scales the page content down slightly to leave space for comments in the margin. Printing the List of Markup instead avoids the scaling and keeps the feedback easy to read.