
Learning how to clean a CPU cooler and heatsink is one of the simplest ways to keep a desktop or laptop running cool and quiet. Dust builds up in the fins and fan blades over time, blocking airflow and forcing the system to work harder than it should. A thorough cleaning, done a couple of times a year, restores proper cooling performance and can add years to a system’s lifespan.
Key Takeaways
- Dust trapped in the heatsink fins is usually the main reason temperatures climb over time.
- Compressed air, a soft brush, and isopropyl alcohol handle most of the job without any risk to components.
- Removing the cooler completely gives a deeper clean and the chance to reapply thermal paste.
- Reinstalling the cooler correctly matters just as much as the cleaning itself.
- Regular cleaning every six to twelve months prevents the buildup from becoming a real problem.
Before You Start
A little prep work makes the whole process safer and faster. None of this takes long, but skipping it is how mistakes happen.
- Power down the computer completely and unplug it from the wall outlet.
- For laptops, disconnect the battery if it is user removable.
- Ground any static buildup by touching a bare metal part of the case, or use an anti-static wrist strap.
- Let the system sit for a few minutes if it was recently running, since the heatsink and CPU can stay warm.
- Work on a flat, well-lit surface with enough room to lay out screws and components without losing track of them.
Gather these tools and materials before starting:
- Canned or electric compressed air
- A soft-bristle brush, such as an unused paintbrush or a dedicated anti-static brush
- Lint-free or microfiber cloths
- Isopropyl alcohol, 90 percent concentration or higher
- Cotton swabs for tight spots
- A screwdriver matching the cooler’s mounting hardware
- Fresh thermal paste, if the cooler will be fully removed
Opening a laptop chassis or removing a cooler may void a manufacturer’s warranty, so check the warranty terms first. If the fan makes grinding noises, the bearing feels loose, or the cooler shows physical damage, that goes beyond a routine cleaning and is worth handing to a professional technician.
Steps to Clean a CPU Cooler and Heatsink
These steps work for most desktop tower coolers and can be adapted for laptop cooling assemblies, which usually involve a bit more disassembly.
Cleaning Without Removing the Cooler
- Step 1: Open the case side panel and locate the CPU cooler and its fan.
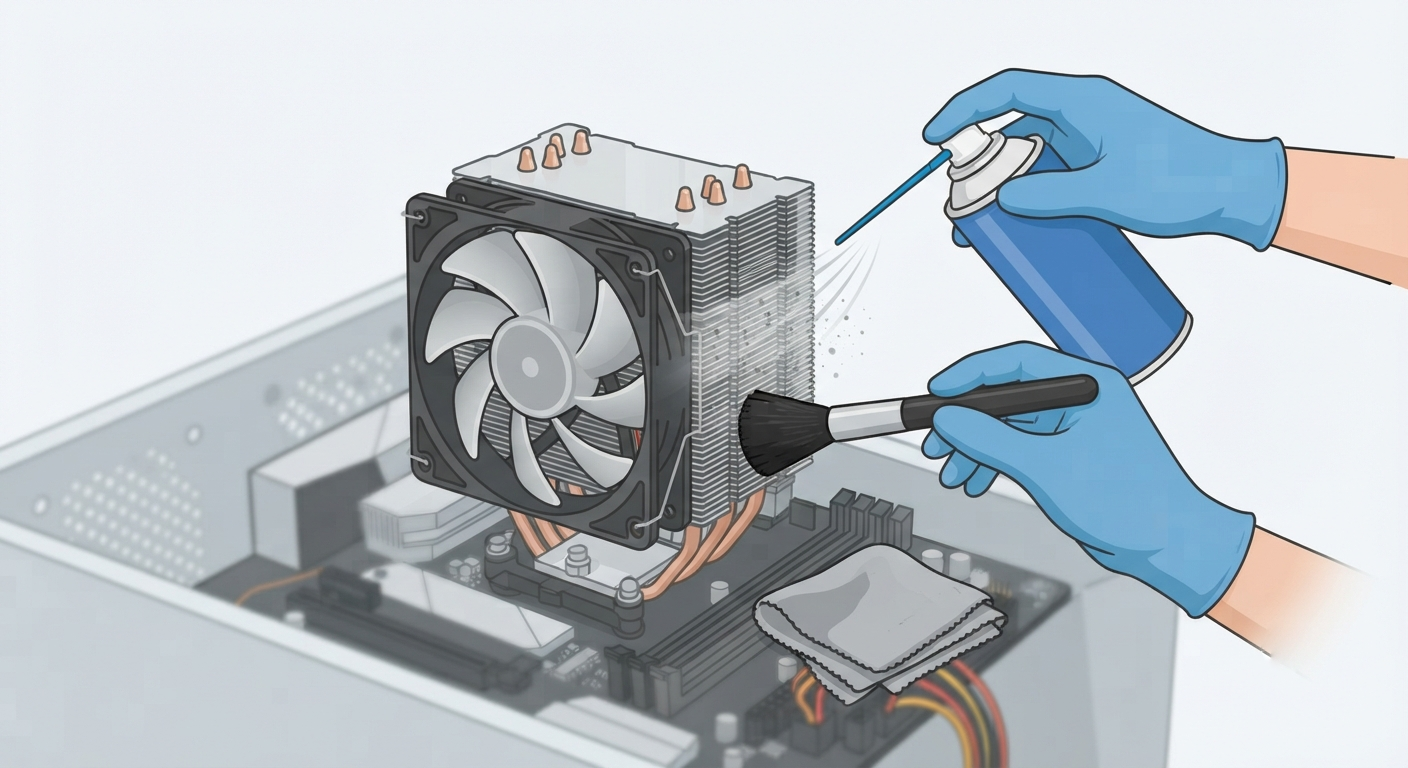
- Step 2: Hold the fan blades still with a finger or a cotton swab, then use short bursts of compressed air to blow dust out of the fins. Holding the blades still prevents the fan from spinning past its rated speed and generating unwanted voltage.
- Step 3: Angle the air can so dust blows out of the case rather than deeper into it, and work from multiple directions to loosen packed dust.
- Step 4: Use the soft brush to gently sweep away any dust that compressed air did not fully dislodge, especially between tightly spaced fins.
- Step 5: Wipe the fan blades and visible cooler surfaces with a dry microfiber cloth to remove any remaining film.
Tip: Cleaning in short bursts rather than one long blast gives dust time to settle and clear out instead of just shifting around inside the case.
Deep Cleaning by Removing the Cooler
- Step 1: Disconnect the fan cable from the motherboard header.
- Step 2: Unscrew or unclip the cooler mounting hardware, following a diagonal pattern if there are multiple screws, similar to how lug nuts are loosened on a wheel.
- Step 3: Lift the cooler straight up and off the CPU. It may resist slightly if the old thermal paste has hardened, so twist gently rather than prying at an angle.
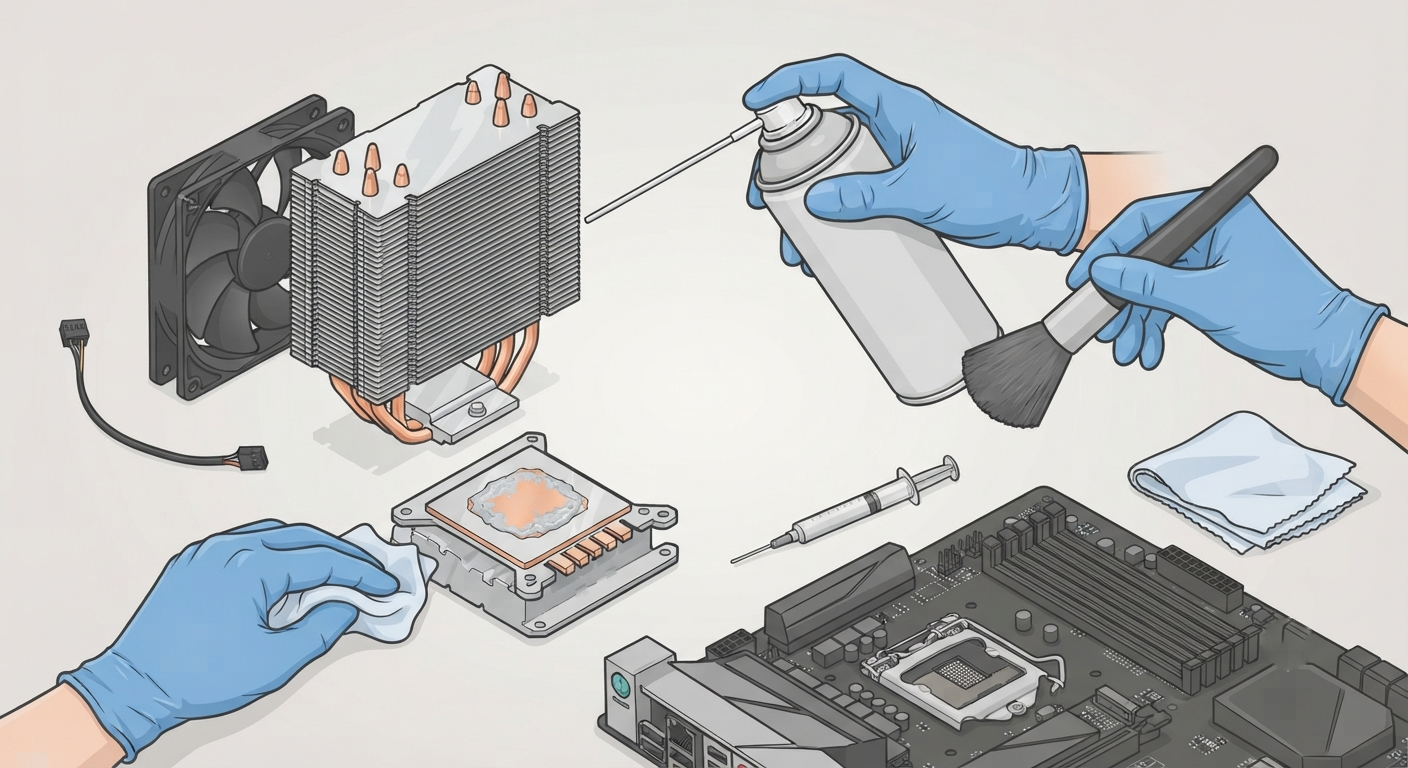
- Step 4: Separate the fan from the heatsink if it is a two-piece design, usually by removing a few small screws or unclipping rubber mounts.
- Step 5: Rinse dust from the fins using compressed air and the soft brush, working from the base of the heatsink toward the open ends of the fins.
- Step 6: Dampen a cloth or cotton swab with isopropyl alcohol and wipe down the heatsink base and fan housing to remove grime and old thermal paste residue.
- Step 7: Let all parts air dry fully before reassembly, since any leftover moisture near electrical contacts is a real risk.
- Step 8: Reattach the fan to the heatsink, apply a fresh, small amount of thermal paste to the center of the CPU, and reinstall the cooler using the same mounting pattern in reverse.
- Step 9: Reconnect the fan cable to its motherboard header and close up the case.
Tip: A pea-sized dot of thermal paste in the center of the CPU is usually enough. The pressure from the cooler spreads it evenly, and using too much can actually trap air pockets that hurt heat transfer.
Common Problems and Fixes
Temperatures Are Still High After Cleaning
This usually points to old, dried-out thermal paste rather than dust. If the cooler was not removed during cleaning, that is the next step, along with a fresh paste application.
The Fan Makes Noise After Reassembly
A rattling or clicking sound often means a cable is brushing against the fan blades, or the fan was not seated flush against the heatsink. Recheck the mounting screws and route cables away from the blades.
PC Will Not Boot After Reinstalling the Cooler
This is almost always a seating issue rather than a damaged component. Reopen the case and confirm the cooler sits flat and evenly on the CPU with no gaps, and check that the fan cable is plugged into the correct motherboard header.
Dust Returns Quickly After Cleaning
A case with poor filtration or negative air pressure pulls dust in faster than expected. Adding intake filters or balancing case fan airflow reduces how often the cooler needs attention.
Thermal Paste Gets on the Motherboard or Socket
A small amount is not usually harmful if it is a non-conductive paste, but it should still be cleaned up. Use a cotton swab dipped in isopropyl alcohol and wipe gently, avoiding contact with the CPU socket pins.
Frequently Asked Questions
How often should a CPU cooler and heatsink be cleaned?
Every six to twelve months works well for most setups, though homes with pets or dusty environments may benefit from cleaning every three to four months.
Can compressed air alone clean a CPU heatsink properly?
Compressed air handles surface dust well but will not remove built-up grime or old thermal paste residue. For a lightly dusty cooler, air alone is often enough. For a deeper clean, removing the cooler and using isopropyl alcohol gets better results.
Is it necessary to reapply thermal paste every time the cooler is cleaned?
Only when the cooler is fully removed from the CPU. Simply blowing dust out without detaching the cooler does not disturb the paste layer, so reapplication is not needed in that case.
What isopropyl alcohol concentration works best for cleaning a heatsink?
A concentration of 90 percent or higher is ideal, since it evaporates quickly and leaves minimal residue compared to lower concentrations that contain more water.
Can a vacuum cleaner be used to clean a CPU cooler?
Household vacuums are best avoided directly on internal components, since they can generate static electricity that risks damaging sensitive parts. Compressed air paired with a soft brush is the safer choice.
Is it safe to clean a laptop’s cooling fan without full disassembly?
Basic dust removal through vents with compressed air is generally safe. Reaching the fan and heatsink fins directly usually requires opening the bottom panel, which varies by model and may involve more steps than a desktop.
Does cleaning the CPU cooler improve performance?
It does not increase raw performance, but it does help the system maintain its intended clock speeds by preventing thermal throttling caused by heat buildup.
What are signs that a CPU cooler needs cleaning?
Higher than normal idle temperatures, louder fan noise as it spins faster to compensate, and visible dust clumps on the fins or fan blades are the most common signs.
Can dust on a heatsink actually cause a system to shut down?
Yes, in severe cases. If dust buildup is heavy enough to push temperatures to critical levels, the system may throttle performance or shut down entirely to protect the CPU.
Should the thermal paste be wiped off with anything other than isopropyl alcohol?
Isopropyl alcohol is the standard and safest choice. Water, acetone, and other household solvents are not recommended, since they can leave residue or damage certain surfaces.
