
Knowing how to add a shared mailbox in Outlook on the web the right way saves a lot of back-and-forth with the IT team. The whole process takes about a minute once permission has been granted. This guide walks through each click, from confirming access to seeing the mailbox in the folder pane.
Key Takeaways
- A shared mailbox can only be added after an administrator has given the account access to it.
- The option lives in the folder pane under the Folders heading, labeled Add shared folder or mailbox.
- Only the full email address of the shared mailbox is needed to complete the setup.
- Once added, the mailbox stays in the folder pane and can be expanded like any other mailbox.
- Sending from the shared mailbox requires separate Send As or Send on Behalf permission.
Step-by-Step Guide to Add a Shared Mailbox in Outlook on the Web
This works best when the sign-in is a Microsoft 365 work or school account and the administrator has already granted access. Without that permission, the mailbox will not open no matter how the steps are followed.
Add the Shared Mailbox to the Folder Pane
- Step 1: Sign in to Outlook on the web with the work or school account at outlook.office.com.
- Step 2: Open the Mail view by selecting the envelope icon in the left-hand app bar.
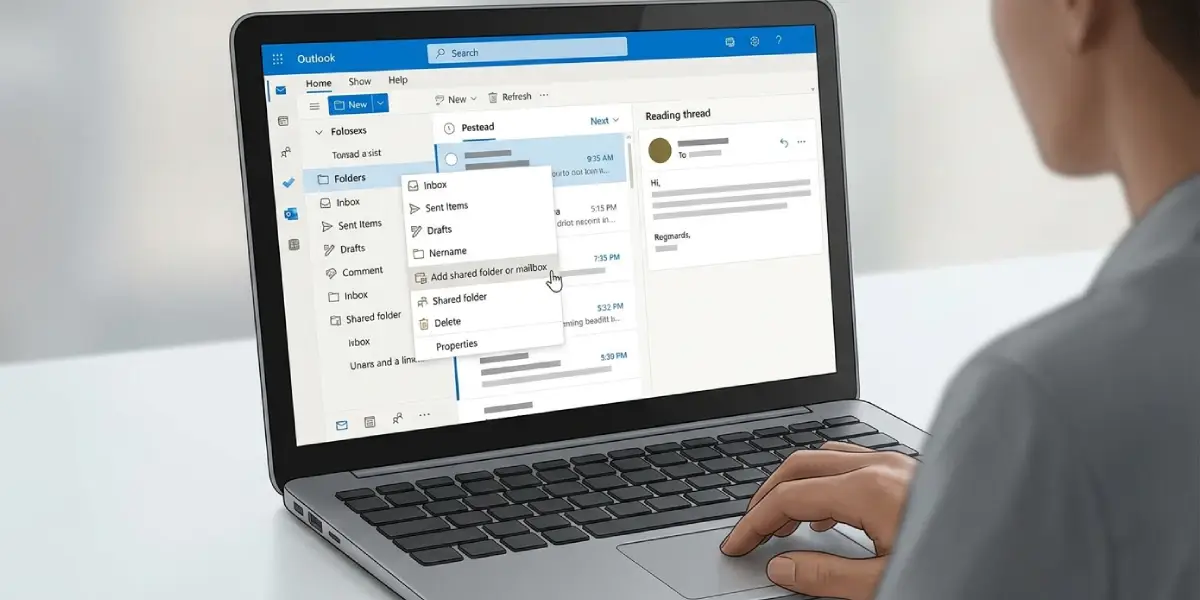
- Step 3: In the folder pane, find the heading named Folders. If the pane is collapsed, expand it first using the arrow next to the Folders heading.
- Step 4: Right-click Folders and select Add shared folder or mailbox from the menu.
- Step 5: Type the full email address of the shared mailbox into the box that appears, for example support@yourcompany.com. Selecting the matching suggestion from the dropdown works well, since it confirms the address is recognized.
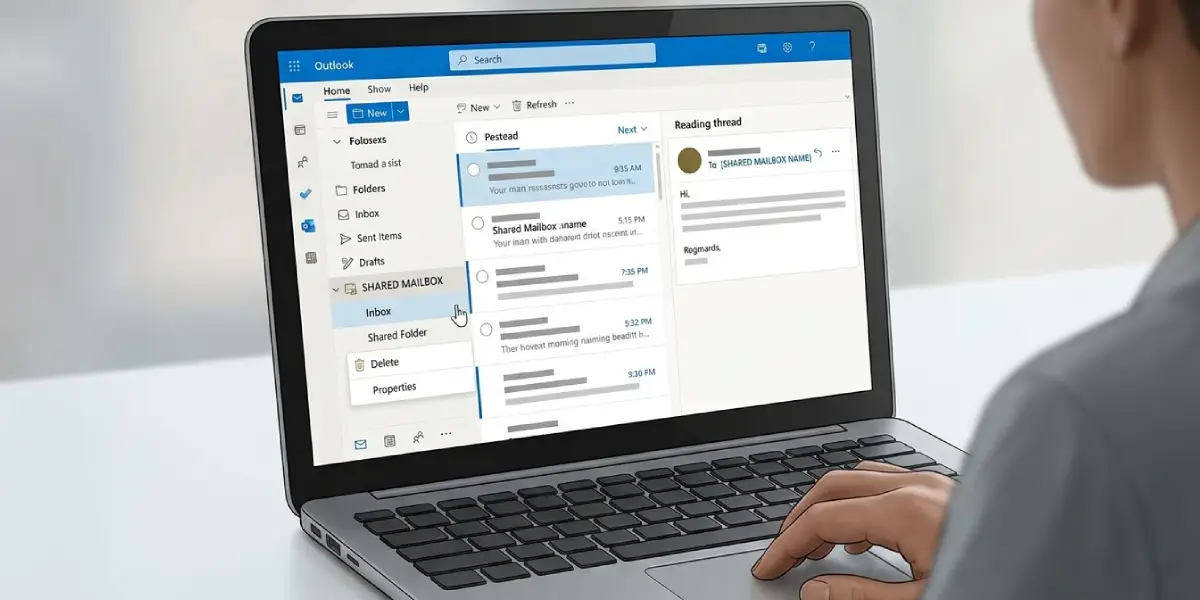
- Step 6: Select Add. The shared mailbox now appears in the folder pane.
- Step 7: Select the arrow next to the shared mailbox name to expand it and reveal its Inbox, Sent Items, and other folders.
Tip: Typing the address from memory is where most mistakes happen. Copy it from the email the administrator sent, so a stray letter does not cause a confusing not-found result.
Confirm the Mailbox Is Working
- Step 1: Select the Inbox under the shared mailbox name and confirm that messages load.
- Step 2: Open a message to confirm full read access.
- Step 3: To send from the shared address, select New mail, then choose the shared mailbox in the From line. If the From line is missing, enable it from the options menu in the message window.
Tip: Think of the shared mailbox like a shared office key. Having the key does not mean being allowed to sign letters in the company’s name. Sending as the shared address needs its own Send As or Send on Behalf permission from the administrator.
Common Problems and Fixes
The Add shared folder or mailbox option is missing
This usually means the account is a personal Outlook.com or Hotmail account. Shared mailboxes are an Exchange Online feature, so the option only appears when signed in with a Microsoft 365 work or school account. Right-clicking the Folders heading rather than an individual folder also matters, since the menu changes by location.
The mailbox cannot be found
Double-check the email address for typos, and make sure the full address is used, not just the display name. If the address is correct, the administrator may not have granted access yet, or the account may be in a different organization.
The mailbox was just granted but does not show up
Permission changes are not always instant. It can take up to an hour for new access to take effect. Signing out, closing the browser, and signing back in often speeds things up.
Access is denied when opening the mailbox
The account has not been given Full Access to that shared mailbox. Ask the administrator to confirm that the exact account being used is listed as a member with read and manage permission.
The shared mailbox is not available in the From line
Reading and sending are separate permissions. The administrator needs to grant Send As or Send on Behalf for the shared mailbox before it can be selected as the sender.
Frequently Asked Questions
Do I need permission before I can add a shared mailbox in Outlook on the web?
Yes. An administrator must first grant the account Full Access to the shared mailbox. Without it, adding the mailbox will fail.
Where do I find the option to add a shared mailbox in Outlook on the web?
Right-click the Folders heading in the folder pane in Mail view and select Add shared folder or mailbox.
What information do I need to add a shared mailbox?
Only the full email address of the shared mailbox is needed, such as support@yourcompany.com.
Why does the shared mailbox not appear right after access is granted?
Permission changes can take up to an hour to apply. Signing out and back in, or refreshing the page, can help the mailbox appear sooner.
Can I add a shared mailbox with a personal Outlook.com account?
No. Shared mailboxes work with Microsoft 365 work or school accounts that use Exchange Online, not with personal Outlook.com or Hotmail accounts.
Can I send emails from a shared mailbox after adding it?
Only if the administrator has also granted Send As or Send on Behalf permission. Full Access alone allows reading and managing mail but not sending as the shared address.
Will the shared mailbox stay in my folder pane after I sign out?
Yes. Once added, the shared mailbox remains in the folder pane each time the account signs in to Outlook on the web.
Do I need to enter a password for the shared mailbox?
No. Shared mailboxes do not have their own password. Access comes through the permissions assigned to the signed-in account.
