
Knowing how to roll back a Windows 11 update is a lifesaver when a fresh patch brings crashes, driver conflicts, printer failures, or a slow desktop. Windows 11 includes several built-in ways to undo an update, and the right one depends on the type of update and whether the PC still starts. This guide covers each method in plain steps.
Key Takeaways
- Monthly quality updates are removed through Update history and the ‘Uninstall updates’ option.
- Major version upgrades are undone with the ‘Go back’ button in Recovery, which is normally available for only 10 days.
- System Restore and the Windows Recovery Environment cover situations where the normal methods fail or the PC will not boot.
- Back up important files first, then pause updates so the same patch does not reinstall right away.
Before You Start
A rollback is usually safe, but a little preparation prevents surprises. Most people find that five minutes of prep saves hours of repair later.
- Copy important documents, photos, and project files to an external drive or cloud storage.
- Plug a laptop into mains power so the battery cannot die mid-process.
- Sign in with an administrator account.
- Note the name or KB number of the problem update from Settings > Windows Update > Update history.
- If the drive is protected with BitLocker or device encryption, keep the recovery key within reach, since recovery screens can ask for it.
How to Roll Back a Windows 11 Update
Windows 11 treats small monthly patches and big version upgrades differently, so the first job is to identify which one caused the trouble. Update history lists each item with its install date, which makes it easy to match the date a problem started.
Method 1: Uninstall a Monthly Quality Update
This is the right choice for cumulative updates and most patches that install automatically each month.
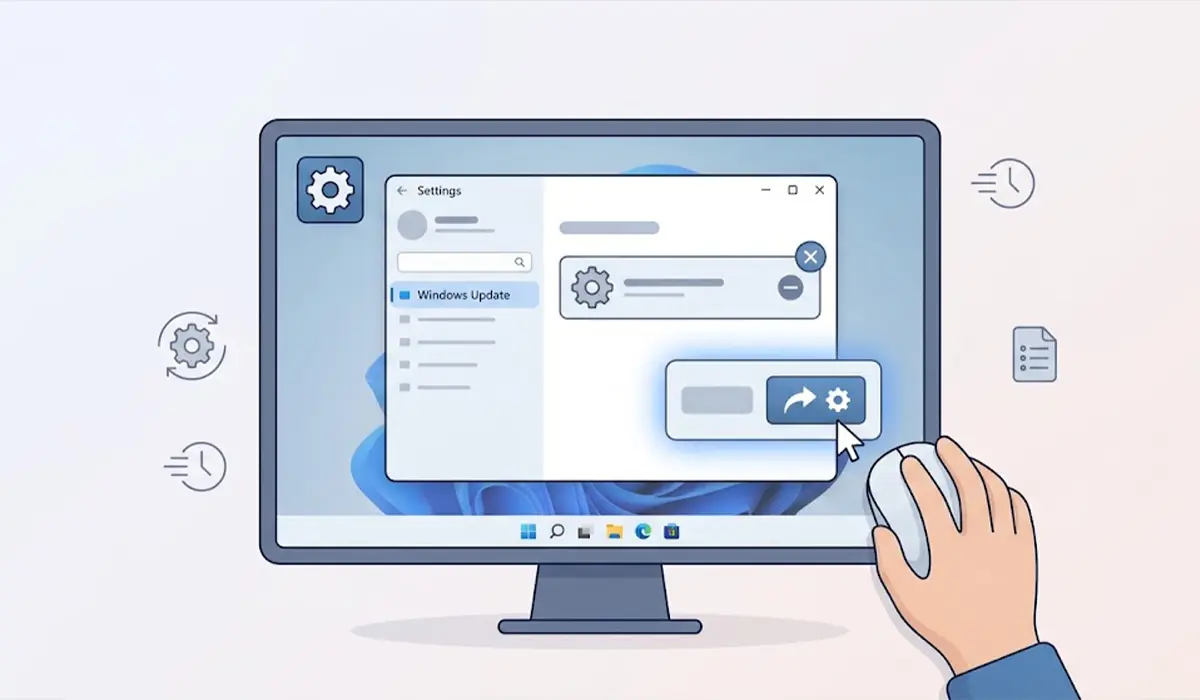
- Step 1: Open Settings and select Windows Update.
- Step 2: Click Update history.
- Step 3: Scroll down to Related settings and click Uninstall updates. The Installed Updates list opens.
- Step 4: Select the problem update, using the Installed On column to find the most recent one.
- Step 5: Click Uninstall at the top of the list and confirm.
- Step 6: Restart the PC when prompted and check whether the problem is gone.
Tip: If an update has no Uninstall button, Windows treats it as a required component and will not allow removal from this screen. In that case, System Restore is the better route.
Method 2: Go Back After a Major Version Upgrade
When a large feature update changes the whole build, the Go back option returns the PC to the previous version of Windows. This works best when used soon after the upgrade.
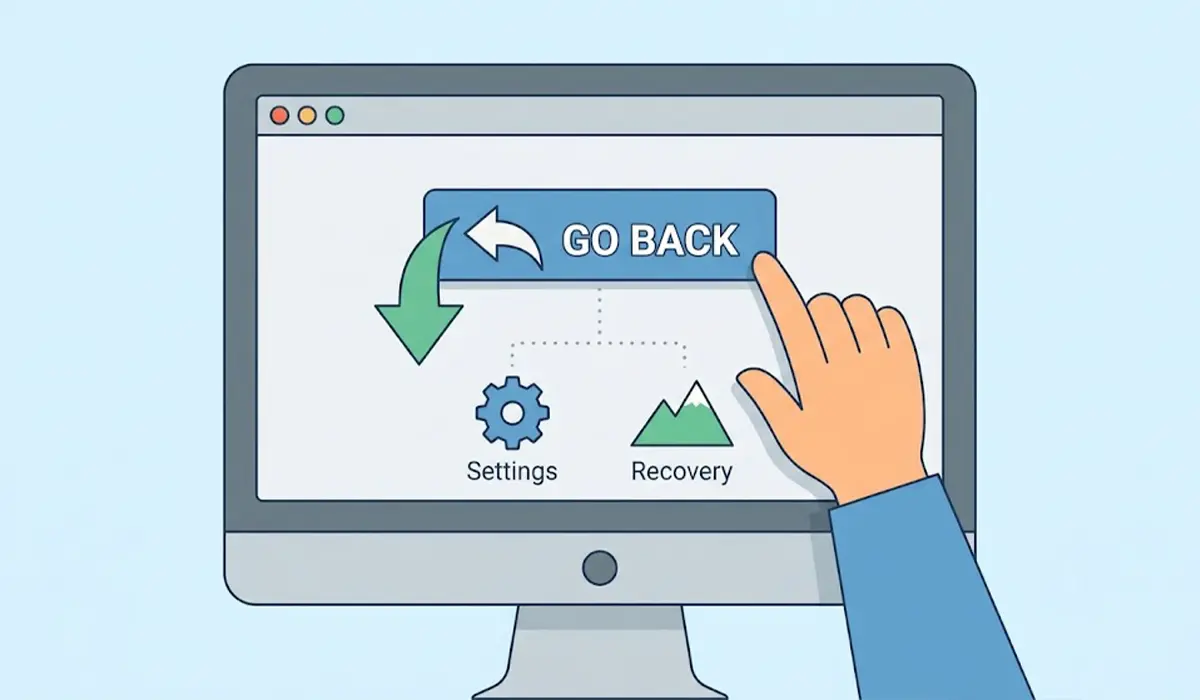
- Step 1: Open Settings, choose System, then select Recovery.
- Step 2: Under Recovery options, click Go back.
- Step 3: Pick a reason for going back and click Next.
- Step 4: When offered a check for updates, choose No, thanks.
- Step 5: Read the on-screen warnings, confirm the password for the previous version is known, and click Next.
- Step 6: Click Go back to earlier build and leave the PC alone while it restarts a few times.
Tip: The Go back option depends on the Windows.old folder that the upgrade leaves behind. Running Disk Cleanup or Storage Sense and clearing previous Windows installations removes that folder and the option along with it.
Method 3: Use System Restore
System Restore rewinds system files, drivers, and installed updates to an earlier restore point without touching personal documents. It only works if a restore point exists from before the update.
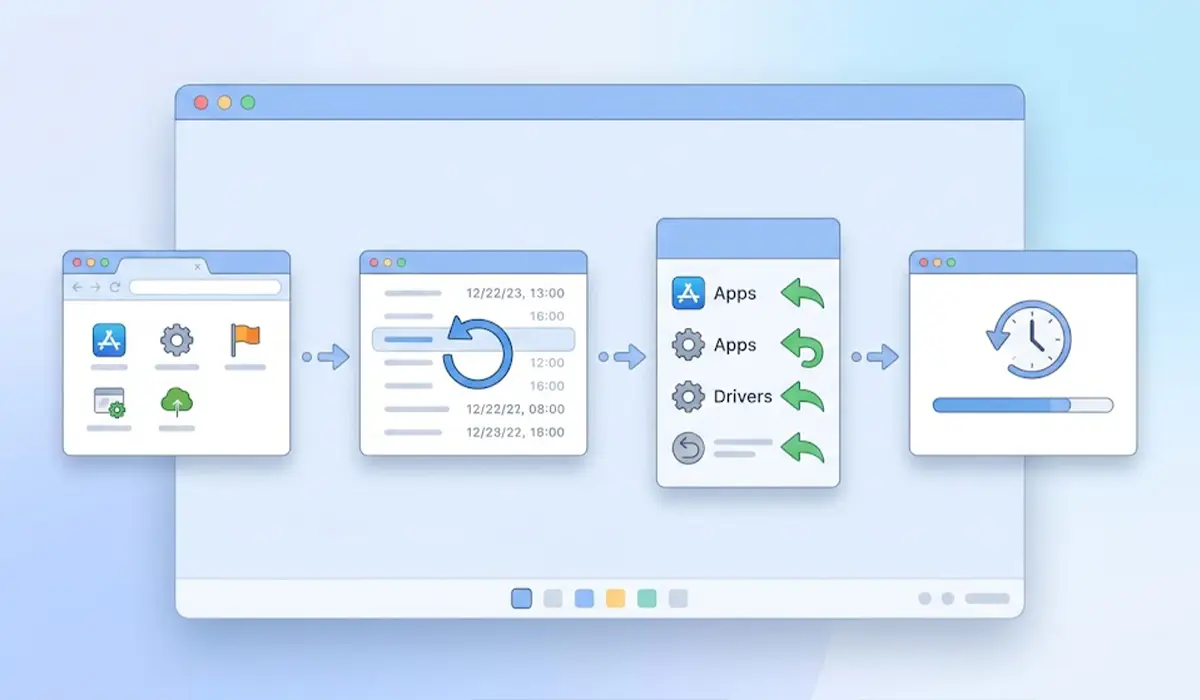
- Step 1: Click Start, type Create a restore point, and open the result.
- Step 2: On the System Protection tab, click System Restore.
- Step 3: Click Next and choose a restore point dated before the trouble began.
- Step 4: Click Scan for affected programs to see which apps and drivers will be removed or restored.
- Step 5: Click Next, then Finish, and allow the restart to complete.
Method 4: Roll Back From the Recovery Environment When Windows Will Not Start
A bad update can leave a PC stuck on a boot loop or a blank screen. The Windows Recovery Environment can remove the update without a working desktop.
- Step 1: Get to the recovery menu. After two or three failed startups, Windows usually opens Automatic Repair on its own, where Advanced options is available. On a PC that still boots, go to Settings > System > Recovery and click Restart now beside Advanced startup.
- Step 2: Select Troubleshoot, then Advanced options.
- Step 3: Click Uninstall Updates.
- Step 4: Choose Uninstall latest quality update for a monthly patch, or Uninstall latest feature update for a major upgrade.
- Step 5: Sign in with an administrator account if asked, confirm, and let the PC restart.
Optional: Remove a Specific Update From Command Prompt
Advanced users can open Command Prompt as administrator and run wusa /uninstall /kb:1234567, replacing the number with the real KB number of the update. This does the same job as Method 1 and is handy when the settings page misbehaves.
What to Do After Rolling Back
Once the PC is stable again, pause updates so the same patch does not reinstall at the next restart. Open Settings > Windows Update and choose a pause period from the Pause updates drop-down. Pausing is only a temporary measure. Updates often carry security fixes, so resume them once a corrected version is released or the problem is understood.
Common Problems and Fixes
The Go Back Button Is Greyed Out or Missing
The 10-day window has passed, or the Windows.old folder was deleted. System Restore is the next best option if a restore point exists. If not, a repair install or a clean install is the remaining path, so back up files first.
The Update Does Not Appear in the Uninstall List
Some updates, including certain servicing components, cannot be removed this way. Try System Restore or the Recovery Environment instead.
The Rollback Fails or Gets Stuck on a Loop
Allow plenty of time, since rollbacks can take a while and may restart several times. If a failure message returns the PC to the same state, try the Recovery Environment method. Check that the drive has free space and that the laptop is plugged in.
The Update Installs Again Automatically
Windows Update will offer a missing patch again at the next check. Pause updates from Settings > Windows Update to buy time while waiting for a fix.
The Problem Remains After Removing the Update
The update may not have been the real cause. Check Device Manager for driver errors, and compare the time the problem began with the dates listed in Update history before trying another rollback.
System Restore Shows No Restore Points
System Protection may be turned off for the drive. In that case there is nothing to restore. Turn it on under the System Protection tab so a restore point exists before the next big update.
Frequently Asked Questions
Can you roll back a Windows 11 update?
Yes. Monthly quality updates can be uninstalled from Update history, and major version upgrades can be undone with the Go back option in Recovery, as long as it is still available.
How long do you have to go back to a previous version of Windows 11?
The Go back option is normally available for 10 days after a major upgrade. After that, Windows removes the files it needs, and the button disappears.
Will rolling back a Windows 11 update delete my files?
Uninstalling a quality update or using System Restore does not remove personal files. Going back to an earlier build keeps personal files too, but apps and settings changed after the upgrade may be lost, so a backup is still wise.
Why is the Go back button greyed out in Windows 11?
The most common reasons are that more than 10 days have passed or the Windows.old folder was deleted by Disk Cleanup or Storage Sense. Without that folder, Windows has nothing to return to.
How do you roll back a Windows 11 update if the PC will not start?
Boot into the Windows Recovery Environment, choose Troubleshoot, then Advanced options, then Uninstall Updates, and pick either the latest quality update or the latest feature update.
How do you stop Windows 11 from installing the update again?
Use the Pause updates option in Settings > Windows Update. This delays installation for a limited time, after which updates resume, so it works best as a short breathing space rather than a permanent fix.
What is the difference between uninstalling an update and using System Restore?
Uninstalling removes one chosen update. System Restore returns system files, drivers, and updates to an earlier restore point, so it can undo several changes at once.
Is it safe to leave a Windows 11 security update uninstalled?
Only for a short time. Security updates close known vulnerabilities, so the PC is more exposed without them. Reinstall the update, or its corrected version, as soon as the issue is resolved.
How can you tell which update caused the problem?
Open Settings > Windows Update > Update history and compare the install dates with the day the trouble began. The update installed just before the first symptom is the most likely cause.