
Learning how to upgrade laptop HDD to SSD is one of the most effective ways to breathe new life into an aging machine. Boot times drop, applications open faster, and the whole system feels noticeably snappier. This guide walks through the entire process from start to finish, using safe, proven methods.
Key Takeaways
- Cloning the existing hard drive preserves the operating system, programs, and files without a fresh install.
- A SATA-to-USB adapter or external enclosure is required to connect the new SSD during the cloning process.
- Checking available drive bay space (2.5-inch versus M.2) before buying an SSD prevents a mismatched purchase.
- Backing up important files beforehand adds a safety net in case anything goes wrong mid-process.
- The entire upgrade typically takes under two hours, most of which is the cloning step running in the background.
Before You Start
A little prep work goes a long way toward a smooth SSD upgrade. Gather these items and take these precautions first:
- Power off the laptop completely and unplug the charger.
- Remove the battery if the laptop has a user-removable one.
- Discharge static electricity by touching a bare metal surface, or wear an anti-static wrist strap.
- Let the laptop sit for a few minutes if it was recently in use, since internal components can still be warm.
Tools and materials needed:
- A new SSD (2.5-inch SATA or M.2, depending on the laptop’s supported slot)
- A small Phillips-head screwdriver
- A SATA-to-USB adapter cable or external drive enclosure
- Cloning software such as Macrium Reflect, EaseUS Todo Backup, or the SSD manufacturer’s own cloning tool
- A plastic pry tool for laptops with clipped-in bottom panels
Opening a laptop chassis can affect the manufacturer’s warranty on some models, so it is worth checking the warranty terms first. If the laptop has an unusual internal layout or glued-in components, stopping and consulting a professional technician is the safer route.
How to Upgrade a Laptop HDD to SSD
This process involves cloning the current drive to the new SSD, then physically swapping the drives inside the laptop. Each step matters, so working through them in order helps avoid a failed clone or a laptop that will not boot afterward.
Step-by-Step Instructions
- Step 1: Check the SSD’s storage capacity against the amount of data currently on the HDD. The destination drive needs enough free space to hold everything being cloned.
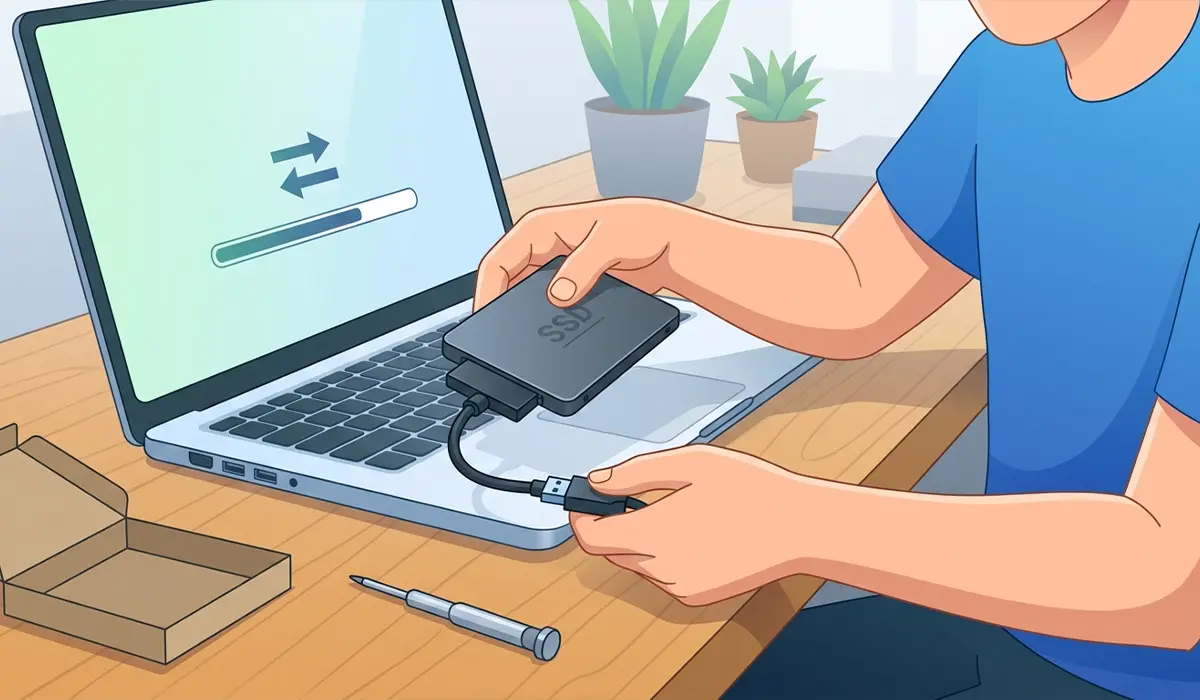
- Step 2: Connect the new SSD to the laptop using the SATA-to-USB adapter or external enclosure.
- Step 3: Install and open the cloning software. Select the internal HDD as the source drive and the connected SSD as the destination drive.
- Step 4: Start the cloning process and let it run without interrupting the laptop or disconnecting the SSD. Larger drives take longer, so this step can run in the background while doing something else.
- Step 5: Once cloning finishes, shut down the laptop, unplug the charger, and remove the battery if applicable.
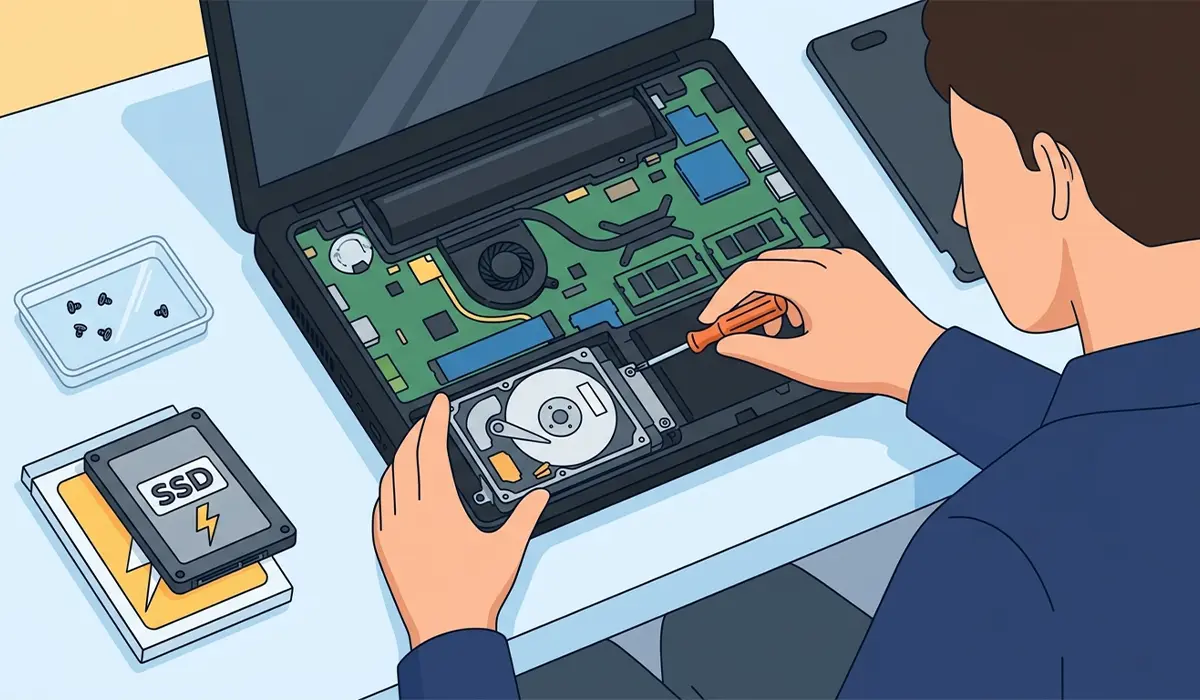
- Step 6: Remove the bottom panel screws and gently pry the panel open, working around the edges rather than forcing one spot.
- Step 7: Locate the HDD, usually held in place by a small bracket or caddy, and disconnect its cable before removing the mounting screws.
- Step 8: Detach the HDD from its bracket or caddy, then attach that same bracket to the new SSD if the laptop uses one.
- Step 9: Install the SSD into the same bay, reconnect the cable, and secure it with the original screws.
- Step 10: Reattach the bottom panel, reinsert the battery, and power the laptop on to confirm it boots normally from the new SSD.
Tip: Running a quick check in disk management or the BIOS after the first boot confirms the SSD is recognized at its full capacity before considering the job finished.
M.2 SSD Installations
Laptops with an M.2 slot skip the bracket step entirely. The M.2 SSD slides into the slot at a slight angle and is secured with a single small screw, which makes physical installation even quicker than a traditional 2.5-inch swap. The cloning process beforehand stays the same regardless of drive type.
Common Problems and Fixes
- Laptop won’t boot after the swap: Double check that the SSD is seated fully in its connector and that the cable, if using a 2.5-inch drive, is firmly attached on both ends. Reopening the BIOS boot order menu and confirming the SSD appears there also resolves many no-boot situations.
- Cloning software reports an error mid-process: This often happens when the HDD has bad sectors. Running the built-in disk check utility on the source HDD before attempting the clone again usually clears this up.
- SSD shows less capacity than expected: This is typically normal, since manufacturers list capacity in decimal gigabytes while the operating system reports it in binary. A small difference between the labeled size and the reported size is expected and not a fault.
- Laptop boots but feels no faster: Check that the SSD is running in AHCI mode rather than an older compatibility mode within the BIOS, since the wrong mode can bottleneck performance.
Frequently Asked Questions
Is it necessary to reinstall Windows after upgrading to an SSD?
No. Cloning the HDD transfers the operating system, settings, and files directly onto the SSD, so a fresh installation is not required.
How much faster is an SSD compared to an HDD in a laptop?
SSDs read and write data significantly faster than traditional spinning HDDs, which translates into quicker boot times, faster file transfers, and snappier application loading.
Can the old HDD still be used after the upgrade?
Yes. The HDD can be placed into an external enclosure and used as extra storage or a backup drive once it is removed from the laptop.
What is the difference between a 2.5-inch SSD and an M.2 SSD?
A 2.5-inch SSD uses the same physical form factor and SATA cable connection as a traditional laptop HDD, while an M.2 SSD is a smaller stick-shaped drive that plugs directly into a dedicated slot on the motherboard.
Does every laptop support an SSD upgrade?
Most laptops from the last decade support either a 2.5-inch SATA SSD or an M.2 SSD, though some ultra-thin models have soldered, non-upgradeable storage. Checking the laptop’s specifications beforehand confirms compatibility.
What happens if the cloning process is interrupted?
An interrupted clone can leave the destination SSD with incomplete or corrupted data. Restarting the cloning process from the beginning resolves this in nearly all cases.
Is a full backup still necessary if cloning the drive?
Yes. Cloning is generally reliable, but keeping a separate backup of important files adds protection in case the clone does not complete successfully.
Can an SSD upgrade be done without removing the battery?
On laptops with a removable battery, taking it out is the safer approach. On laptops with an internal, non-removable battery, fully powering down and unplugging the charger is the required precaution instead.
Why does the BIOS need to be checked after installing the SSD?
The BIOS boot order determines which drive the laptop starts from. Confirming the new SSD is set as the primary boot device prevents the laptop from trying to boot from a drive that no longer exists.
How long does the entire HDD to SSD upgrade take?
Most upgrades take under two hours total, with the cloning step taking the bulk of that time depending on how much data is being transferred.
