
Learning how to fix USB ports disabled in BIOS takes only a few minutes once the right menu is found, and it usually brings a dead keyboard, mouse, or flash drive back to life. The setting lives in the firmware (BIOS or UEFI), so no amount of Windows troubleshooting helps until it is switched back on. This guide covers the menus to check, what to do when no keyboard works, and how to confirm the fix.
Key Takeaways
- A USB port that is switched off in the BIOS or UEFI stays dead in every operating system until the option is re-enabled in firmware setup.
- The relevant options are usually named USB Configuration, USB Controller, Legacy USB Support, or a port-access setting under Security or Advanced.
- If no USB keyboard works, use the laptop’s built-in keyboard, a PS/2 keyboard, or a port that stays active in setup. Loading default settings or clearing the CMOS is the fallback.
- Save changes before exiting, or the setting reverts on the next restart.
- Locked or greyed-out options usually point to a BIOS password or an administrator policy, not a hardware fault.
Before You Start
Changing a BIOS setting is safe and needs no tools. A CMOS reset on a desktop involves opening the case, so the prep below applies to that part.
- Save open work and shut the PC down completely. For a CMOS reset, unplug the power cable as well, and on a laptop with a removable battery, take the battery out.
- Touch bare metal on the case, or wear an anti-static strap, before handling anything inside the PC.
- Have a known-working USB keyboard ready. A PS/2 keyboard is a bonus if the motherboard still has that port.
- For a desktop CMOS reset, keep a Phillips screwdriver nearby and the motherboard manual open. The coin cell is usually a CR2032, and a fresh one is worth having if the old one is weak.
- Take a phone photo of any BIOS screen before changing it, so the original values can be restored.
Opening a device can affect its warranty. If the laptop uses a sealed internal battery, or the machine belongs to an employer, stop after the software steps and let a professional or the IT department handle the rest.
How to Fix USB Ports Disabled in BIOS Step by Step
Menu names differ between brands, but the logic is the same everywhere: find the USB or I/O port section, enable what is switched off, and save.
Enable the USB Ports in BIOS Setup
- Step 1: Confirm the problem is at the firmware level. Plug a device that is known to work into every port, and on a desktop test the rear ports on the motherboard as well as the front-panel ones. If only the front ports are dead, a loose front-panel cable is also possible, so keep that in mind.
- Step 2: Arrange a way to navigate the BIOS. On a laptop, the built-in keyboard normally works in setup even when external USB ports are off. On a desktop, try a PS/2 keyboard, or try different USB ports, since many boards keep certain ports active during startup.
- Step 3: Restart the PC and press the setup key repeatedly as the manufacturer logo appears. Del or F2 is common on desktops, while laptops often use F2, F10, or F1 depending on the brand. The startup screen often shows the key for a moment.
- Step 4: Open the section that holds USB options. Look under Advanced, Peripherals, Integrated Peripherals, or Onboard Devices. Business laptops often hide them under Security in an I/O Port Access or Port Options menu, and some Dell models use a USB Configuration page.
- Step 5: Change every relevant option from Disabled to Enabled. Look for items such as USB Controller, USB Ports, External USB Ports, Front USB Ports, Rear USB Ports, USB Storage Function, and USB Port Access. If the menu lists ports individually, check each one.
- Step 6: Check Legacy USB Support and XHCI Hand-off. Legacy USB Support (set to Enabled or Auto) lets keyboards and mice work before the operating system loads. XHCI Hand-off is normally left on Enabled so the operating system can take control of the USB 3 controller properly.
- Step 7: Save and exit. Most BIOS screens use F10 for Save and Exit, and the menu also has a Save Changes and Exit option. Pick one and confirm.
- Step 8: After Windows loads, test each port with a keyboard, a mouse, and a flash drive. Open Device Manager and expand Universal Serial Bus controllers to confirm the controllers appear without warning icons.
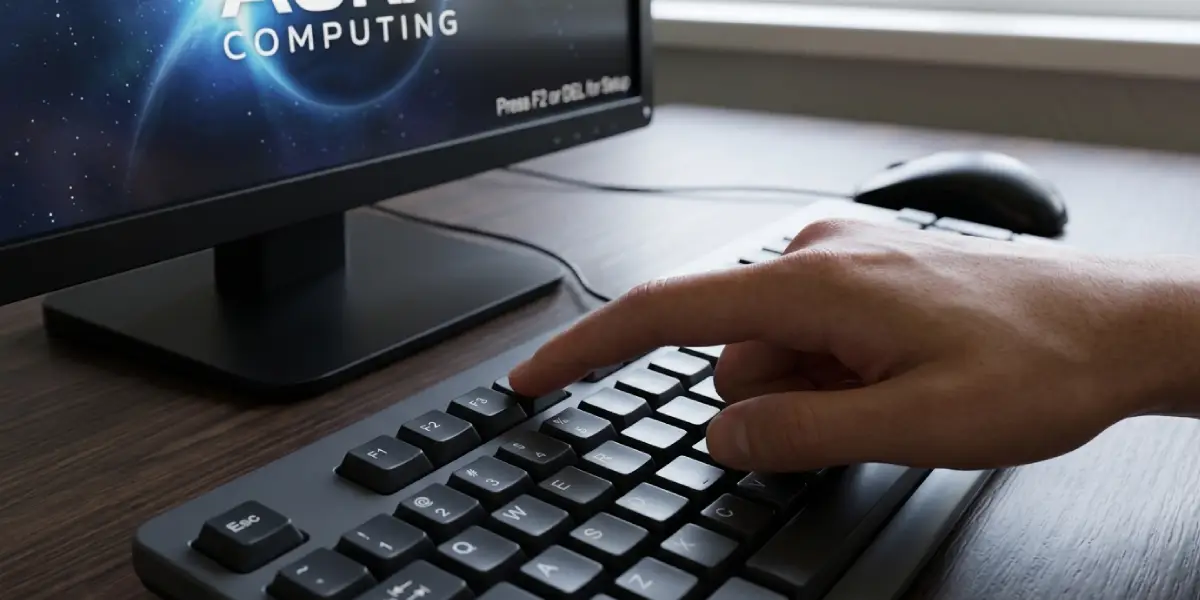
Tip: Change only the options that are clearly disabled and follow a photo-first habit. If something else misbehaves afterward, the original screen is one glance away.
If No Keyboard Works in the BIOS
Sometimes every USB port is dead, including during setup, and no other keyboard type is available. A reset to default settings usually turns the ports back on, since USB is enabled by factory default on virtually all boards.
- Step 1: Look for a Clear CMOS button on the rear panel of the motherboard, or a jumper labeled something like CLR_CMOS near the coin cell. The motherboard manual shows the exact location.
- Step 2: Shut the PC down, unplug the power cable, and discharge static by touching bare metal on the case.
- Step 3: Use the button if there is one. With a jumper, move the cap to the reset position for a few seconds, then return it to its original position. Without either, remove the coin cell for about five minutes and reinstall it with the correct side facing up.
- Step 4: Reconnect the power, start the PC, and press the setup key. The BIOS will show default settings, and the date and time may need to be set again.
- Step 5: Check that the USB options are enabled, save, and exit.
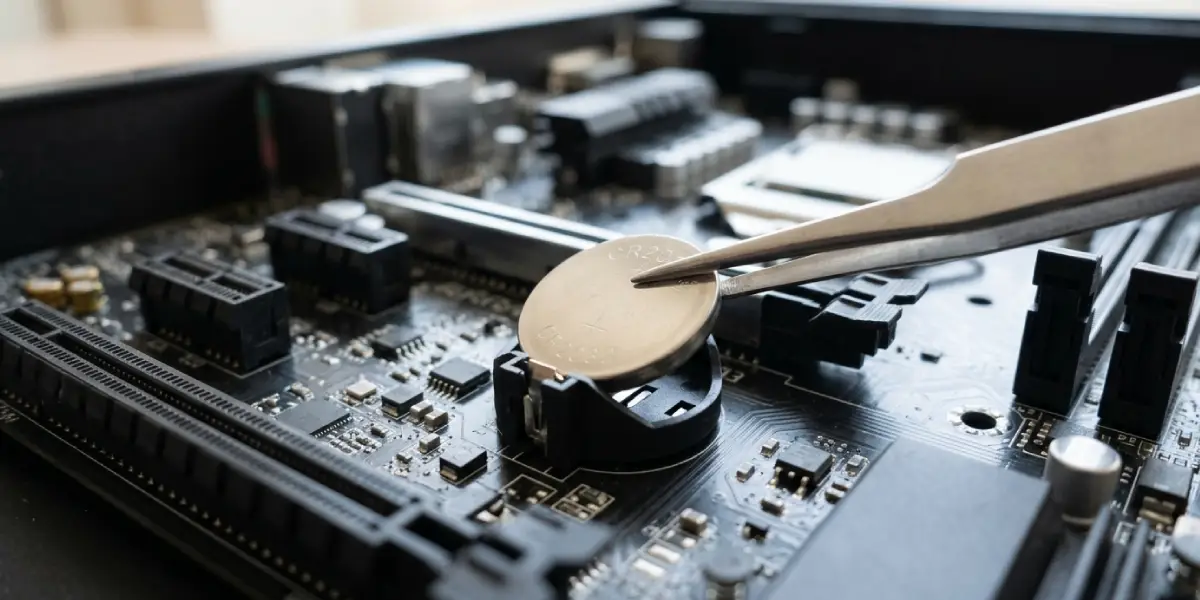
Tip: Laptops rarely have a CMOS jumper, and the battery is often sealed. If the built-in keyboard cannot reach setup, or the ports stay dead after a reset, a technician is the safer route than prying the chassis open.
Common Problems and Fixes
The USB Options Are Greyed Out or Locked
A supervisor password or an administrator policy commonly locks these settings on business and school laptops. Entering the correct BIOS password, or asking the IT department to change the policy, is the only proper fix.
The Ports Work in the BIOS but Not in Windows
In this case, the firmware setting is not the cause. Open Device Manager, look for disabled or error-marked USB controllers, and right-click to enable or reinstall them. Restarting the PC fully (not just using Fast Startup) and installing the latest chipset driver from the motherboard or laptop maker also resolves many of these cases.
The Setting Reverts After Every Restart
A dead or weak CMOS battery cannot hold changes, and a BIOS that resets its own time and date is a strong sign of it. Replacing the coin cell (typically a CR2032) usually stops the reverting. If a fresh cell does not help, a BIOS update from the manufacturer’s website is the next step.
A USB Boot Drive Is Not Listed
Ports may be on while USB boot is off. Look for options such as USB Boot Support or USB Storage Function, enable them, and check the boot order. Also confirm that the drive was created to match the boot mode (UEFI or Legacy) the PC uses.
Only Some Ports Are Dead After the Change
Front-panel ports rely on a header cable inside the case, and some menus list front and rear ports separately. Re-check both entries in the BIOS, then open the case and confirm that the front-panel USB cable is seated firmly on the motherboard header.
Frequently Asked Questions
Why are my USB ports disabled in the BIOS?
The usual reasons are a manual change in setup, a reset that loaded odd values, a BIOS update that changed defaults, or an administrator policy on a managed laptop. On a business laptop, security settings are a frequent reason.
How do I enable USB ports in the BIOS?
Enter the BIOS, open the USB or I/O port section (often under Advanced or Security), switch each disabled USB option to Enabled, then save and exit with F10 or the Save and Exit menu.
How can I enter the BIOS if my USB keyboard does not work?
Use the laptop’s built-in keyboard, a PS/2 keyboard, or a different USB port that the board keeps active during startup. If none of these work, clear the CMOS to restore default settings.
What does Legacy USB Support do?
Legacy USB Support lets keyboards and mice function before the operating system loads, such as in the BIOS menu or a boot prompt. Leaving it on Enabled or Auto is the safe choice.
Will clearing the CMOS enable my USB ports?
In most cases, yes. A CMOS clear returns the BIOS to factory defaults, and USB ports are enabled by default on almost every motherboard. Custom settings, the clock, and the boot order are lost and need to be set again.
Why are the USB options greyed out in my BIOS?
A supervisor password, a managed-device policy, or a linked setting (such as a controller that is turned off elsewhere) locks the option. Unlocking the BIOS with the proper password or asking the administrator is the fix.
My USB ports are enabled in the BIOS but still not working. What now?
Check Device Manager for disabled or faulty USB controllers, reinstall the chipset driver, test the ports with a different device, and inspect the front-panel cable on a desktop. If the ports fail everywhere, including in the BIOS, a hardware fault is likely.
Can a BIOS update fix disabled USB ports?
Sometimes. An update can fix a bug where ports fail to initialize, but it should not be the first attempt. Enabling the option in setup or resetting to defaults comes first, and a BIOS update should only be run with stable power.
