
A PC that refuses to start past the manufacturer logo is one of the more unsettling problems a computer owner can face, but learning how to repair Windows boot using recovery mode often solves the issue without a full reinstall. Windows includes a built-in recovery environment specifically designed for this kind of failure. This guide walks through the exact steps technicians use to get a stuck system booting again.
Key Takeaways
- Windows Recovery Environment (WinRE) can repair most boot failures without erasing personal files.
- Startup Repair, System Restore, and manual command-line fixes each target different causes of boot failure.
- Corrupted boot files, damaged system partitions, and failed updates are the most common triggers.
- Recovery mode can be reached even when Windows will not load at all, using forced restarts or installation media.
- A reset or reinstall should only be considered after recovery tools fail to fix the problem.
Before You Start
No disassembly is required for this repair, but a little preparation prevents wasted time and avoids data loss.
- Make sure the machine is plugged into power directly, since a boot repair session on battery alone risks an interruption partway through.
- Locate a USB flash drive of at least 8GB in case installation media needs to be created on another working computer.
- If any external drives or USB peripherals are attached, disconnect them, since a wrong boot order or conflicting device can sometimes get blamed for what is actually a Windows-level issue.
- Have the product key or Microsoft account details on hand only if a full reset ends up being necessary later.
Tip: If the system still shows any signs of life, even a spinning cursor or partial desktop, try a normal restart two or three times first. Windows automatically enters recovery mode after repeated failed boot attempts, which is often the fastest way in.
How to Repair Windows Boot Using Recovery Mode
Entering the Windows Recovery Environment
There are a few reliable paths into recovery mode, and the right one depends on how far Windows gets before failing.
- Step 1: Turn on the PC and let it attempt to boot. If it fails and reaches the Automatic Repair screen on its own, skip ahead to the repair options below.
- Step 2: If Windows loads far enough to reach the sign-in screen or desktop, open the Start menu, hold Shift, and select Restart. This forces the PC into the recovery environment on the next boot.
- Step 3: If the PC never gets that far, force recovery mode manually. Power on the machine, wait for the manufacturer logo, then hold the power button to force a shutdown. Repeat this two or three times. After the second or third failed boot, Windows should automatically load into the recovery environment.
- Step 4: If none of the above work, boot from Windows installation media created on another computer, select the correct language and keyboard layout, then choose ‘Repair your computer’ instead of ‘Install now’.

Running Startup Repair
Startup Repair is the first and simplest tool to try, since it automatically scans for and fixes common causes of boot failure.
- Step 5: From the recovery screen, select Troubleshoot, then Advanced options.
- Step 6: Choose Startup Repair and select the target Windows installation if prompted.
- Step 7: Let the tool run its full diagnostic and repair cycle. This can take several minutes, and the screen may appear to stall – that is normal behavior during this scan.
- Step 8: Restart the PC once the tool finishes. If it reports that the repair was successful, the boot process should now complete normally.
Tip: If Startup Repair reports it could not fix the problem, do not panic. That message simply means the issue needs one of the more targeted fixes covered next, not that the drive or data is lost.
Rebuilding the Boot Configuration with Command Prompt
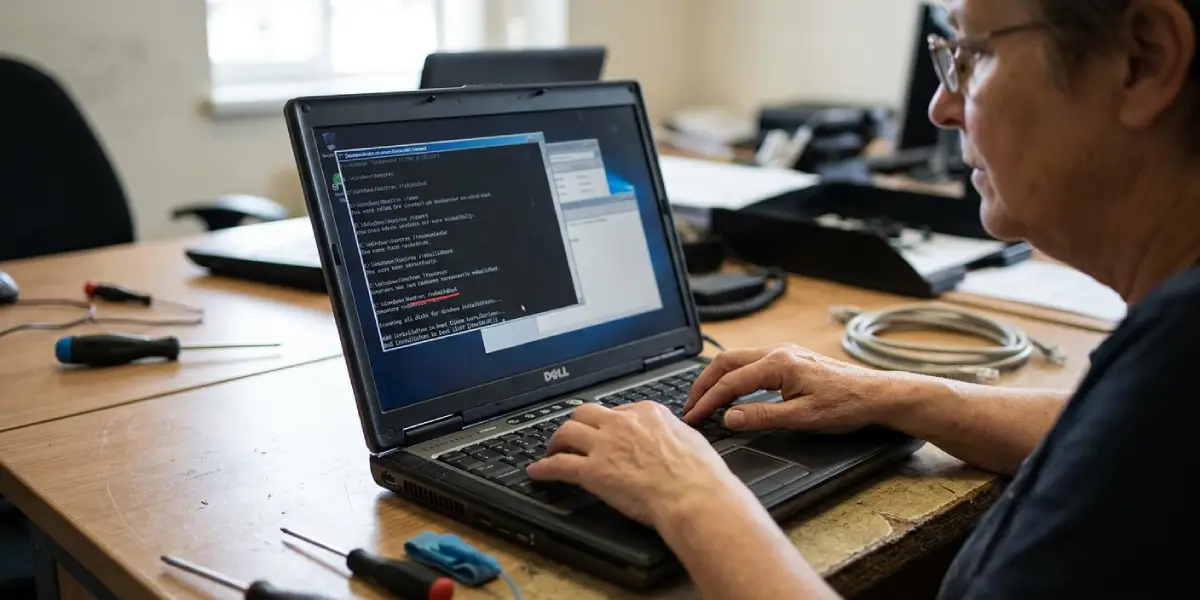
When Startup Repair does not resolve things, the boot configuration data itself may be corrupted or missing. This is fixed directly through the command line.
- Step 9: From Advanced options, select Command Prompt.
- Step 10: Type bootrec /fixmbr and press Enter to repair the master boot record.
- Step 11: Type bootrec /fixboot and press Enter to rewrite the boot sector.
- Step 12: Type bootrec /scanos to search attached drives for compatible Windows installations.
- Step 13: Type bootrec /rebuildbcd to rebuild the boot configuration data store, then confirm when prompted to add the detected installation.
- Step 14: Restart the PC and check whether it boots normally.
Using System Restore
If a recent update, driver, or software change is the likely culprit, rolling the system back to an earlier point can undo the damage without touching personal files.
- Step 15: From Advanced options, select System Restore.
- Step 16: Choose a restore point dated before the boot problems began.
- Step 17: Confirm the selection and allow the process to complete. The PC will restart automatically once finished.
Checking Disk Health with CHKDSK and SFC
Sometimes the boot files are fine, but the drive itself has errors, or system files have become corrupted. These two commands catch different halves of that problem.
- Step 18: Open Command Prompt from Advanced options.
- Step 19: Type chkdsk C: /f /r and press Enter to scan the drive for bad sectors and file system errors, replacing the drive letter if the installation is on a different volume.
- Step 20: Once that finishes, run sfc /scannow from within the Windows installation, which requires booting normally first if the drive checks out clean.
Common Problems and Fixes
Recovery mode never appears, even after forced restarts
This usually points to a drive that is not being detected at all, often due to a loose SATA or NVMe connection or a drive that has failed outright. Installation media is the more reliable path in this scenario, since it does not depend on the internal drive’s boot files to launch.
Startup Repair loops without ever completing
A repair loop, where the PC keeps returning to the same repair screen after every attempt, generally means an underlying issue that Startup Repair cannot resolve on its own. Moving on to the manual bootrec commands or System Restore usually breaks the cycle.
‘Bootrec /fixboot’ returns an access denied error
This typically means the System Reserved partition is not assigned a drive letter. Using the diskpart tool from the same Command Prompt session to list volumes and assign a temporary letter to that partition resolves it before retrying the command.
System Restore fails partway through
This can happen when the restore point itself is damaged or when a driver conflict interrupts the rollback. Trying an earlier restore point often works, and if none remain, the bootrec and CHKDSK routes become the next line of defense.
PC boots into recovery mode automatically every single time
Once the underlying boot issue is actually fixed, this loop should stop on its own after a normal restart. If it continues, an unresolved boot configuration entry is usually still pointing at the wrong installation, and rerunning the bootrec commands typically clears it.
Frequently Asked Questions
Will using recovery mode delete personal files?
No. Startup Repair, System Restore, and the command line tools covered here do not remove personal files. Only a full reset or reinstall carries that risk, and even then an option to keep files is usually available.
How long does Startup Repair normally take?
It varies by system, but a scan typically finishes within several minutes. If it runs far longer than that with no progress at all, it may be stuck rather than simply slow.
What is the difference between Startup Repair and System Restore?
Startup Repair looks specifically for boot-related file and configuration problems. System Restore rolls the entire system back to an earlier saved state, which also fixes boot issues caused by a recent update or driver install.
Can recovery mode be accessed without installation media?
Yes, in most cases. Three failed boot attempts in a row typically triggers it automatically, and a Shift-click restart from the sign-in screen works whenever the desktop is still reachable.
What should be done if there is no working computer available to create installation media?
Many PC manufacturers include a recovery partition that can rebuild the recovery environment directly, accessed through a specific key press during startup. Checking the manufacturer’s support site for the exact key is the fastest way to confirm this option.
Is it safe to run all of the bootrec commands in sequence?
Yes. These commands are designed to be run in order and only make targeted changes to the boot sector and boot configuration data, without affecting personal files or installed programs.
Why does ‘bootrec /scanos’ sometimes find zero installations?
This usually means the drive has a deeper corruption issue or the partition structure itself is damaged. Running CHKDSK first, or checking that the drive shows up correctly in the BIOS, helps narrow down whether the drive is the actual source of the problem.
Does entering recovery mode affect the warranty?
No. Recovery mode is a built-in Windows feature meant to be used exactly this way, and accessing it carries no warranty implications. This differs from opening the physical case, which some manufacturers do treat differently.
When should a professional take over instead?
If the drive itself shows signs of physical failure, such as clicking noises or repeated detection failures in BIOS, or if none of these software fixes restore a boot, a professional data recovery or repair service is worth involving before repeated attempts risk further damage.
What comes after recovery mode fails to fix the problem?
A reset that reinstalls Windows while keeping personal files is typically the next step, followed by a full clean install only if that also fails to resolve things.
