
Learning how to clean a laptop keyboard properly protects your keys, your sensors, and the delicate electronics sitting just millimeters below the surface. Dust, crumbs, skin oil, and the occasional coffee splash all build up faster than most people expect. The good news is that a careful clean takes about fifteen minutes and needs only a few simple supplies.
Key Takeaways
- Always power off and unplug the laptop before you touch a single key.
- Use 70 to 90 percent isopropyl alcohol on a cloth, never poured directly onto the keys.
- A soft brush and short bursts of compressed air lift out the debris that hides between and beneath keycaps.
- Keep all liquid away from openings, and let everything dry fully before powering back on.
- Regular light cleaning prevents the sticky, gritty buildup that forces a deeper job later.
Before You Start
This is a low-risk task, but a little prep keeps it safe. Shut the laptop down completely rather than just closing the lid, then unplug the charger and any USB devices. If your model has a removable battery, take it out. Give the machine a moment to sit idle so nothing is drawing power while you work.
Here is what you will want on hand:
- 70 to 90 percent isopropyl alcohol (higher concentrations evaporate faster and leave less moisture)
- A lint-free or microfiber cloth
- A soft brush, such as a clean makeup brush or a small paint brush
- A can of compressed air or a hand-pump air blower
- Cotton swabs for tight corners
- A plastic pry tool or a spudger, only if you plan to remove keycaps
Skip anything harsh. Water, glass cleaner, and paper towels can smear residue, shed fibers, or seep into the circuitry. If liquid has already spilled inside and keys are dead or mushy, or if you are not comfortable prying keycaps on a mechanism you do not recognize, stop and let a repair technician handle it. Opening panels or removing keys on some laptops can also affect the warranty, so check your coverage first.
How to Clean a Laptop Keyboard Step by Step
This routine works for most standard membrane and scissor-switch laptop keyboards. Move through it in order, since each step clears the way for the next.
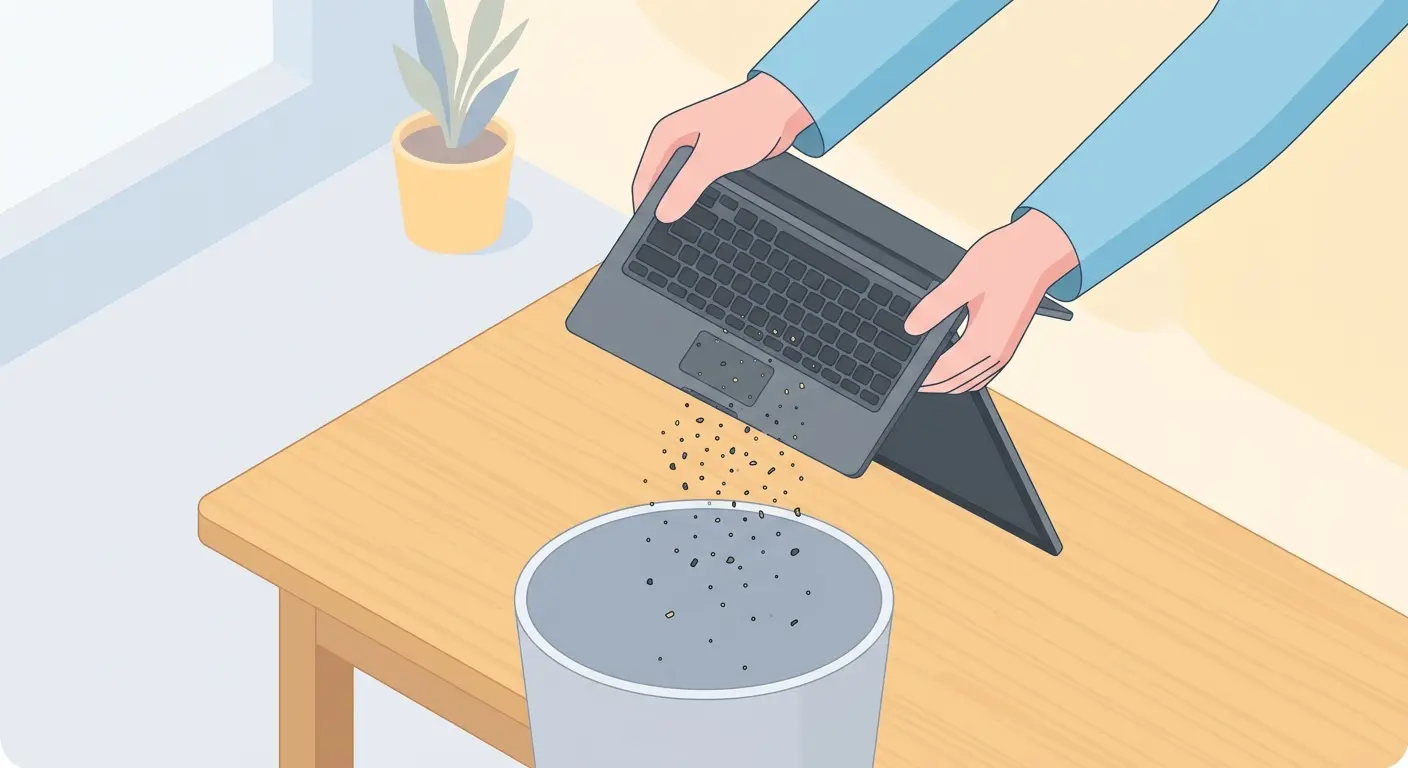
- Step 1: Turn the laptop upside down over a trash can or a sheet of paper and gently tap the base. Loose crumbs, hair, and grit will fall out of the key gaps. Give it a firm but careful shake to dislodge anything wedged in deeper.
- Step 2: Hold the can of compressed air upright and use short bursts across the keyboard at an angle, working row by row. Angling the nozzle pushes debris out sideways instead of driving it further under the keys. Keep the can moving so it does not spray cold propellant onto one spot.
- Step 3: Sweep a soft brush between and around the keys to loosen dust that the air did not reach. A brush is gentle enough for the key edges and reaches into the seams where oily grime collects.
- Step 4: Dampen the microfiber cloth lightly with isopropyl alcohol so it is barely moist, not wet. Wipe the top of each key and the surrounding surface. The alcohol cuts through skin oil and lifts the shiny film that builds up on well-used keys.
- Step 5: For sticky spots or grime lodged in corners, use a cotton swab dipped in a small amount of alcohol. Roll it along the edges of the sticky key rather than mashing it down, and swap for a fresh swab once it gets dirty.
- Step 6: Do a final dry pass with a clean section of the cloth to pick up any leftover moisture and loosened residue. Then let the keyboard air-dry for several minutes before you power the laptop back on.
Tip: Clean under decent lighting and tilt the laptop slightly toward you. Grease and dust are surprisingly hard to see straight on, and the tilt reveals the film you would otherwise miss.
Deep Cleaning by Removing Keycaps
Sometimes a surface clean is not enough, especially after a spill or years of use. Removing keycaps lets you reach the debris underneath, but it demands patience and the right touch. Not every laptop is built for this, so proceed only if your keys are clearly the removable type.
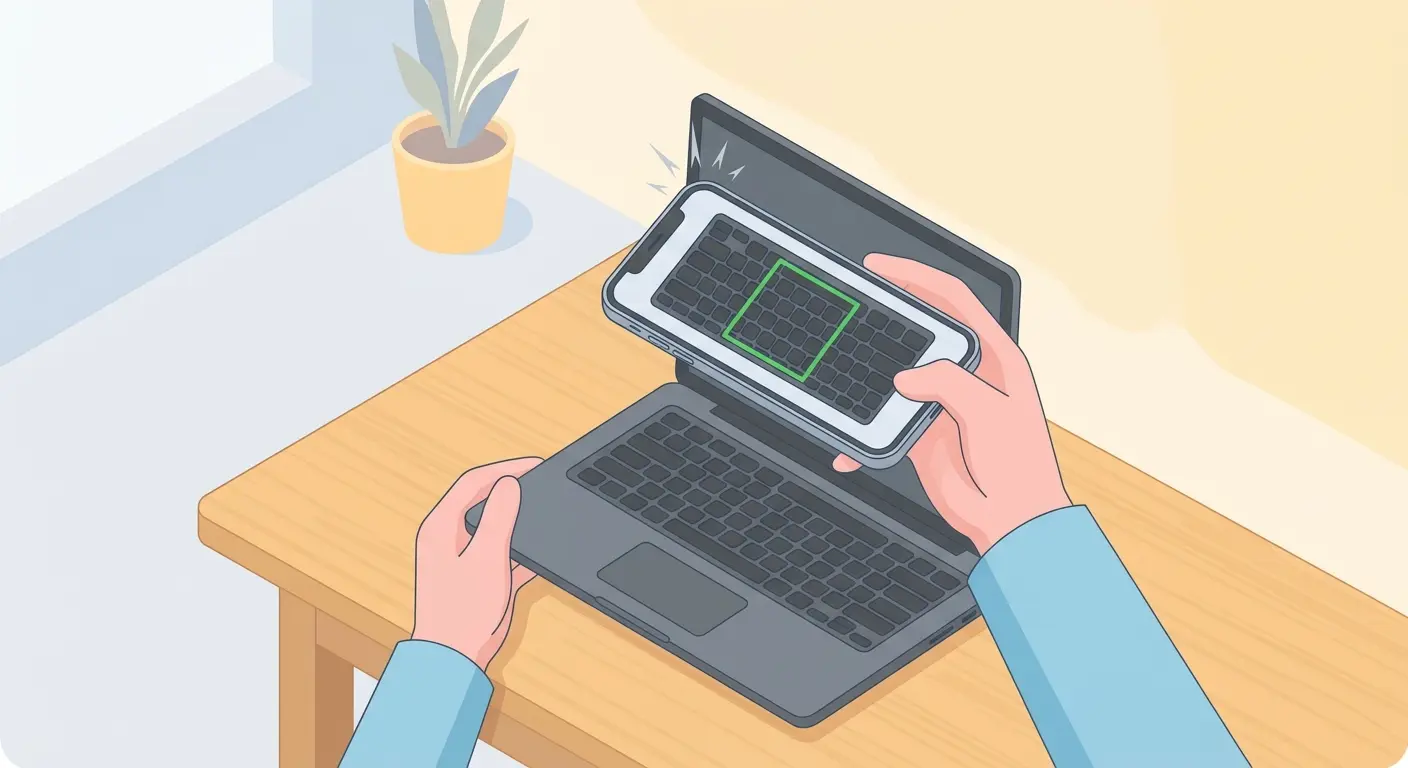
- Step 1: Snap a clear photo of the layout first. It is easy to forget where an oddly shaped key belongs, and the photo is your reference for reassembly.
- Step 2: Slide a plastic pry tool under one corner of a keycap and lift gently until it pops free. Leave larger keys like the space bar and Enter alone unless you are confident, since they use fragile stabilizer bars underneath.
- Step 3: Brush and blow out the exposed area, then wipe the base plate with a lightly alcohol-dampened swab.
- Step 4: Wipe each removed keycap and let it dry, then press it straight back down over its switch until it clicks into place. Check that every key presses evenly before you finish.
Common Problems and Fixes
Even a careful clean can leave a few things to sort out. Here are the issues that come up most often with laptop keyboards and how to handle them.
A Key Feels Sticky After Cleaning
Leftover residue or sugary spill remnants under the keycap are usually the cause. Go back with a cotton swab and a touch more alcohol, working the edges of that specific key. If it stays sticky, the switch beneath may need a keycap removal and a direct clean.
A Key Stopped Responding
If a key went quiet right after cleaning, it may not be seated correctly or a bit of moisture may still be present. Press it firmly to reseat it, and give the area more drying time. Powering on while any dampness remains is the most common reason a key acts up, so patience often solves it on its own.
The Keyboard Still Looks Grimy
A single alcohol wipe rarely removes years of buildup. Repeat the wiping pass with a fresh cloth section, and use a brush to agitate the seams before wiping again. Well-loved laptops sometimes need two or three passes to look truly clean.
A Faint Alcohol Smell or Streaks Remain
That fades quickly as the last of the moisture evaporates. If you see streaks, buff the keys with the dry side of the microfiber cloth. Streaking usually means the cloth was a little too wet during the wipe.
Frequently Asked Questions
How often should a laptop keyboard be cleaned?
A light surface wipe and dust-out every couple of weeks keeps buildup manageable, while a more thorough clean every few months handles the grime that settles in over time. If you eat at your desk or share the machine, lean toward the more frequent end.
Can rubbing alcohol damage a laptop keyboard?
Isopropyl alcohol is safe when applied to a cloth or swab rather than poured on, because it evaporates fast and leaves no residue. The risk comes from excess liquid seeping into the electronics, so keeping the cloth barely damp is the key.
Is compressed air safe for laptop keys?
Yes, as long as you use short bursts and hold the can upright and at an angle. Tilting the can too far can release cold liquid propellant, and long blasts aimed straight down can push debris deeper, so keep the nozzle moving.
What should you avoid using on a laptop keyboard?
Skip water, window cleaner, bleach, and paper towels. Water and household cleaners can corrode contacts or leave residue, and paper towels shed fibers that lodge between the keys. Stick to isopropyl alcohol and a lint-free cloth.
How do you clean a laptop keyboard after a liquid spill?
Power off and unplug immediately, turn the laptop upside down so liquid drains away from the electronics, and let it dry fully before testing. Sugary or sticky drinks usually call for keycap removal and a direct clean. If keys stay unresponsive, a technician can open the machine safely.
Can you remove laptop keys to clean underneath?
Many laptop keycaps lift off with a plastic pry tool, but the mechanism is delicate, and larger keys with stabilizer bars are easy to break. Photograph the layout first, work gently, and leave the big keys alone unless you are confident.
Why is my laptop keyboard sticky even after cleaning?
Sticky keys almost always mean residue is still trapped under the keycap, often from a past spill. A targeted swab-and-alcohol pass on that key usually helps, and removing the keycap for a direct clean solves the stubborn cases.
Do I need to remove the battery to clean the keyboard?
For a standard surface clean, powering off and unplugging is enough. If your laptop has an easily removable battery, taking it out adds a small margin of safety, especially during a deeper clean where more moisture is involved.
How long should the keyboard dry before turning the laptop on?
A few minutes is plenty for a light surface clean with a barely damp cloth. After a deeper clean or a spill, give it several hours to be safe, since any trapped moisture can cause keys to misbehave or short something out.
