
Learning how to set up fan curves for better cooling gives a PC or laptop quieter idle performance and stronger heat control under load. A fan curve tells each fan how fast to spin based on component temperature, instead of running at one fixed speed all the time. This guide walks through the process using both BIOS settings and software tools, so the system stays cool without sounding like a leaf blower every time it wakes up.
Key Takeaways
- A fan curve links fan speed to temperature, keeping noise low at idle and cooling strong under load.
- BIOS or UEFI fan controls work for most desktop motherboards and are the safest starting point.
- Motherboard vendor software and tools like FanControl offer more precise, per-fan customization on Windows.
- Laptops usually rely on manufacturer software or built-in performance modes instead of a custom curve.
- Monitoring temperatures before and after the change confirms the curve is actually working as intended.
Before Setting Up a Fan Curve
This is a software adjustment, not a hardware repair, so there is no need to open the case for most systems. A little preparation still makes the process smoother and safer.
- Confirm the motherboard model and chipset, since BIOS layouts vary between brands.
- Download a temperature monitoring tool such as HWiNFO or HWMonitor to track CPU and GPU temperatures before and after the change.
- Make sure the system is plugged into a stable power source, since some BIOS changes require a restart mid-process.
- Note the current fan behavior for a few minutes of normal use, so there is a baseline to compare against later.
Tip: If the case has more than one type of fan header, such as CPU_FAN, SYS_FAN, and a dedicated pump header, check which physical fan connects to which header before making changes. Mixing them up leads to confusing results later.
Setting Up a Fan Curve in BIOS or UEFI
Most desktop motherboards include a built-in fan control menu, often labeled Q-Fan Control, Smart Fan, or simply Fan Control depending on the brand. This is usually the most stable place to set a curve because it applies before the operating system even loads.
- Step 1: Restart the computer and press the key shown on the boot screen to enter BIOS or UEFI, commonly Delete or F2.
- Step 2: Look for an Advanced Mode option if the BIOS opens in a simplified EZ Mode, since fan curve graphs are usually hidden behind it.
- Step 3: Navigate to the fan control or hardware monitor section, then select the header for the fan being adjusted, such as CPU_FAN or SYS_FAN1.
- Step 4: Choose a fan mode that matches the fan type connected. PWM mode suits four-pin fans, while DC mode suits three-pin fans. Selecting the wrong mode can cause a fan to run at a fixed speed or stop responding to the curve.
- Step 5: Adjust the curve points on the graph, keeping fan speed low near idle temperatures and increasing it as the temperature points rise toward the higher end of the graph.
- Step 6: Set a minimum duty cycle high enough that the fan does not stall completely, since some fans need a certain amount of power just to start spinning.
- Step 7: Save the changes and exit, usually with F10, then let the system boot normally.
- Step 8: Run a short stress test or a demanding game while watching the monitoring software to see the fan respond to rising temperatures in real time.
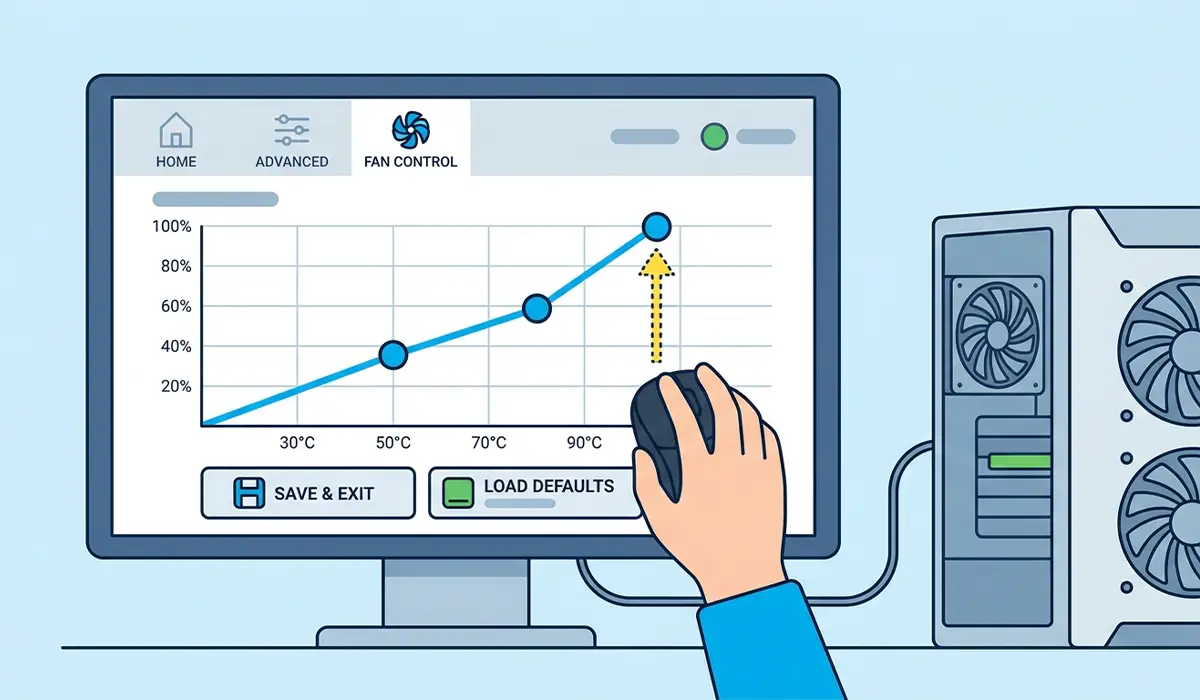
Tip: Avoid setting the entire curve too flat and too low. A curve that barely increases speed under load protects against noise but sacrifices cooling exactly when the system needs it most.
Setting Up a Fan Curve With Software
Software-based fan control adds flexibility that BIOS menus sometimes lack, especially for systems with several case fans that need independent curves.
Using Motherboard Vendor Software
- Step 1: Install the official control software for the motherboard brand, such as the tools bundled by ASUS, MSI, Gigabyte, or ASRock.
- Step 2: Open the fan control section and select the header to configure.
- Step 3: Drag the curve points to set desired speeds at each temperature range, mirroring the same low-idle, high-load approach used in BIOS.
- Step 4: Apply the profile and test it under load, since some tools let the curve respond to CPU temperature while others can be set to follow GPU or motherboard sensors instead.

Using a Third-Party Tool Like FanControl
- Step 1: Install a trusted open-source utility built specifically for custom fan curves, paired with a hardware sensor library it relies on for readings.
- Step 2: Select the temperature sensor that should drive each fan, such as CPU package temperature or GPU core temperature.
- Step 3: Build the curve by adding points along the graph, then link it to the correct fan channel detected by the tool.
- Step 4: Enable the option to start the tool automatically with Windows, so the curve is active every time the system boots.
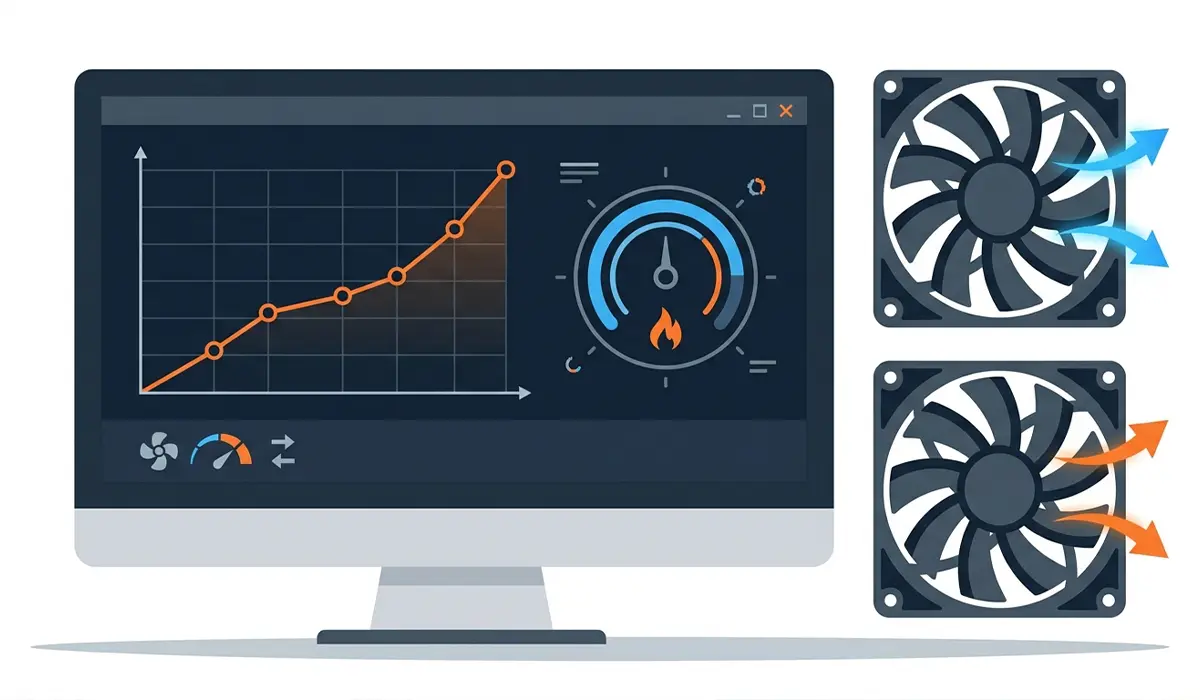
Tip: Third-party fan control software usually needs to stay running in the background to keep the curve active. If the tool closes, most fans fall back to their default motherboard behavior.
Fan Curves on Laptops
Laptops rarely allow a fully custom fan curve because the cooling system is tightly integrated with the manufacturer’s firmware. Most laptops instead offer performance modes, such as Quiet, Balanced, and Performance, through tools like Lenovo Vantage, Dell Power Manager, or HP Command Center. Selecting a higher performance mode generally shifts the built-in curve toward faster fan response, while a quiet mode favors lower noise over aggressive cooling. Some gaming laptops include a dedicated fan tab with limited curve adjustment, so it is worth checking the manufacturer software before assuming no control exists at all.
Common Problems and Fixes
- Fan stays at one constant speed no matter the temperature: The fan header is likely set to a fixed voltage mode instead of PWM or DC auto mode. Switch the header mode in BIOS and confirm the correct fan connector type.
- Fan spins up and down repeatedly in short cycles: This usually means the curve has a steep jump between two temperature points that sit close together. Smooth the curve by adding a middle point so the transition is more gradual.
- Software curve stops working after a restart: Third-party tools often need to be set to launch on startup, and some also need to be run with administrator rights to keep control of the fan headers.
- Fan runs louder than expected even with a custom curve applied: Dust buildup on the heatsink or fan blades forces the fan to work harder to hit the same temperature target. Cleaning the cooler often resolves this without touching the curve at all.
- Temperature readings in software do not match BIOS readings: Different tools sometimes read from different sensors on the same chip. Small differences of a few degrees are normal, but large gaps usually point to outdated monitoring software that needs an update.
Frequently Asked Questions
What is a fan curve?
A fan curve is a set of instructions that tells a fan how fast to spin at different component temperatures, allowing it to stay quiet at idle and speed up automatically as heat increases.
Is it safe to set a custom fan curve?
Yes, as long as the minimum speed is not set too low and the curve still ramps up as temperatures rise. A properly configured curve improves cooling without putting the fan or components at risk.
Should the fan curve be based on CPU or motherboard temperature?
CPU temperature usually gives the most direct and responsive control for case fans cooling the processor, while motherboard temperature can work well for general case airflow fans.
Why does the fan not spin at all when the PC is idle?
Many motherboards include a zero-RPM or fan-stop feature at very low temperatures, which is intentional and helps reduce noise when the system is barely under load.
Can a fan curve reduce PC noise?
Yes, a well-tuned curve is one of the most effective ways to cut noise, since it keeps fans running at low speeds until the system genuinely needs more airflow.
Does every motherboard support custom fan curves?
Most modern motherboards include some form of fan curve control in BIOS, though the number of adjustable points and available fan headers varies by model.
Why is the GPU fan curve separate from the CPU fan curve?
Graphics cards have their own thermal sensors and fan controllers, so GPU fan speed is typically managed through GPU-specific software like the graphics card vendor’s utility or a tool built for GPU tuning.
What happens if the fan curve is set too aggressively?
An overly aggressive curve keeps fans running fast even at low temperatures, which increases noise without meaningfully improving cooling performance.
Can a laptop fan curve be customized like a desktop?
Laptop fan control is usually limited to preset performance modes rather than a fully custom curve, since laptop cooling firmware is more restricted than desktop BIOS options.
How often should a fan curve be checked or adjusted?
It is worth revisiting the curve after major hardware changes, a case cleaning, or if noise and temperature behavior start to feel off compared to normal use.
