
Learning how to clean PC case fans is one of the simplest ways to keep a desktop running cool and quiet. Dust buildup on fan blades and grilles restricts airflow, forces components to work harder, and can shorten the lifespan of the fans themselves. This guide walks through the safest and most effective way to get the job done, whether the fans are stock case fans or aftermarket models.
Key Takeaways
- Power down and unplug the PC before touching any internal components, and let it cool if it has been running.
- Compressed air, a soft brush, and a lint-free cloth handle most dust buildup without disassembly.
- Holding fan blades still while spraying air prevents the fan from spinning too fast and damaging its bearings.
- Heavily soiled fans benefit from removal and a gentle isopropyl alcohol wipe-down.
- Cleaning case fans every one to three months keeps airflow consistent and reduces strain on the CPU and GPU coolers.
Before You Start
A few basic precautions make this task safer and prevent accidental damage to the fans or the motherboard.
- Shut down the PC completely and unplug the power cable from the wall or the power supply unit.
- Move the machine to a well-ventilated area, ideally outdoors or near an open window, since dust tends to scatter.
- Touch a bare metal part of the case or use an anti-static wrist strap to discharge static before handling internal parts.
- Allow the system to cool down for a few minutes if it was recently in use, since some components stay warm after shutdown.
Tools and materials needed for this task include a can of compressed air, a soft-bristled brush (an unused paintbrush works well), a lint-free or microfiber cloth, a screwdriver that matches the case screws, and 90 percent or higher isopropyl alcohol for stubborn grime. Cotton swabs are useful for tight corners around the fan hub.
Most of this task carries very little risk, but if a fan feels loose on its mounting, has a frayed cable, or makes grinding noises after cleaning, that points to a failing bearing rather than dust. In that case, replacement is safer than continued use, and a qualified technician can confirm the diagnosis.
Step-by-Step Guide to Cleaning PC Case Fans
Cleaning Fans Without Removing Them
This method works well for routine maintenance and light to moderate dust.
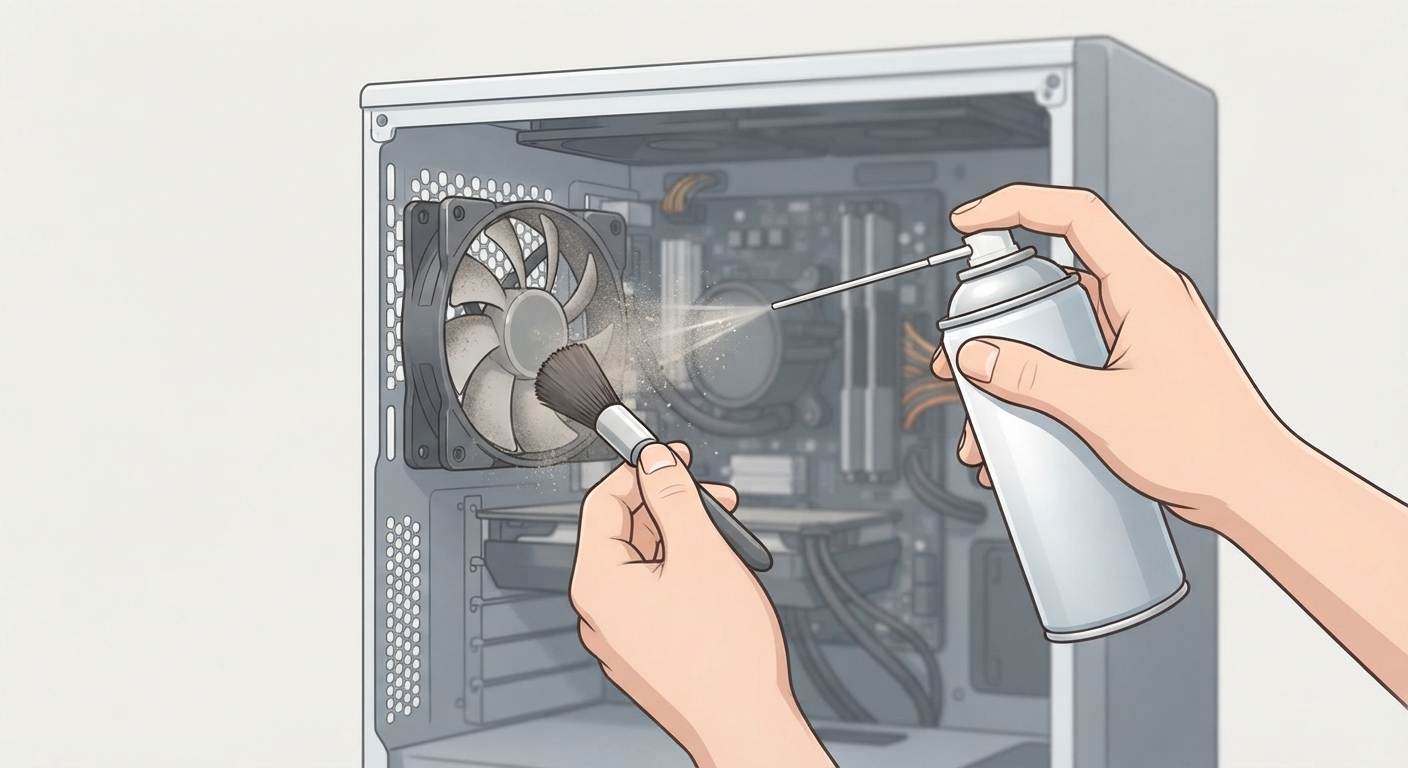
- Step 1: Open the side panel of the case to expose the fans, or position the case so the front and rear vents are accessible.
- Step 2: Hold each fan blade gently with a finger or the brush to keep it from spinning freely.
- Step 3: Spray short bursts of compressed air across the blades and grille at an angle, moving from the center outward.
- Step 4: Use the soft brush to loosen dust that clings to the blade edges and the fan frame corners.
- Step 5: Wipe the outer frame and grille with a dry microfiber cloth to pick up any loosened particles.
- Step 6: Repeat the process for every case fan, including the ones mounted on the top, front, rear, and bottom of the case.
Tip: Always hold the fan steady while using compressed air. Air pressure can spin the blades far faster than the fan is designed for, and this can generate a small voltage spike that stresses the motor over time.
Deep Cleaning Removed Fans
Fans caked in dust or grease from a smoke-exposed or pet-heavy environment usually need a more thorough clean.
- Step 1: Disconnect the fan cable from the motherboard header or fan hub, noting its original connection point.
- Step 2: Unscrew the fan from the case using the appropriate screwdriver and set the screws aside in a small container.
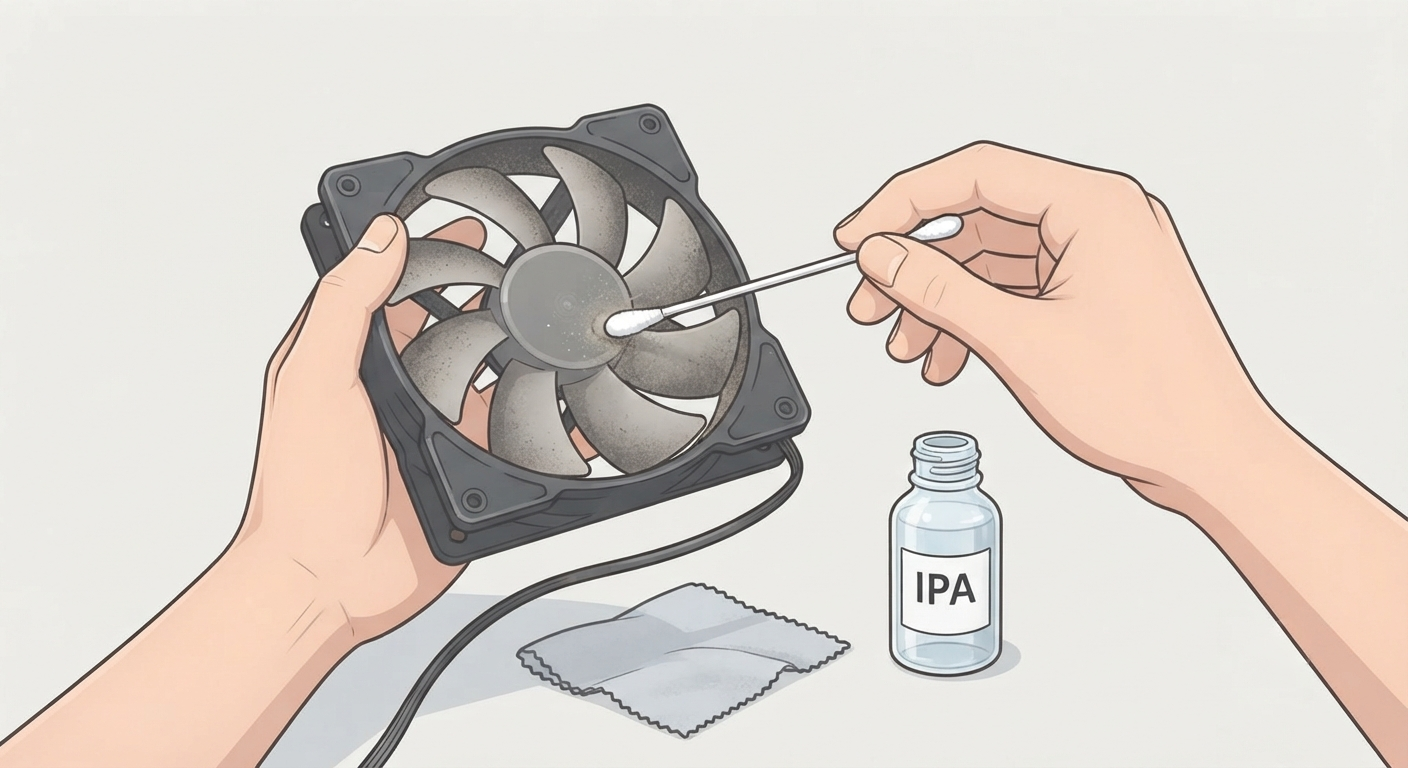
- Step 3: Wipe the blades and frame with a cloth lightly dampened with isopropyl alcohol, working in one direction rather than scrubbing in circles.
- Step 4: Use a cotton swab dipped in alcohol to clean around the center hub and the small vents near the motor.
- Step 5: Let the fan air dry fully for several minutes before reinstalling it, since any residual moisture near the motor needs time to evaporate.
- Step 6: Reattach the fan to the case in its original orientation, then reconnect the cable to its original header.
Most people find that checking the airflow arrow printed on the fan frame before reinstalling saves a second round of disassembly, since fans mounted backward push air the wrong direction.
Finishing Up
- Step 1: Wipe down dust filters, if the case has them, and rinse them under running water only if the manufacturer specifically allows it, then let them dry completely before reinstalling.
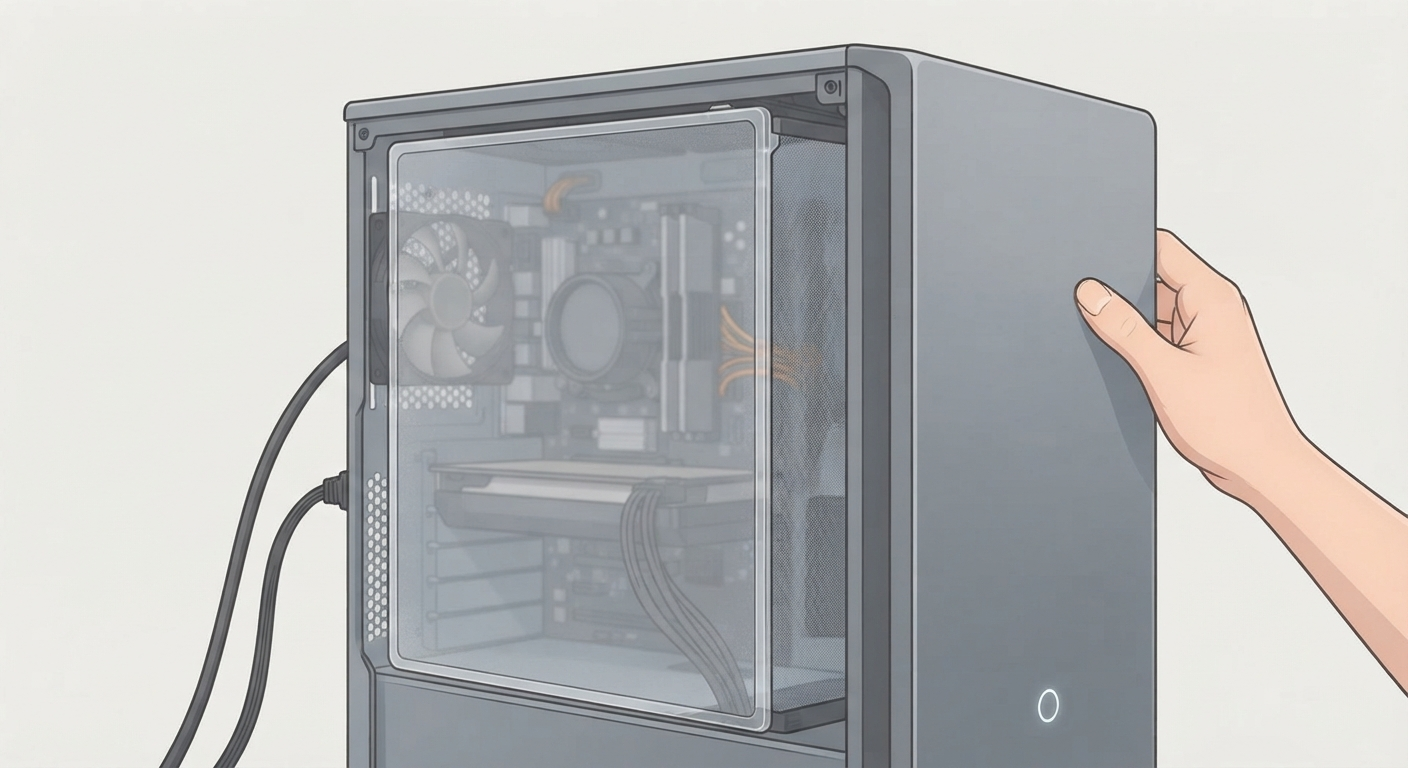
- Step 2: Close the side panel and reconnect all power cables.
- Step 3: Power on the PC and listen for a few minutes to confirm every fan spins smoothly without rattling or scraping sounds.
Common Problems and Fixes
A few issues tend to come up during or after this kind of maintenance, and most have simple solutions.
- A fan spins unevenly after cleaning: This usually means it was cleaned while spinning too fast under air pressure. Let the system run for a few minutes; if the wobble continues, the bearing may need attention or replacement.
- A fan does not spin at all after reconnecting it: Check that the connector is fully seated on the correct motherboard header or fan hub port, since a loose connection is the most common cause.
- Dust returns quickly after cleaning: This points to a dusty room environment or missing intake filters. Adding mesh filters to intake fans cuts down how often cleaning is needed.
- A grinding or clicking noise appears after cleaning: Alcohol or moisture may have reached the bearing, or dust was already causing wear before cleaning began. Let the fan dry fully and monitor it; persistent noise usually signals a fan nearing the end of its life.
- Temperatures stay high even after cleaning fans: Case fans handle airflow, but a hot CPU or GPU often points to dusty heatsink fins or aging thermal paste, which are separate maintenance tasks from fan cleaning.
Frequently Asked Questions
How often should PC case fans be cleaned?
Every one to three months works well for most setups, though homes with pets, carpet, or open windows may need cleaning more frequently.
Can compressed air damage a PC fan?
It can, but only if the blades are allowed to spin freely at high speed from the airflow. Holding the blades steady while spraying prevents this risk entirely.
Is it safe to clean case fans while the PC is running?
No. The system should be powered off and unplugged first, since spinning blades and live electrical components make cleaning while running unsafe and less effective.
Can water be used to clean PC fans?
Water is not recommended near fan motors or electrical connectors. Isopropyl alcohol is the safer choice for wiping down blades and frames.
Do case fans need to be removed to be cleaned properly?
Not always. Light dust responds well to compressed air and brushing in place, while heavier buildup benefits from removing the fan for a thorough wipe-down.
Why do case fans get dusty so quickly?
Fans pull air, and any airborne particles, through the case to cool components, and dust naturally collects on the blades and grille over time as a result.
What is the best tool for cleaning PC fans?
A can of compressed air paired with a soft brush handles most routine cleaning, while isopropyl alcohol and a microfiber cloth work best for stubborn grime.
Can dirty case fans cause a computer to overheat?
Yes. Dust-clogged fans move less air, which reduces overall case airflow and can raise temperatures across the CPU, GPU, and other components.
Should dust filters be cleaned at the same time as fans?
Yes. Dust filters trap much of the debris before it reaches the fans, so cleaning them alongside the fans helps maintain steady airflow.
Does cleaning fans void a PC or laptop warranty?
Cleaning fans that sit outside the sealed chassis on a desktop typically does not affect warranty coverage, but opening a laptop chassis may affect its warranty, so checking the manufacturer policy first is worthwhile.
